
Sender Integration
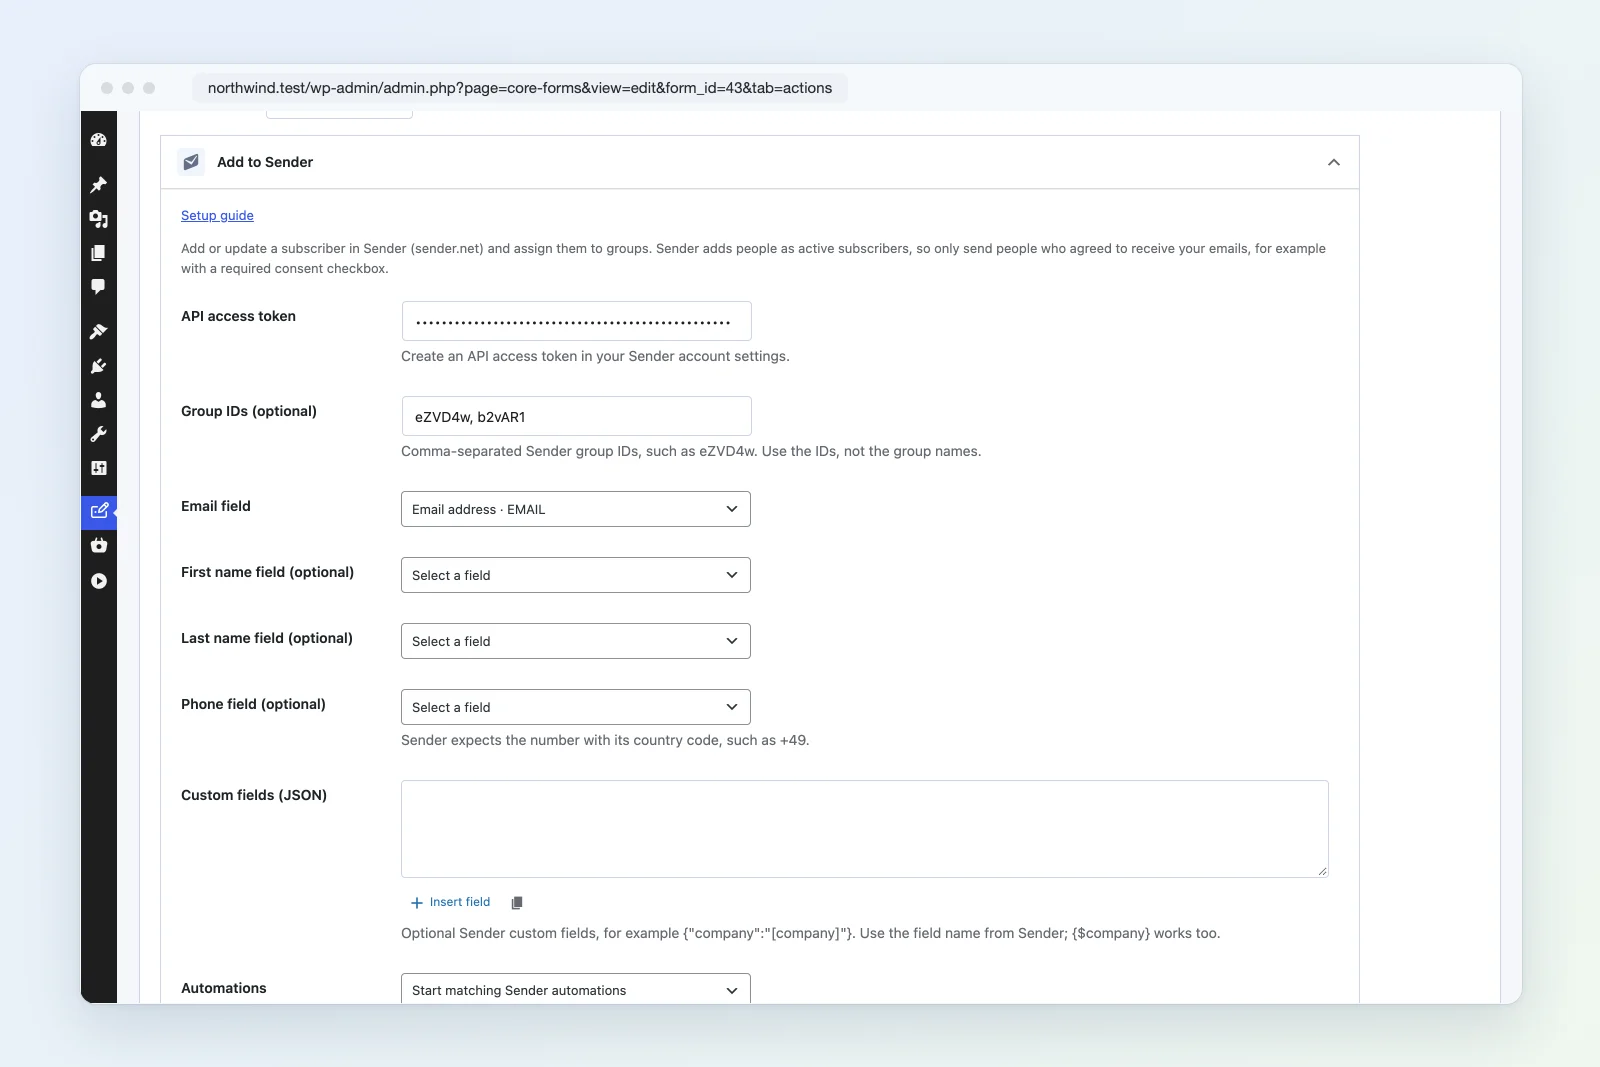
Add to Sender adds a subscriber to Sender (sender.net), or updates an existing one, and assigns them to Sender groups. It talks to Sender’s API directly and needs no other WordPress plugin.
Action type: sender
Setup
- In Sender, create an API access token in your account settings.
- Open your form’s Actions tab and choose Add to Sender under Marketing & CRM.
- Paste the token into API access token. The field masks it.
- Optionally enter Group IDs, separated by commas, such as
eZVD4w, b2vAR1. Use the IDs, not the group names. - Choose your form’s Email field. Optionally map first name, last name and phone.
- Add Sender custom fields as a JSON object if you use them, for example
{"company":"[company]"}. - Choose whether new and updated subscribers start matching Sender automations.
- Save the form. Use Test action with your own address when ready. It makes a real request and creates a real subscriber.
Settings Reference
| Setting | Required | Default | Description |
|---|---|---|---|
| API access token | Yes | — | Sent as Authorization: Bearer <token> |
| Group IDs | No | — | Comma-separated Sender group IDs |
| Email field | Yes | email | Form field holding the subscriber’s email |
| First name field | No | — | Sent as firstname |
| Last name field | No | — | Sent as lastname |
| Phone field | No | — | Sent as phone. Sender expects a country code, such as +49 |
| Custom fields (JSON) | No | — | Sender custom fields; values can use form variables |
| Automations | No | Start | Sent as trigger_automation |
Behavior
- The action sends
POST https://api.sender.net/v2/subscriberswith the email, the mapped fields, the groups andtrigger_automation. - Sender doesn’t document what its create endpoint does with an email that already exists. When Sender rejects the create with HTTP 400, 409 or 422, the action updates the subscriber by email (
PATCH /v2/subscribers/{email}) and adds them to each group withPOST /v2/subscribers/groups/{groupId}. If no subscriber has that email, the original rejection is reported. - Existing subscribers keep their current groups. The action only adds the groups you list.
- Custom field keys can be the plain field name (
company) or Sender’s merge form ({$company}). Both are sent as{$company}. Checkbox values are joined with commas. - Empty optional mappings leave the subscriber’s existing values alone.
- HTTP failures and
"success": falseresponses are failures in Core Forms. Rate limits (HTTP 429) and server errors can be retried by the shared retry queue, using Sender’sRetry-Afterheader. Error messages never include the token or Sender’s response body. - Spam and submissions still awaiting payment don’t reach Sender.
Consent
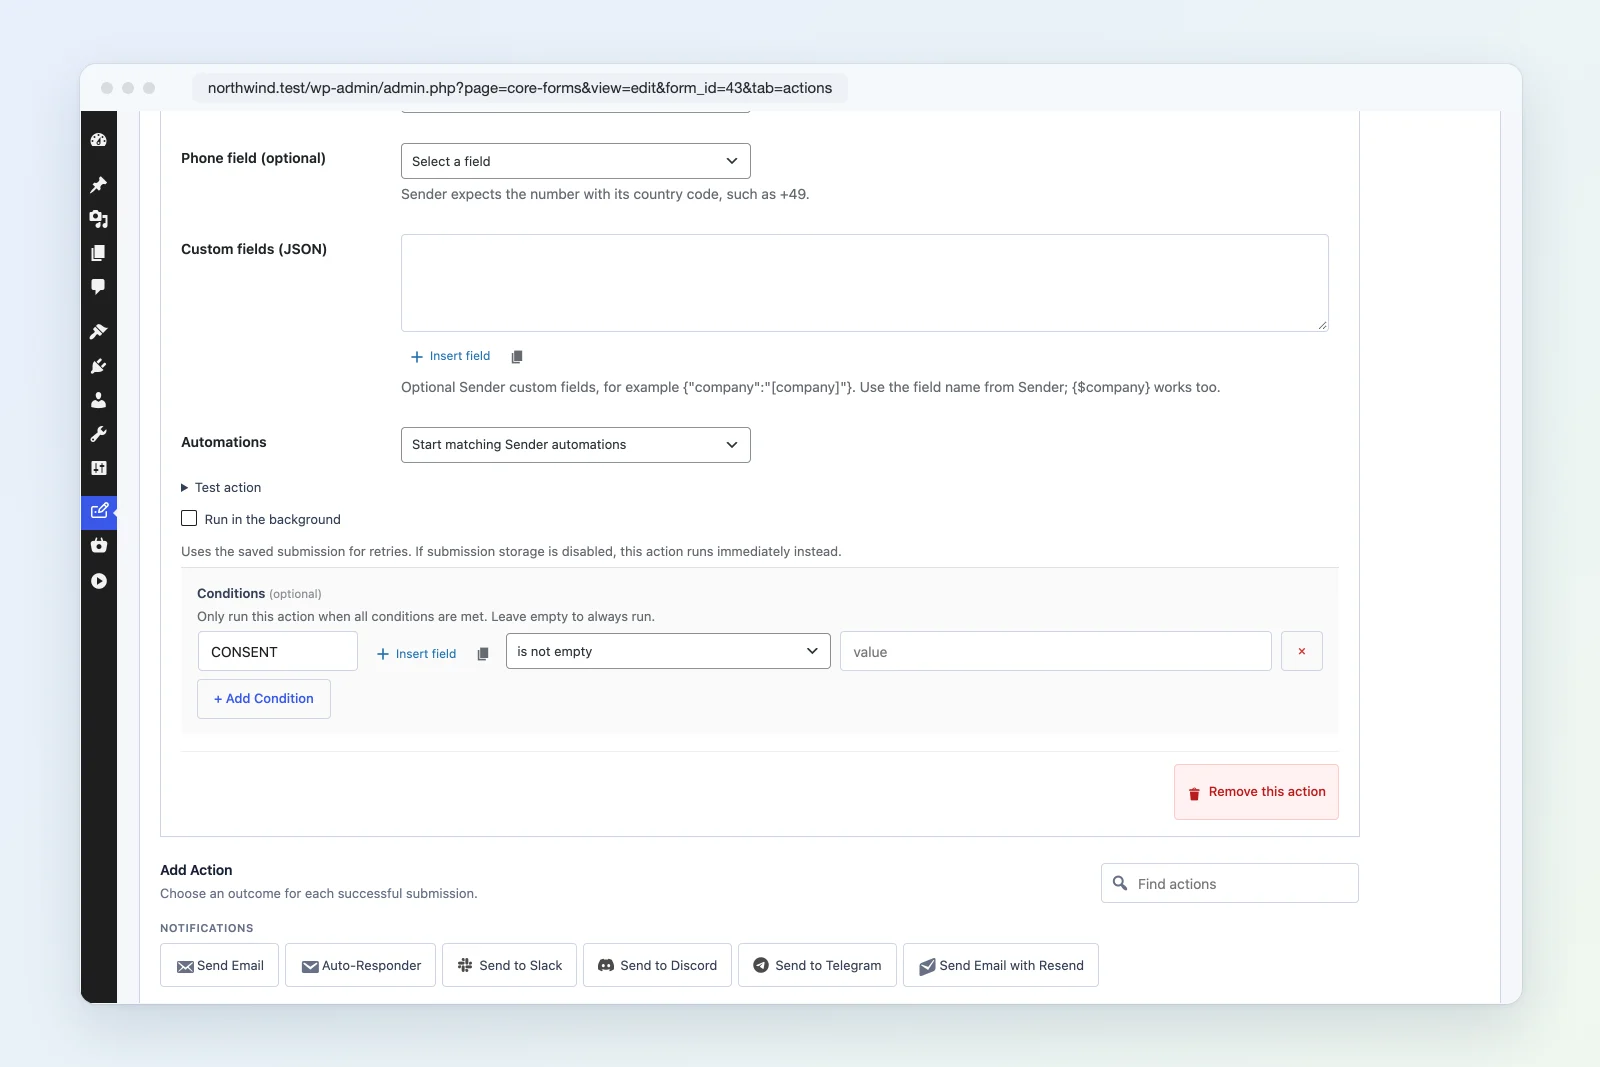
Sender’s API adds people as active subscribers. It has no double opt-in option on this endpoint. Only send people who agreed to receive your emails. For example, add a required consent checkbox to the form, or use a condition so the action runs only when the box is ticked. This matters most for sites under the GDPR.
Troubleshooting
- HTTP 401: The token is wrong or was revoked. Create a new one in Sender.
- HTTP 422 for a new subscriber: Sender rejected the data. Check the email, the phone format (country code) and the custom field names.
- Subscriber not added to a group: Check that the group ID exists in the same Sender account as the token.
- “Enter Sender group IDs”: Group IDs contain only letters and numbers. Remove spaces inside an ID and any group names.
Sender’s API reference documents subscribers, groups and authentication.