How to Start an Online Teaching Website with WordPress?
Are you looking for ways to start an online course for your students? Creating an online teaching website using WordPress and a Learning Management System (LMS) can be the simplest way to start an online course.
WordPress offers several tools to start, grow and expand your online coaching platform in real-time — the best thing is that all the important tools are available for free.
In this article, I will guide you through the process of starting an online teaching website with WordPress and different LMS plugins. But before that, let’s talk basics.
Table of Contents
Who needs an online teaching website?
Every educator & teacher does. Online learning is a rapidly growing industry.
An online teaching website can change how you teach and your students learn. The idea of teaching and learning anywhere, anytime, is unrivaled.
You can reach worldwide, making it available to even those who cannot reach you personally. Online teaching websites also offer alternative learning opportunities for students. You can embed animations, graphics and whatnot to teach and show better.
If you plan to record lessons yourself, upgrade audio before video. A simple USB microphone makes a bigger difference to course quality than an expensive camera, especially when students are listening for 30 to 60 minutes at a time.
If you are an educator and still don’t have an online course website, it is time to have one. This is why I have written this article to guide you step by step.
I have chosen WordPress as the platform to create it for several reasons: flexibility, affordability, plugins, themes and speed.
So without further ado, let’s begin.
Start an Online Teaching Website with WordPress
Before we dive into the steps, I want you to first decide on the kind of teaching website you’d need.
An online teaching website will have many elements, such as a home page, course details, an about page, a faculty/educator page, a contact form, etc. So I need you to sit down and think about the format of your teaching website and then follow the steps.
Set up a WordPress Website

As you want to host a teaching website, I suggest using managed hosting as it spontaneously handles installing, backing up, and updating. For this purpose, WPX is the best option.
If you have a developer available, you can also try one of the following web hosting services to start.
| Hosting | Starting Price/month | Starting Number of Websites | Starting Storage | Bandwidth | Signup Link | Free Domain |
|---|---|---|---|---|---|---|
| WPX Multi-Site | $20.83 | 5 | 15GB | 200GB | Signup | No |
| EasyWP Lowest Price | $1.44 | 1 | 10GB | ~50,000 visitors | Signup | No |
| Hostinger Best Value | $1.99 | 1 | 30GB | 100GB | Signup | Yes |
| Hostgator | $2.75 | 1 | Unlimited | Unlimited | Signup | Yes |
| Bluehost | $2.95 | 1 | 50GB | Unlimited | Signup | Yes |
| A2 Hosting | $2.99 | 1 | 100GB | Unlimited | Signup | No |
| Nexcess | $19 | 1 | 10GB | Unlimited | Signup | Yes |
| WP Engine | $25 | 1 | 20GB | ~25,000 visitors | Signup | No |
| Rocket.net High Traffic | $25 | 1 | 10GB | ~250,000 visitors | Signup | No |
| Kinsta | $25 | 1 | 30GB | ~25,000 visitors | Signup | No |
These hosting services are tested and trusted by me but need more configuration than WPX. Most of these, however, offer easy WordPress installation.
Creating a WordPress website is as easy as 1-2-3.
Here are the steps involved in the process.
- Go to Bluehost.com or any other hosting provider from the above table.
- Click on the Get Started button on the homepage. This will guide you through the purchase process and installation.
- Choose a plan as per your budget and requirements. You will find the details on what you are getting and what not. Decide on what you need or take advice from your developer or an experienced person.
- You get a free domain name with any Bluehost plan. Enter a domain name that resembles your business name and click next. You can skip this step if you already have a domain.
- Fill in your details to create an account. You can also use your Google/Gmail account to create an account as well.
- Make the payment and you are done.
- You will find a few verification emails along with the purchase receipt in your inbox. Do the necessary steps and you will be ready to go.
- Once you have completed all these steps, you can now login into your control panel. Most of the time Bluehost automatically redirects you to the control panel after a successful purchase but if it doesn’t you can log in to Bluehost by visiting Bluehost.in or bluehost.com and clicking on the Login menu.
- Go to your account/control panel and click on My Sites. You will have an option to add a new site.
- Bluehost will guide you through step-by-step instructions to install your WordPress site.
- Done! (Don’t forget to note down the admin username and password.)
After creating the WordPress website and a domain name and hosting provider, you can start personalizing your WordPress. To customize your WordPress website, you must start by selecting a good theme and installing plugins that will slowly build your platform.
Install a Professional Theme

Here are the top themes for Education and Online Teaching niche. Choose any one of these, and you are good to go.
| Theme Name | Get Theme |
|---|---|
| Kalvi – LMS Education | Click here |
| Edukul | Online Courses WordPress Theme | Click here |
| LMStudy – Education LMS WooCommerce Theme | Click here |
| Education WordPress Theme | Eduma | Click here |
| WPLMS Learning Management System | Click here |
| Education WordPress Theme – Masterstudy | Click here |
These premium LMS themes are dedicated to onboarding new tutors directly to a prebuilt online course Website. These let you create complex online teaching websites with simple steps.
If you bought a premium LMS theme from the list above, you could skip installing an LMS plugin.
The themes that I have recommended come with solid code, advanced features, and various templates necessary to create an educational site.
Install and set up an LMS Plugin.
Now that the WordPress website is properly set up, you should now install and set up an LMS (Learning Management System) Plugin. This will permit you to create the online educational course and attach it to your website.
Here are the top LMS plugins for WordPress:
- LearnDash (Premium)
- LearnPress
- Tutor LMS
- Sensei LMS
- MemberPress Courses (Premium)
- LifterLMS
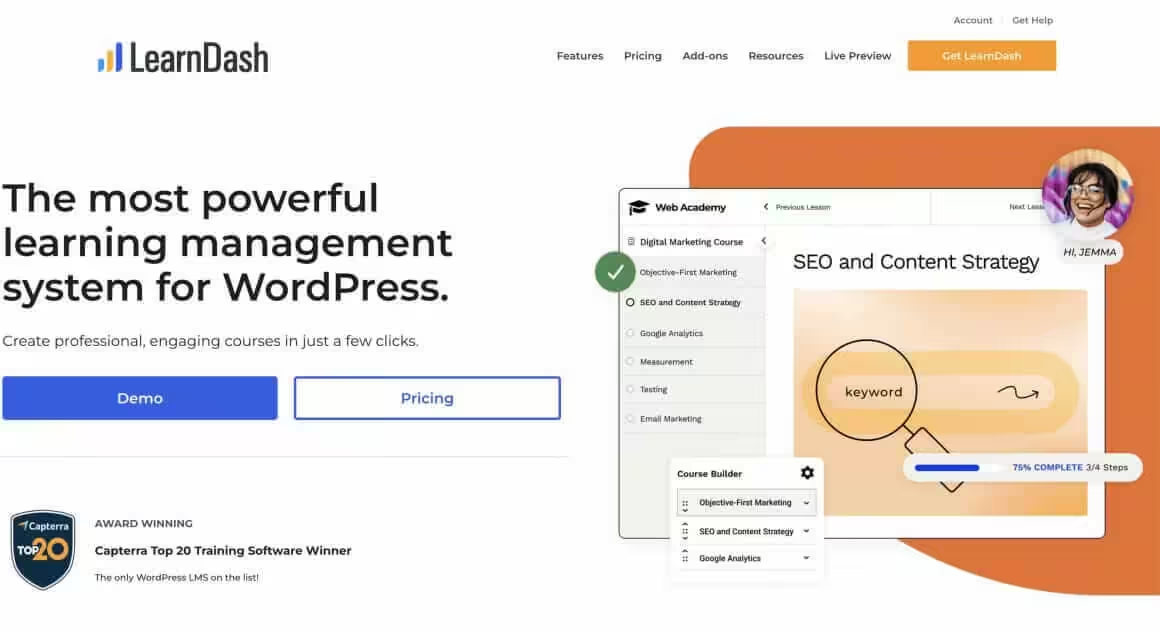
I’d suggest starting with LearnDash, as it is the easiest LMS plugin out there. It offers complete course management, access control, payment transactions, lesson schedules, subscriptions, and more. Thousands of users around the world use this LMS.
Setting up a course with LearnDash
LearnDash is a powerful and easy-to-use Learning Management System (LMS) plugin for WordPress. With LearnDash, you can create, manage, and sell online courses directly on your WordPress site.
Here is what you need to do to set up a course with LearnDash:
Step 1: Install and Activate LearnDash
Before you can create a course, you need to install and activate the LearnDash plugin on your WordPress site. You can purchase a license for LearnDash here. Once you’ve made your purchase, follow these steps:
- Download the LearnDash plugin.
- Go to your WordPress dashboard, navigate to Plugins > Add New, and click “Upload Plugin.”
- Upload the downloaded plugin file and activate it.
Step 2: Create a Course
Once you’ve activated LearnDash, it’s time to create your first course. To do this, follow these steps:
- Go to your WordPress dashboard, and navigate to LearnDash > Courses > Add New.
- Enter a title for your course, and add a description in the editor.
- Configure the course settings in the “LearnDash Course Options” panel.
- Click “Publish” to save your course.
Step 3: Create Lessons, Topics, and Quizzes
Now that you’ve created your course, it’s time to add content. LearnDash courses are organized into lessons, topics, and quizzes. Follow these steps to create and organize your content:
- Add Lessons: Go to LearnDash > Lessons > Add New, enter a title and content for your lesson, and configure the settings in the “LearnDash Lesson Options” panel.
- Associate Lessons with a Course: In the “Associated Course” dropdown, select the course you created in Step 2.
- Add Topics: Go to LearnDash > Topics > Add New, enter a title and content for your topic, and configure the settings in the “LearnDash Topic Options” panel.
- Associate Topics with a Lesson: In the “Associated Lesson” dropdown, select the appropriate lesson.
- Add Quizzes: Go to LearnDash > Quizzes > Add New, enter a title for your quiz, and configure the settings in the “LearnDash Quiz Options” panel.
- Associate Quizzes with a Lesson or Topic: In the “Associated Lesson/Topic” dropdown, select the appropriate lesson or topic.
Step 4: Configure Course Access and Pricing
With your course content created, you need to set up access and pricing options for your course. To do this, follow these steps:
- Go to LearnDash > Courses and click “Edit” for the course you created in Step 2.
- In the “LearnDash Course Options” panel, go to the “Course Access Settings” section.
- Choose the appropriate course access mode (open, free, closed, or recurring).
- If you’re using a paid course access mode, configure the pricing options and integrate with your preferred payment gateway.
And you are all done. Be sure to explore your way around and get to know the system.
It will take a little practice, but uploading courses to your WordPress site is no rocket science. You can easily learn all these things. If you are still uncomfortable, browse through documentation and YouTube videos made for that specific LMS plugin.
Final Words
With WordPress, there is no limit to what you can create. Start little, add things up, and you are done. Website building is a continuous process, and who could know this better than me?
I have been building websites since 2010 and one thing I am sure, you cannot build a perfect website on day one.
WordPress offers unlimited freedom and with proper investments and planning, with proper planning, you can create another Unacademy, Chegg or Udemy within a month.
Follow the steps mentioned above and start developing an online teaching website for the future.
PS: If you are not comfortable with WordPress, you can also try these online teaching platforms or these website builders for teachers or hire me for a website.
The same step-by-step approach works for other niches, like building a tattoo studio website.
Disclaimer: This site is reader-supported. If you buy through some links, I may earn a small commission at no extra cost to you. I only recommend tools I trust and would use myself. Your support helps keep gauravtiwari.org free and focused on real-world advice. Thanks. - Gaurav Tiwari
nice article, the information provided about creating a website for online teaching is very simple and step-by-step expressed by you.