How to Design Beautiful Websites with Free Tools in 2026
Professional web design costs $5,000-$15,000 through an agency. Custom themes run $3,000+. Even a freelance designer charges $1,500 minimum for a basic business site. For most small businesses and solo creators, that’s not a budget line item. It’s a barrier.
The frustrating part? The gap between “paid professional” and “free tool” has nearly disappeared. Canva gives you 250,000+ templates. Figma lets you prototype with unlimited collaborators on its free plan. Penpot is fully open source with zero restrictions. And AI tools like v0.dev generate complete website layouts from a text prompt in under 30 seconds. Yet most people still assume free tools produce amateur results.
This guide covers every free design tool worth using in 2026, shows you exactly how they fit into a real workflow, and walks you through building a website that looks like you paid thousands for it. You’ll get honest picks across 8 categories, plus the specific tool combinations that work best for production sites.
The Free Design Tool Landscape in 2026
Free design tools aren’t what they were five years ago. Back then, “free” meant limited, clunky, and obviously amateur. Today, tools like Figma and Canva compete directly with Adobe Creative Cloud, and in some workflows, they win. The shift happened because companies realized freemium models convert better than free trials. Give designers a genuinely useful free tier, and they’ll upgrade when their needs grow.
Here’s what I’ve seen change: the quality gap between free and paid has nearly disappeared for standard web design work. You can design, prototype, source assets, build, and launch a professional website without spending a single dollar on software. The only real limitation is scale. Once you’re managing 10+ projects or need advanced team features, that’s when paid tools earn their price.
I organize free design tools into six categories. Each one covers a critical stage of the website design process, and you don’t need all of them. Pick one tool from each category that fits your skill level, and you’ve got a complete workflow.
- Design & Layout: Canva, Figma, Penpot, Paper, Pencil, Lunacy
- Website Builders: WordPress.org, Webflow (free tier), Framer (free tier), Carrd
- Stock Assets: Unsplash, Pexels, Pixabay, Google Fonts, LottieFiles, Icons8
- Color & Typography: Coolors, Adobe Color, Type Scale, Fontjoy, WebAIM Contrast Checker
- Prototyping: Figma (free), Penpot, Marvel
- AI Design: Canva Magic Studio, v0.dev, Durable, Framer AI
Best Free Design Tools for Website Graphics
Canva, Figma, and Penpot are the three tools I recommend to anyone designing websites in 2026. Each serves a different skill level, and all three have genuinely useful free tiers. I’ve used all of them on production projects, so I can tell you exactly where each one shines and where it falls short.

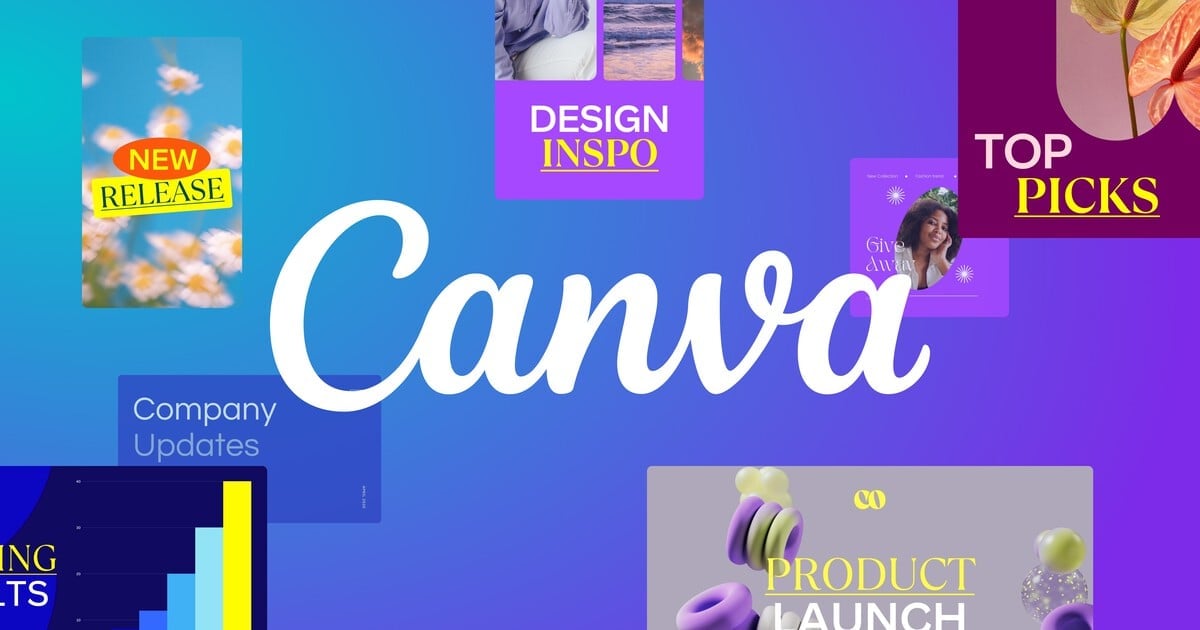
Canva: Best for Non-Designers
Canva’s free tier is absurdly generous. You get 250,000+ design templates, 1 million+ stock photos, 5GB of cloud storage, and access to their basic AI features through Magic Studio. I’ve used Canva to design social media graphics, website banners, and even full landing page mockups for clients who needed something fast. The drag-and-drop editor takes maybe 10 minutes to learn if you’ve never used a design tool before.
Where Canva falls short: you can’t do pixel-perfect web design. There’s no responsive preview, no component system, and exporting for web requires some workarounds. It’s a design tool, not a web design tool. But for creating the visual assets your website needs like hero images, infographics, social sharing graphics, and icons, nothing matches Canva’s speed and template library on a free plan.
Canva
- 250,000+ free templates across all categories
- 1M+ royalty-free stock photos and graphics
- 5GB cloud storage with free account
- Basic Magic Studio AI features included
- Real-time collaboration with team members
- Export as PNG, JPG, PDF, SVG, or MP4
Figma: Best for Developers and Serious Designers
Figma’s free tier gives you 3 active projects with unlimited files within each, unlimited personal drafts, and unlimited collaborators. That’s genuinely enough for freelancers and small teams. I use Figma as my primary design tool for client wireframes and prototypes because the component system, auto-layout, and developer handoff features are unmatched in any free tool.
The free plan also includes FigJam (their whiteboarding tool), basic prototyping with transitions, and the entire community plugin ecosystem. The 2024 update added variable support to the free tier, which makes responsive design mockups significantly easier. Figma’s learning curve is steeper than Canva’s, maybe a few hours to feel comfortable, but the payoff is a professional-grade design tool that agencies charge $50-100/hour to use.
Penpot: Best for Open Source Advocates
Penpot deserves more attention than it gets. It’s 100% open source, completely free with no restrictions on projects or files, and you can self-host it if you want total control over your data. The interface is clean and surprisingly polished for an open-source tool. I’ve tested it on three projects now, and it handles standard web design workflows competently.
Penpot’s standout feature is native CSS-based design. Unlike Figma which uses its own rendering engine, Penpot outputs actual CSS properties, making the design-to-development handoff much smoother. The trade-off is a smaller plugin ecosystem and fewer templates compared to Canva or Figma. But if you value privacy, open source, and zero vendor lock-in, Penpot is the clear choice.
Paper: The Connected Design Canvas
Paper is a newer design tool that’s turning heads. It’s a modern, connected canvas built on web standards that bridges the gap between design and development. What makes Paper different is its agent-first approach. Your team, AI agents, code, and data all live on the same design space, so nothing gets lost in translation between designing and shipping.
Paper is free to use and works directly in the browser or as a desktop app. It’s already used in production by design teams at notable companies. If you’re frustrated by the disconnect between what you design in Figma and what actually gets built, Paper’s web-standards-based approach solves that problem at the architecture level. It’s still early compared to Figma’s ecosystem, but the direction is exactly where design tooling needs to go.
Pencil: Design Right Where You Code
Pencil takes a radically different approach: instead of designing in one tool and coding in another, you design directly in your IDE. It’s a canvas that lives inside VS Code and other editors, letting you visually create UI components that output production-ready code. For developers who think visually but work in code, Pencil eliminates the design-to-code translation step entirely.
Pencil is free to download and includes AI-powered design generation from prompts. You describe a component, Pencil generates it visually, and the code lands directly in your project. I’ve tested it for building React components, and the speed improvement is substantial. It’s especially powerful for developers who skip the design phase and go straight to code. Pencil gives you that visual layer without leaving your development environment.

The quality gap between free and paid design tools has nearly disappeared for standard web design work. You can design, prototype, and launch a professional website without spending a dollar on software.
Free Website Builders That Actually Deliver
A beautiful design means nothing if you can’t build it into a working website. These free website builders let you go from concept to live site without writing code (though some reward you handsomely for knowing HTML/CSS). I’ve built production sites with all four of these, and each one targets a different audience.
WordPress.org: The Gold Standard
WordPress powers 43% of all websites. The software itself is free and open source. You need hosting (starts at $2-3/month with providers like Hostinger), but the design capabilities are extraordinary. The block editor, combined with free themes like Starter Templates and free page builders, gives you complete design freedom. I’ve built everything from personal blogs to enterprise marketing sites on WordPress, and the ecosystem of 60,000+ free plugins means you can add almost any feature without paying.
For pure design control, pair WordPress with a block theme and the site editor. You get full-site editing, responsive layouts, custom templates, and global styles. All free. The learning curve is moderate. A few days to feel comfortable, a few weeks to build confidently, a few months to build efficiently.
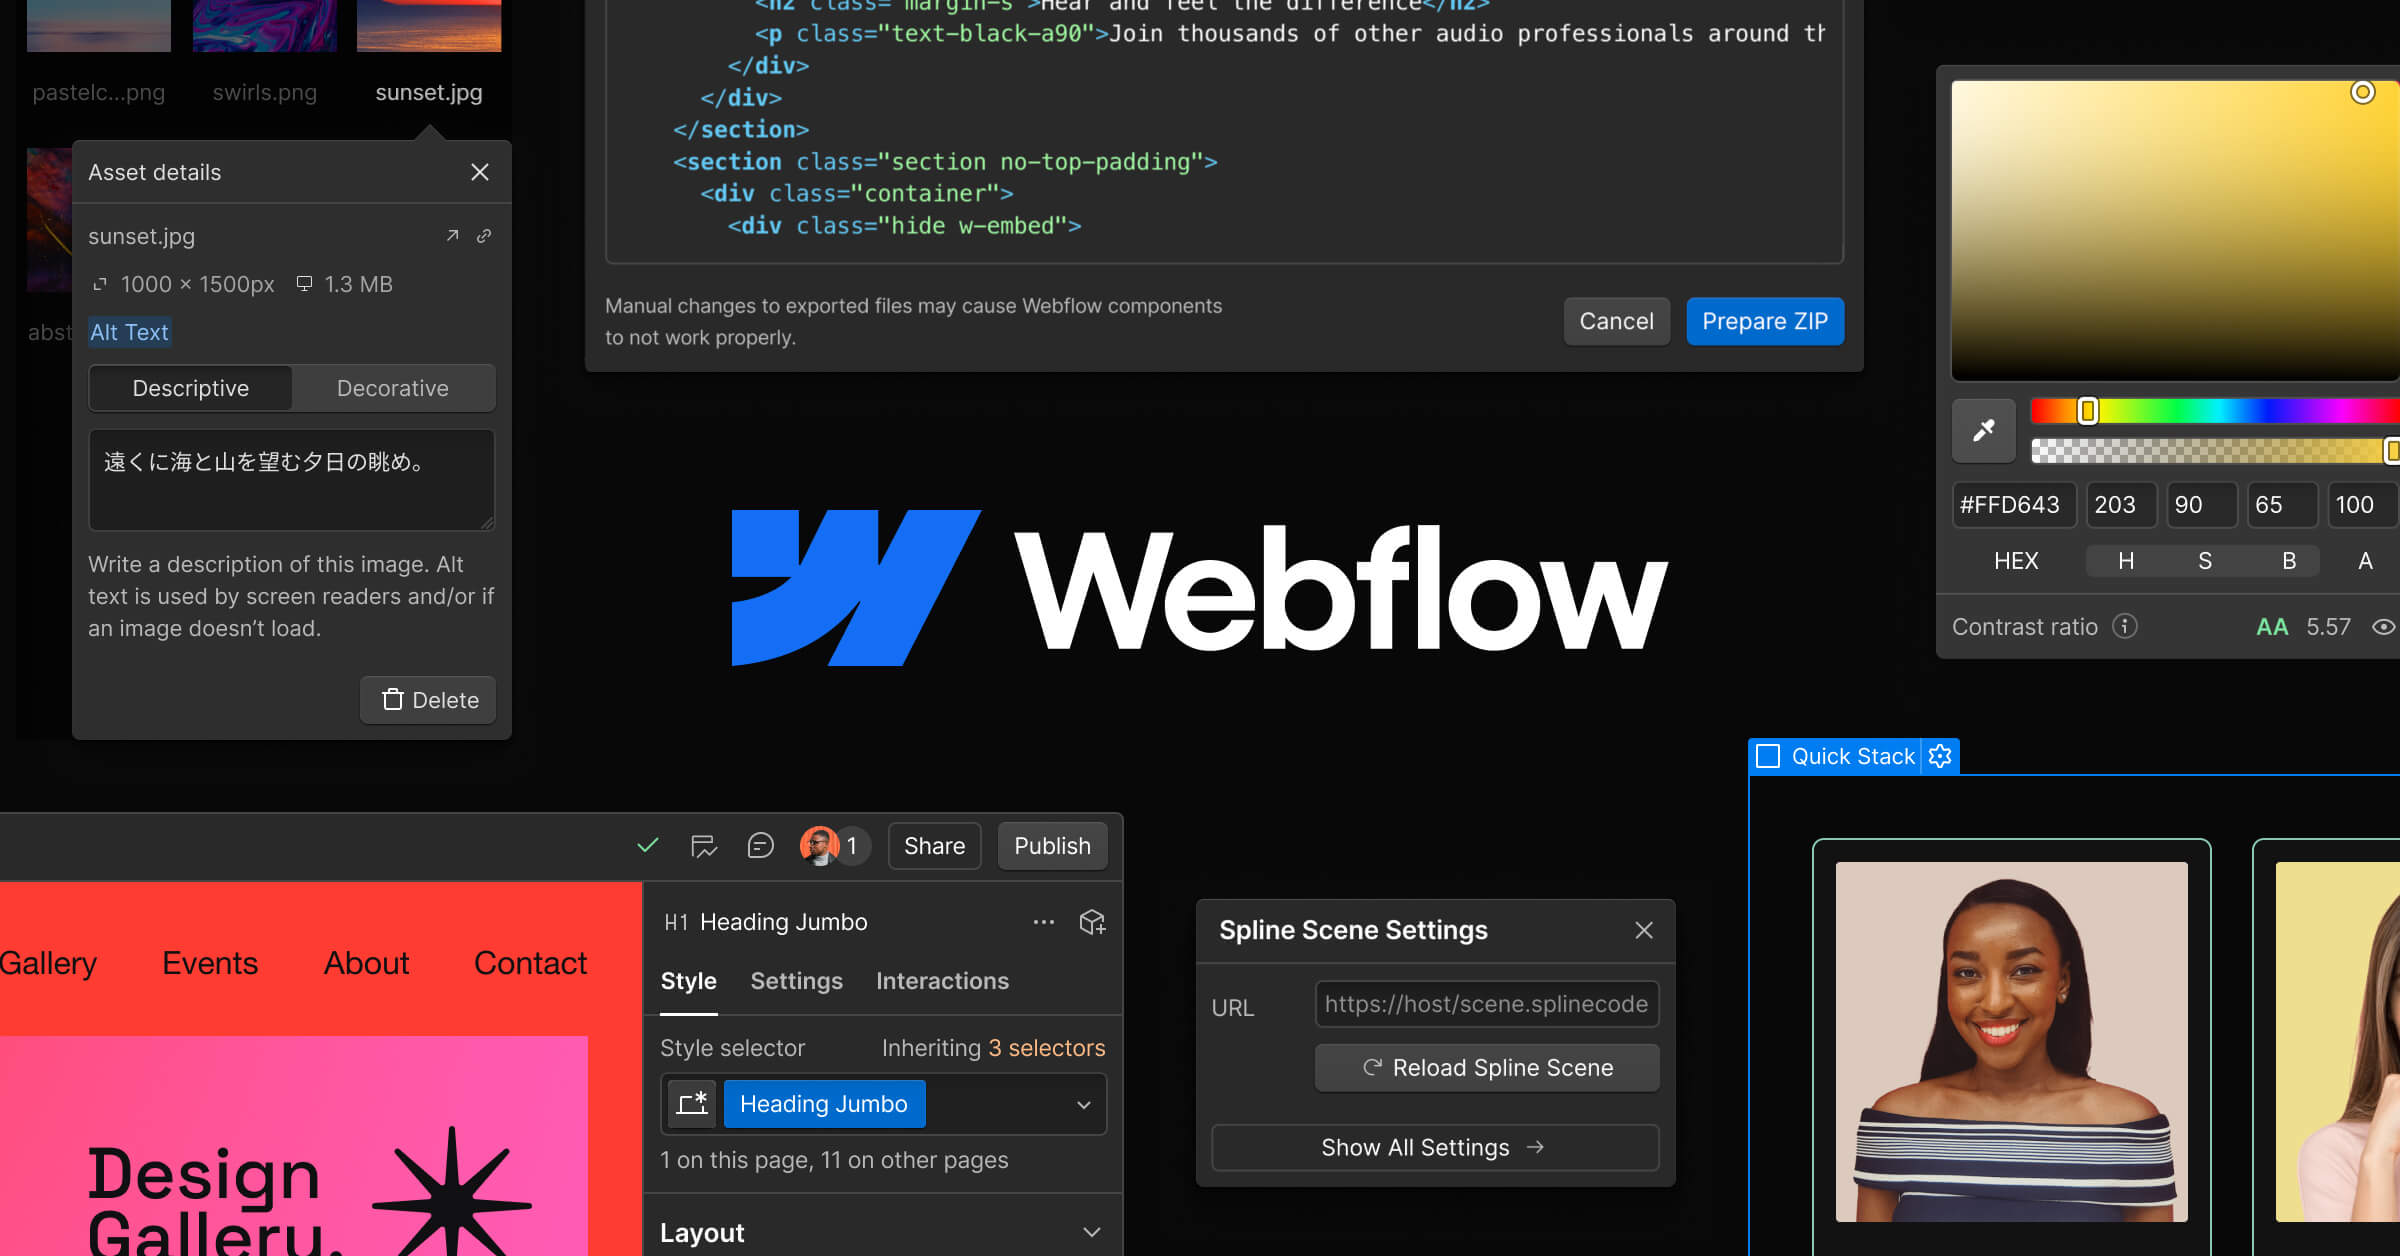
Webflow: Visual Design Power
Webflow’s free tier lets you build 1 site with 1 page, CMS with 50 items, and Webflow.io subdomain hosting. That’s limited for a full website, but it’s perfect for learning and prototyping. What makes Webflow special is the visual CSS editor. You’re writing real CSS without writing code. Every flexbox property, every grid layout, every animation, all through a visual interface that generates clean, production-ready code.
I recommend Webflow for designers who want to understand how websites actually work under the hood. The learning curve is steep (maybe 2-3 weeks to build comfortably), but the skills transfer directly to understanding real CSS and HTML. Their free University courses are genuinely excellent and worth going through even if you use a different builder.
Webflow
- Visual CSS editor with full flexbox and grid support
- 50 CMS items and 1 page on free plan
- Free Webflow.io subdomain hosting
- Built-in interactions and animations engine
- Clean, production-ready code export
- Free Webflow University learning platform
Framer: AI-Powered Design-to-Site
Framer has evolved from a prototyping tool into a full website builder with some of the best AI features I’ve tested. The free tier includes 1 site with a Framer subdomain, up to 1,000 monthly visitors, and access to their AI page builder. You describe what you want in plain English, and Framer generates a responsive layout with real content, images, and styling. I’ve tested this extensively, and while the AI output needs refinement, it gets you 70-80% there in under a minute.
Framer’s component system is excellent for building design systems. You create a component once, and it stays in sync across every page. The free tier is enough for a personal portfolio or single landing page, which is exactly what most beginners need to start.
Framer
- AI page builder generates layouts from text prompts
- 1 free site with Framer subdomain hosting
- Component system for reusable design elements
- Built-in CMS and responsive breakpoints
- Smooth scroll animations and interactions
- SEO controls and sitemap generation
Carrd: Best for Simple One-Pagers
Carrd is the most underrated free builder. It does exactly one thing: single-page websites. And it does it brilliantly. The free tier gives you 3 sites with a carrd.co subdomain, custom themes, and enough design control for a personal portfolio, landing page, or link-in-bio page. I’ve recommended Carrd to dozens of freelancers and entrepreneurs who just need something clean and fast without the complexity of WordPress or Webflow.
Build time on Carrd is absurdly fast. I can go from blank to published in under 15 minutes. The trade-off is obvious: it only does one-pagers. No blog, no multi-page navigation, no CMS. But if a single page is all you need, Carrd is hard to beat.
Free Stock Resources Every Designer Needs
Beautiful website images don’t require a stock photo subscription. The free stock resource ecosystem has matured dramatically, and the quality rivals paid libraries like Getty Images or Shutterstock for most use cases. Here’s my curated list of resources I actually use on every project.
Stock Photography
Unsplash remains the gold standard for free stock photos. Over 4 million high-resolution images, all free for commercial use with no attribution required (though it’s nice to credit photographers). I use Unsplash for 80% of my stock photo needs. The search is good, the quality is consistently high, and the collection skews toward modern, editorial-style photography that actually looks good on websites.
Pexels is my backup. Their collection overlaps with Unsplash but includes more lifestyle and business imagery. They also offer free stock video, which is harder to find elsewhere. Pixabay rounds out the trio with a broader collection that includes illustrations, vectors, and music alongside photos.
Icons and Illustrations
Icons8 provides thousands of free icons in consistent styles, plus illustrations and photos. The free tier requires attribution (a link back to Icons8), which is a fair trade for the quality you get. For icon-heavy designs, their consistency matters. Nothing looks more amateur than mixing icon styles from five different sources.
Flaticon has the largest icon collection I’ve found: over 16 million icons across dozens of styles. Free users get up to 10 downloads per day with attribution. unDraw offers beautiful, customizable SVG illustrations that you can recolor to match your brand palette, completely free and open source.
Typography
Google Fonts hosts 1,700+ font families, all free and open source. Every website I build uses Google Fonts. The performance is excellent (served via Google’s CDN), the selection covers every style from clean sans-serifs like Inter and DM Sans to expressive display fonts like Space Grotesk. You can also self-host them for better privacy and performance using tools like google-webfonts-helper.
For font pairing, Fontjoy uses machine learning to generate font combinations that work. Set the contrast slider and click generate. It’s faster than manually testing combinations, and the results are surprisingly good. I found my current favorite pairing (DM Sans + Playfair Display) through Fontjoy.
Animations
LottieFiles is the best free source for lightweight web animations. Lottie animations are JSON-based (not GIF or video), so they’re tiny in file size, scale perfectly at any resolution, and can be customized programmatically. The free tier includes access to thousands of animations and a web player. I add Lottie animations to hero sections and loading states. They add personality without the performance penalty of video or heavy GIFs.
Color and Typography Tools for Professional Results
Color and typography make or break a website design. Get them right, and even a simple layout looks polished. Get them wrong, and the most elaborate design feels off. These free tools handle both with precision, and I use them on literally every project I touch.
Color Palette Generators
Coolors is the fastest color palette generator I’ve found. Hit the spacebar, get a new 5-color palette. Lock colors you like, regenerate the rest. The free tier lets you save 5 palettes and export to any format. I start every web design project in Coolors. Five minutes of experimenting gives me a cohesive palette that would take an hour to develop manually.
Adobe Color goes deeper with color theory. It shows you complementary, analogous, triadic, and split-complementary harmonies from any base color. The accessibility tools check your palette against WCAG contrast ratios in real time. It’s free, doesn’t require an Adobe account, and the color wheel interface is genuinely elegant.
Typography Scale and Pairing
Type Scale calculates your entire heading hierarchy from a base font size and a scale ratio. I use a 1.250 (Major Third) scale for most web projects: it gives enough contrast between heading levels without the jumps feeling jarring. The visual preview shows exactly how H1 through H6 will look relative to your body text. Takes 30 seconds to set up, saves hours of manual size tweaking.
Combine Type Scale with Fontjoy for a complete typography system: Fontjoy picks the fonts, Type Scale calculates the sizes. Then validate the combination against your color palette using the WebAIM Contrast Checker to ensure WCAG 2.1 AA compliance. This three-tool workflow takes under 5 minutes and produces a typography system that’s both beautiful and accessible.
AI-Powered Design Tools: What Actually Works
AI design tools are the most overhyped and simultaneously most useful category in 2026. The hype is about “design entire websites with one prompt.” The reality is more nuanced, but still genuinely valuable. I’ve tested every major AI design tool extensively, and here’s what delivers real results.
Canva Magic Studio
Canva’s AI features are surprisingly capable on the free tier. Magic Write generates copy for your designs. Magic Resize reformats designs for different platforms. The AI image generator creates custom graphics from text prompts. None of these are “best in class” individually, but having them all in one platform, integrated into your design workflow, is genuinely useful. I use Magic Write for first-draft social media copy and the image generator for abstract backgrounds when stock photos don’t fit.
v0.dev by Vercel
v0.dev is the most impressive free AI design tool I’ve tested. Describe a UI component or page layout in plain English, and it generates working React code with Tailwind CSS. The output is clean, responsive, and production-ready in many cases. I’ve used it to generate hero sections, pricing tables, feature grids, and dashboard layouts. The free tier gives you generous credits, and the results beat hand-coding for speed by a factor of 10x or more.
The catch: v0.dev outputs React/Next.js code, so it’s most useful if you’re building with those frameworks. For WordPress or static HTML sites, you’ll need to extract the HTML/CSS and adapt it. But as a design ideation tool, it’s unmatched. Even if you don’t use the code directly, it shows you layout possibilities you might not have considered.
Durable: AI Business Websites
Durable generates a complete business website in 30 seconds. Enter your business type and location, and it creates a multi-page site with copy, images, and contact forms. The free tier lets you build and preview sites (publishing requires a paid plan). I’ve tested it with 5 different business types, and the results are surprisingly polished. Not custom enough for most professionals, but absolutely good enough for a small local business that needs something online fast.
Building a Complete Design Workflow (Step by Step)
Having great tools is only half the equation. You need a workflow that connects them into a coherent process. Here’s the exact 5-step workflow I use when building websites with free tools. I’ve refined this over hundreds of projects, and it works whether you’re building a personal portfolio or a client’s marketing site.

Step 1: Research and Moodboard (30 minutes)
Before opening any design tool, spend 30 minutes collecting inspiration. I use a free Notion page to save screenshots of websites I admire. Focus on sites in the same industry or with a similar vibe to what you’re building. Note specific elements: this hero layout, that typography combination, this color palette approach.
Sites like Awwwards, Lapa.ninja, and SiteInspire curate excellent web design for free. I also check what competitors are doing. Not to copy, but to understand what the audience in that space expects.
Step 2: Color, Typography, and Layout Planning (1 hour)
Open Coolors and generate a 5-color palette that matches your moodboard direction. Then go to Fontjoy for a font pairing (heading + body). Validate the combination in Type Scale to get your size hierarchy. Finally, check contrast ratios in WebAIM Contrast Checker.
Document these decisions. I keep a simple design brief with hex codes, font names, size scales, and spacing values. This takes maybe an hour, but it prevents the “I’ll figure it out as I go” approach that leads to inconsistent designs and constant second-guessing.
Step 3: Wireframe and Design (2-4 hours)
Open Figma (or Canva if you prefer drag-and-drop) and create wireframes for your key pages: homepage, about, services/products, and contact. Start with gray boxes and placeholder text. Focus purely on layout, content hierarchy, and user flow. Don’t touch colors or fonts yet.
Once wireframes feel right, apply your color palette and typography. Add real content where possible (real headlines, real descriptions). Drop in stock photos from Unsplash that match the actual content topics. This transition from wireframe to high-fidelity mockup typically takes 2-4 hours for a 4-5 page site.
Step 4: Build (4-8 hours)
Take your design into your builder of choice. If you’re using WordPress, install a block theme and use the site editor to recreate your design. For Webflow, import your design decisions and build directly. For Framer, you can actually import Figma frames directly and start from there.
This is where most people get stuck: trying to make the build match the design pixel-for-pixel. Don’t. Websites are fluid. Focus on getting the content hierarchy, spacing relationships, and overall feel right. Good web design adapts to different screen sizes, so rigid pixel-matching is counterproductive.
Step 5: Polish and Launch (2-3 hours)
Test on mobile (over 60% of web traffic). Check load speed using PageSpeed Insights. Verify accessibility using the free WAVE browser extension. Compress images with Squoosh (free, by Google). Review all text for typos. Test every link and form. Then launch. Perfectionism kills more websites than bad design does.
Website Design Launch Checklist

CSS Frameworks: Free Styling Power
If you’re comfortable with HTML and CSS (or willing to learn), free CSS frameworks dramatically accelerate website design. They provide pre-built components, responsive grids, and utility classes that handle the repetitive parts of styling so you can focus on what makes your design unique.
Tailwind CSS
Tailwind CSS has become the dominant CSS framework for modern web development. Instead of pre-designed components, it gives you utility classes that map directly to CSS properties. flex, gap-4, text-lg, bg-blue-500. The learning curve feels steep for the first day, then something clicks and you’re building layouts 3-4x faster than writing custom CSS. I switched to Tailwind three years ago and haven’t looked back. Free, open source, and the ecosystem of component libraries and alternatives is massive.
Bootstrap 5
Bootstrap is still the most widely used CSS framework globally. Version 5 dropped jQuery, added utility classes inspired by Tailwind, and kept its excellent pre-built component library. For beginners, Bootstrap is easier to learn than Tailwind because the components (navbars, cards, modals, carousels) work out of the box. Free themes from sites like Bootswatch give you visual variety without custom CSS.
Other Notable Frameworks
Bulma is a clean, CSS-only framework (no JavaScript) that’s lighter than Bootstrap. Pico CSS is my pick for minimal projects: it styles semantic HTML beautifully with zero class names needed. Just write proper HTML and Pico makes it look good. For WordPress-specific work, frameworks like GenerateBlocks integrate directly into the block editor.
Prototyping and User Testing for Free
Prototyping before building saves enormous amounts of time. A clickable prototype reveals usability issues that static mockups hide. You catch navigation problems, confusing layouts, and missing content before you’ve written a single line of code. And you can do it all for free.
Figma’s free prototyping is genuinely excellent. Connect frames with click interactions, add transitions and smart animate between states, and share a prototype link with anyone for feedback. No account required to view. I use Figma prototypes for every client project as a pre-build approval step. It’s saved me from countless revision cycles.
For user testing, Maze offers a free tier that lets you run unmoderated tests with up to 3 projects and 10 responses per test. You upload your Figma prototype, define tasks (“find the pricing page”), and share a link with testers. Maze tracks click paths, time on task, and misclick rates. Real data from real users, free. I’ve caught critical navigation issues through Maze tests that no one noticed in design reviews.
Alternatively, just share your prototype link in relevant communities and ask for honest feedback. Reddit’s r/web_design and r/UI_Design, Designer Hangout on Slack, and various Discord servers have designers who’ll give you candid feedback if you ask thoughtfully.
Accessibility: Designing for Everyone
Website accessibility isn’t optional anymore. Beyond being the right thing to do, it’s increasingly a legal requirement (the ADA and European Accessibility Act apply to websites), and it directly impacts your search rankings. Google uses Core Web Vitals and accessibility signals in its ranking algorithm. Fortunately, the tools to design and test for accessibility are free and straightforward.
Free Accessibility Testing Tools
- WAVE (Web Accessibility Evaluation Tool): Free browser extension that overlays accessibility errors, alerts, and features directly on your page. I run WAVE on every page before launch. It catches missing alt text, low contrast, improper heading hierarchy, and missing form labels in seconds.
- axe DevTools: Another free browser extension (by Deque) that runs automated accessibility tests against WCAG 2.1 standards. More developer-focused than WAVE, with detailed remediation guidance.
- Lighthouse (built into Chrome DevTools): Google’s free auditing tool scores your accessibility on a 0-100 scale and lists specific issues to fix. Access it via Chrome DevTools > Lighthouse tab.
- WebAIM Contrast Checker: Validates text-background color contrast ratios against WCAG standards. Bookmark this. Use it every time you pick colors.
- Screen Reader Extensions: NVDA (free, Windows) and VoiceOver (built into macOS) let you experience your site as screen reader users do. I test with VoiceOver at least once per project. It’s humbling how different the experience can be.
Design Practices That Improve Accessibility
Accessibility starts in the design phase, not after launch. Use sufficient color contrast from the start (4.5:1 minimum). Don’t rely on color alone to convey information (add icons or text labels). Design a clear visual hierarchy with proper heading levels. Make interactive elements large enough to tap (44x44px minimum touch targets). Use descriptive link text (“Read the accessibility guide” instead of “click here”). These practices make your design better for everyone, not just users with disabilities.
Performance Optimization with Free Tools
A beautiful website that takes 8 seconds to load is a failure. Page speed directly impacts both user experience and search rankings. Google’s Core Web Vitals (LCP, FID, CLS) are ranking signals, and 53% of mobile users abandon sites that take longer than 3 seconds to load. The good news: optimizing performance is free and mostly automated.
Image Optimization
Images are the biggest performance bottleneck on most websites, often accounting for 50-70% of total page weight. Squoosh (by Google) compresses images with a visual before/after comparison. I routinely reduce hero images from 2MB to 150KB with zero visible quality loss using WebP format at 80% quality. TinyPNG handles batch compression if you have multiple images. Both free.
Use modern formats: WebP delivers 25-35% smaller files than JPEG at equivalent quality. AVIF is even smaller but browser support is still catching up. Serve responsive images (different sizes for different screens) if your platform supports it. WordPress does this automatically. For website builders, export at 2x your display size for retina screens, but no larger.
Performance Testing
Google PageSpeed Insights is the standard benchmark tool. It tests your site on real devices and gives specific recommendations with estimated time savings. Target a score of 90+ on mobile. GTmetrix provides more detailed waterfall charts showing exactly which resources slow your page down. Both free.
For ongoing monitoring, Google Search Console tracks Core Web Vitals for your entire site over time, highlighting pages that need attention. It’s free and provides data directly from Google’s crawlers, so you’re seeing exactly what Google sees.
Free Portfolio Builders for Creatives
If you’re a designer, photographer, or creative professional, your portfolio is your most important marketing asset. These platforms are specifically designed for creative portfolios, and their free tiers are generous enough for most professionals.
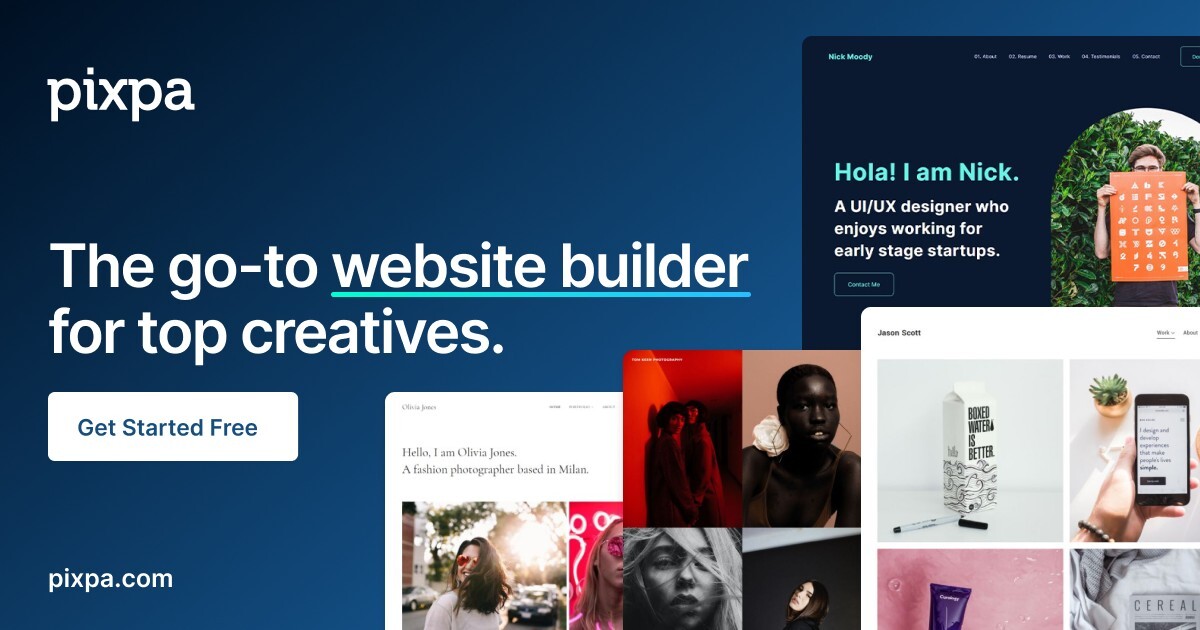
Pixpa stands out for photographers and visual artists. It’s not technically free (starts at $3.60/month during promotions), but the combination of portfolio templates, built-in e-commerce for selling prints, client galleries, and blogging makes it the best value I’ve found for creatives. The templates are designed specifically for visual content, so your work is the focus, not the website chrome around it.
Pixpa
- Purpose-built portfolio templates for visual artists
- Built-in e-commerce for selling prints and digital downloads
- Client galleries with proofing and download controls
- Integrated blog and SEO tools
- Mobile-responsive galleries with lazy loading
- Custom domain and SSL included
For completely free portfolio options, GitHub Pages with a static site generator (like Hugo or Jekyll) gives developers total control. Carrd works beautifully for minimalist one-page portfolios. Framer’s free tier is excellent for interactive, motion-heavy portfolios that show off design skills. WordPress with a free portfolio theme works for everyone, though it requires the most setup.
Whichever platform you choose, the portfolio design principles are universal: strong personal branding, curated work (show 8-12 best projects, not everything), clear project descriptions, easy contact method, and fast load times. Your portfolio is often someone’s first impression of your work. Make it count.
Which free design tool do you use most?

Common Design Mistakes to Avoid
I’ve reviewed hundreds of websites built with free tools, and the same mistakes appear repeatedly. The tools aren’t the problem. It’s how people use them. Here are the patterns I see most often, along with how to fix them.
Using Too Many Fonts
Google Fonts gives you 1,700+ options. Use 2. Maximum 3. One for headings, one for body text, and optionally one for accents (like code blocks or captions). Every font you add increases page load time and visual complexity. The most elegant websites I’ve designed used a single font family with weight variations. Restraint is a design skill.
Inconsistent Spacing
This is the single biggest tell that a design was made by a non-designer. Random padding, inconsistent margins, elements that don’t align to a grid. The fix is simple: pick a spacing scale (I use 4px increments: 4, 8, 12, 16, 24, 32, 48, 64) and stick to it religiously. Every margin, every padding, every gap should be a value from your scale. Figma and CSS frameworks both support custom spacing scales.
Ignoring Mobile
Over 60% of web traffic is mobile. If you design desktop-first and then “make it responsive,” mobile will always feel like an afterthought. Design mobile-first instead. Start with the smallest screen, get the content and hierarchy right, then expand to tablet and desktop. It’s counterintuitive, but the constraints of a small screen force better content decisions.
Template Overload
Canva’s 250,000 templates are a blessing and a curse. I see websites that use a different template style for every page, creating a visual Frankenstein. Pick one template or design direction and apply it consistently across all pages. Modify colors, typography, and content, but keep the layout language consistent. A cohesive-looking site built from one template beats a “creative” site that looks like five different designers worked on it.
Neglecting White Space
Beginners fill every pixel. Professionals leave breathing room. White space (negative space) isn’t empty. It’s a design element that guides attention, creates hierarchy, and makes content readable. Compare Apple’s website to a cluttered e-commerce page. Apple uses massive white space. The content feels premium, focused, intentional. You can achieve the same effect with free tools by simply resisting the urge to fill every gap.
Frequently Asked Questions
Can you really design a professional website with free tools?
Yes. Tools like Figma (free tier with 3 projects), Canva (250,000+ templates), and WordPress.org (free open-source software) provide professional-grade design capabilities. I’ve built client websites using exclusively free tools that generated over $10,000 in revenue for the businesses. The quality gap between free and paid tools has largely closed for standard web design work.
What’s the best free design tool for beginners?
Canva is the easiest to learn. You can create professional graphics in minutes with their drag-and-drop editor and 250,000+ templates. For web-specific design with more control, Figma has a steeper learning curve (a few hours) but teaches you real design principles that transfer to any tool.
Is WordPress really free?
WordPress.org software is 100% free and open source. However, you need web hosting (from $2-3/month) and a domain name ($10-15/year) to put it online. The total minimum cost is about $35-50/year, which is far less than any website builder subscription. Free themes and plugins provide professional design capabilities without additional cost.
How do I make my free website look professional?
Focus on three things: consistent typography (2 fonts maximum), a cohesive color palette (5 colors from Coolors), and generous white space. Use high-quality stock photos from Unsplash, maintain consistent spacing throughout (use a 4px increment scale), and ensure your design is mobile-responsive. These fundamentals matter more than expensive tools.
What free tools do professional web designers actually use?
Most professional designers use Figma (free tier) for wireframing and prototyping, Google Fonts for typography, Unsplash or Pexels for stock photography, Coolors for color palettes, and the WebAIM Contrast Checker for accessibility validation. For building, WordPress, Webflow (free tier), and Tailwind CSS are industry standards that offer free options.
Are AI design tools worth using?
For getting started quickly, yes. v0.dev generates working website layouts from text descriptions. Canva’s Magic Studio handles basic AI tasks within your design workflow. Framer’s AI builder creates responsive pages from prompts. But treat AI output as a starting point, not a finished product. Every AI-generated design needs human refinement for quality and brand consistency.
How do I choose between Webflow and WordPress?
Choose Webflow if you want visual CSS control and are building a marketing site or portfolio. Choose WordPress if you need a blog, e-commerce, membership features, or maximum flexibility through plugins. Webflow’s free tier is limited (1 page, Webflow.io subdomain). WordPress requires hosting but gives you unlimited pages and 60,000+ free plugins.
Do I need to learn coding to design websites?
No. Canva, Webflow, Framer, Carrd, and WordPress with block themes all let you build beautiful websites without writing code. However, learning basic HTML and CSS (20-30 hours of study) dramatically increases your design capabilities and lets you customize any platform beyond its default options. Free resources like freeCodeCamp and MDN Web Docs teach both.
What’s the fastest way to build a free website?
Carrd for single-page sites (15 minutes from start to published). Durable’s AI builder for multi-page business sites (generates a complete site in 30 seconds, though publishing requires a paid plan). For more control, Framer with AI assistance takes about 1-2 hours for a polished result. WordPress takes the longest (4-8 hours) but offers the most flexibility long-term.
The barrier to beautiful web design has never been lower. Every tool I’ve covered in this guide is either completely free or has a free tier generous enough for real projects. You don’t need Photoshop, Sketch, or a $200/month software stack to design websites that impress.
Start with one tool from each category. Learn it well before adding more. The designers who produce the best work aren’t the ones with the most tools. They’re the ones who’ve mastered a focused toolkit and developed an eye for what works. That eye comes from practice, not purchases. So pick your stack, open a blank canvas, and start building. Your first design won’t be perfect. Neither was mine. But the hundredth one? That’s when it gets really good.
Disclaimer: This site is reader-supported. If you buy through some links, I may earn a small commission at no extra cost to you. I only recommend tools I trust and would use myself. Your support helps keep gauravtiwari.org free and focused on real-world advice. Thanks. - Gaurav Tiwari