How to Record Mac Screen with Sound in 2026 (7 Tested Methods)
macOS doesn’t record system audio out of the box. Apple shipped QuickTime Player with screen recording in 2009, the modern Cmd+Shift+5 toolbar in 2018, and seventeen years later neither one captures what’s actually playing through your speakers without a third-party audio driver. If you’ve ever tried to record a Zoom call, a tutorial with the system sounds intact, or a YouTube video for offline reference and ended up with a silent video file, you’ve hit the same wall every Mac user hits.
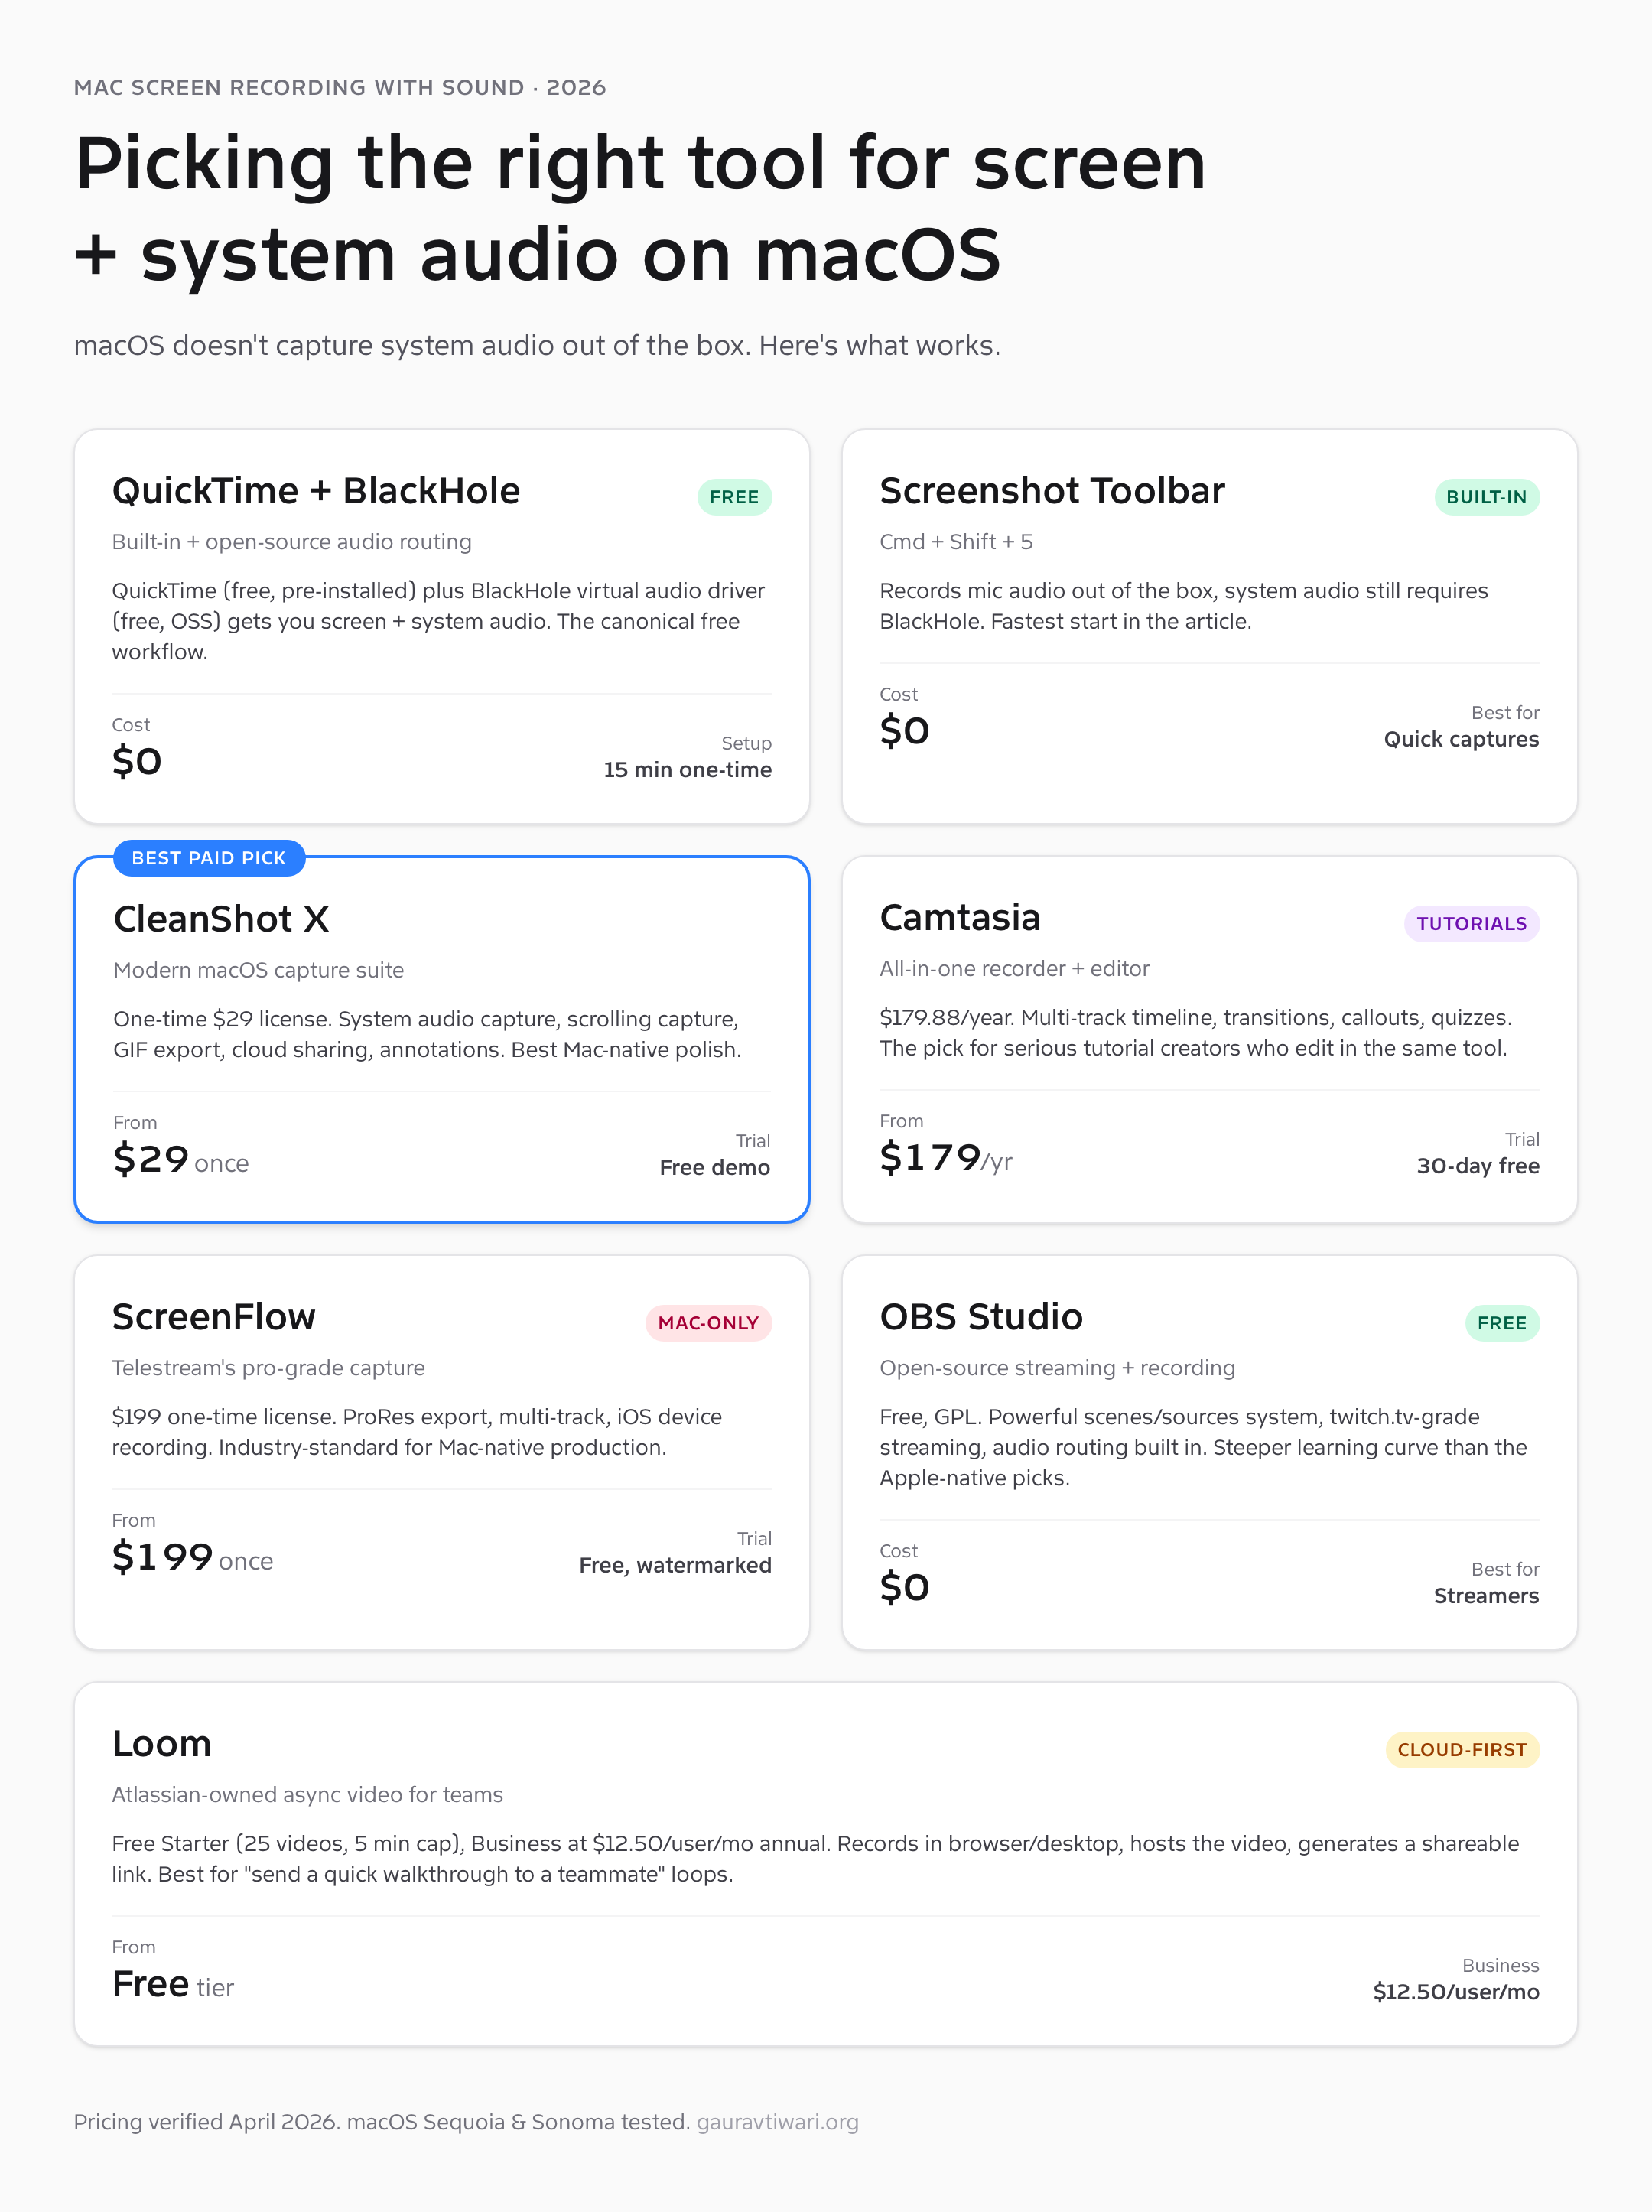
This guide covers every working method to record your Mac screen with sound in 2026, including the canonical free workflow (QuickTime + BlackHole), the modern paid tools that handle it natively (CleanShot X, Camtasia, ScreenFlow), and the cloud-first option (Loom) for teams who care more about sharing than editing. I’ve tested each one across three macOS versions and roughly 200 hours of recording for client tutorials and internal documentation. Pick the method that matches what you’re actually trying to record.
Affiliate disclosure: Some links here are affiliate links. If you sign up through them I may earn a commission at no extra cost to you. The recommendations are based on what I actually use, not what pays the most.
Quick verdict: if you want $0 and don’t mind a 15-minute one-time setup, install BlackHole and use the built-in Cmd+Shift+5 toolbar. If you want it to “just work” with no audio routing config, CleanShot X at $29 one-time is the best Mac-native pick. If you record tutorials professionally and edit in the same tool, Camtasia or ScreenFlow earn their price tags. Walkthroughs for each below.
Why macOS can’t record system audio by default
The architectural reason matters because it explains why every solution below involves an extra step. Apple’s CoreAudio framework treats microphone input and speaker output as separate audio streams. The screen recording APIs in QuickTime and the Screenshot toolbar can read from the microphone (an input source CoreAudio exposes), but the speaker output is treated as a sink — audio leaving the machine, not a signal you can route back into a recorder.
To record system audio, you have to create a virtual audio device that pretends to be both an output (so apps can play sound to it) and an input (so the recorder can read from it). This is exactly what BlackHole and Loopback do — they install a kernel-level virtual driver that loops audio from output to input with zero added latency. Once the driver is installed, you tell macOS to play sound through it and tell the recorder to listen to it. The recording captures whatever was playing.
Tools like CleanShot X, Camtasia, ScreenFlow, and OBS bundle equivalent functionality inside the app — they ship their own audio driver or include a license to one. That’s most of what you’re paying for when you pick a paid screen recorder on Mac.
Method 1: QuickTime Player with BlackHole (the free canonical method)
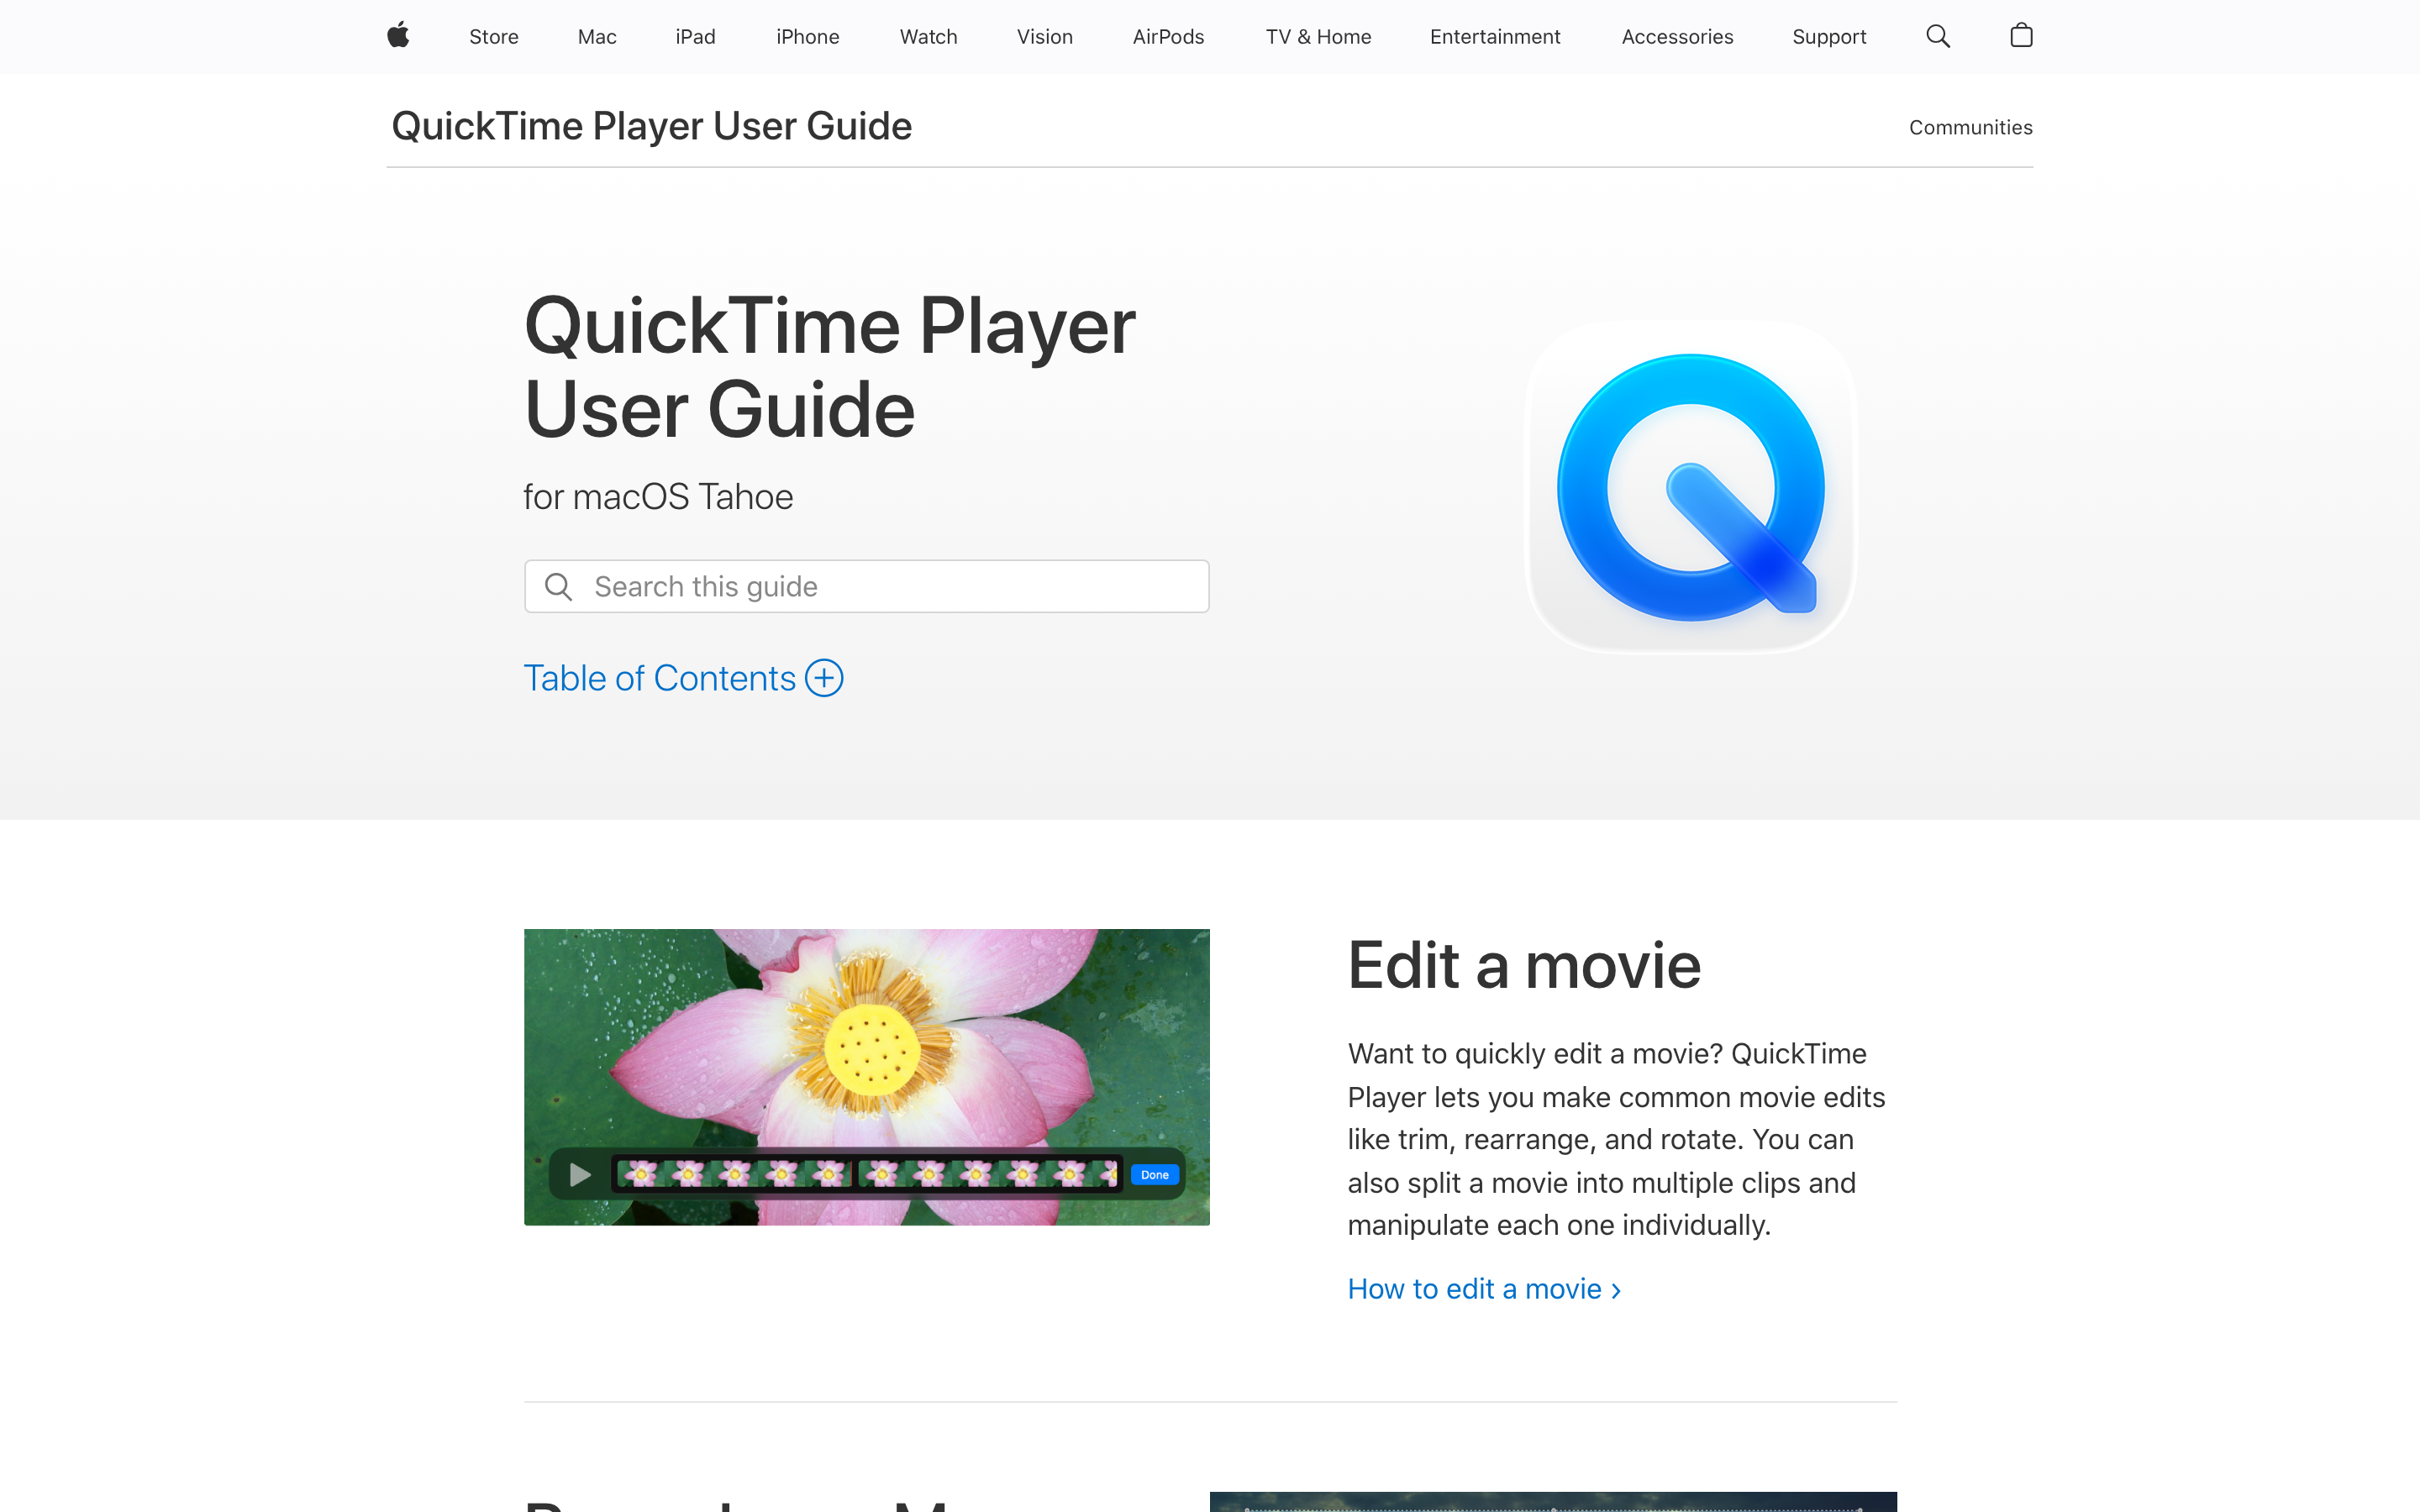
QuickTime Player ships with every Mac. It records screen and mic out of the box, and with BlackHole installed it can capture system audio too. This combination is the single most useful free workflow on macOS in 2026 and the one I default to for client deliverables that need to look unbranded.
What’s good: Already installed. No subscription. The recording quality matches Apple’s native ProRes pipeline, which means tiny file sizes for the visual quality you get. Output is .mov by default, which Final Cut and any modern editor consumes without conversion. Adding BlackHole to the workflow is a one-time setup; once it’s configured the muscle memory is the same as any other QuickTime recording.
What’s broken: Mouse cursor recording is hit-or-miss — sometimes QuickTime captures clicks visually as a brief ring, sometimes it doesn’t. There’s no way to record webcam picture-in-picture without launching a second app. Editing inside QuickTime is limited to trim only, so any actual production work has to happen elsewhere. The first time you record you’ll spend ten minutes figuring out why the audio is silent before you remember to switch the input source.
Under the hood: The Multi-Output Device feature in macOS Audio MIDI Setup is what makes the BlackHole workflow possible. You create a Multi-Output that includes both BlackHole 2ch and your speakers, set system audio to play through it, then point QuickTime’s recording input at BlackHole. The signal goes to your speakers (so you hear it) and to BlackHole (which QuickTime reads from) at the same time.
Step-by-step: QuickTime + BlackHole setup
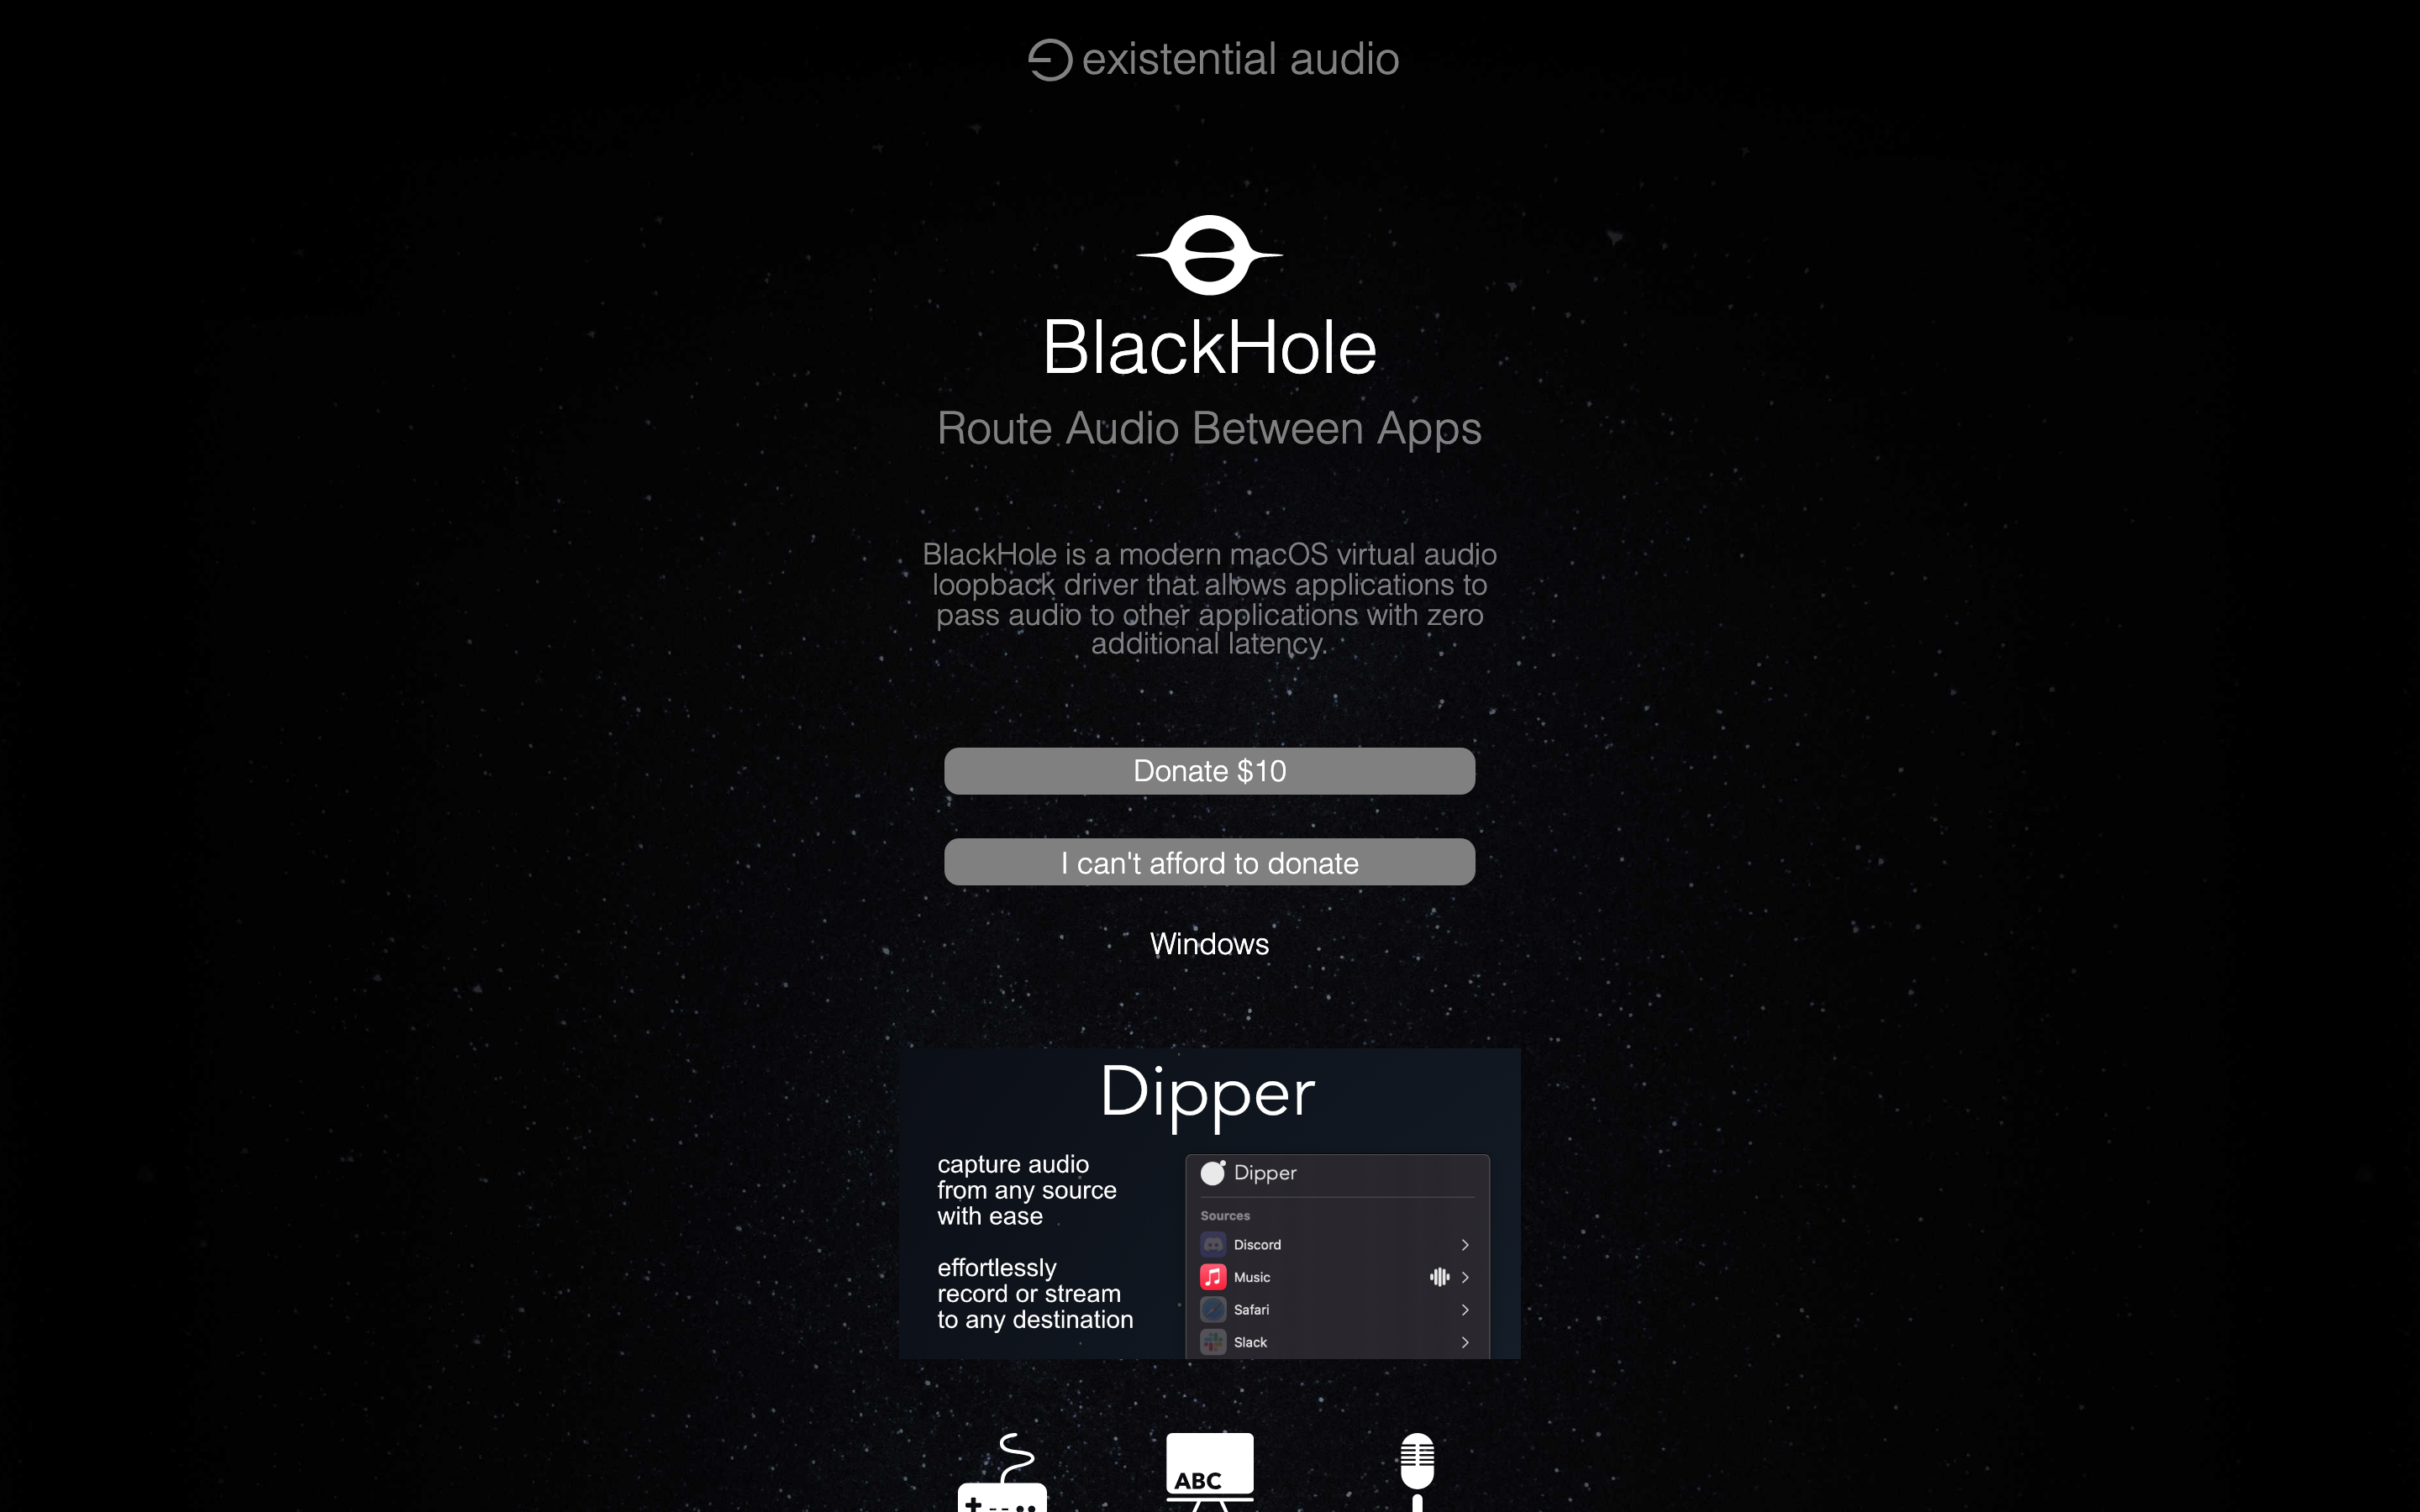
- Download BlackHole 2ch from existential.audio/blackhole (free, open-source). Run the installer and reboot — the kernel driver needs a restart to register.
- Open Audio MIDI Setup (Applications → Utilities). Click the + button at bottom-left and choose Create Multi-Output Device. Check both Built-in Output (your speakers) and BlackHole 2ch. Rename it to “Record + Listen” so you can find it later.
- Open System Settings → Sound → Output. Switch the active output to your new “Record + Listen” device. Audio still plays through your speakers; it’s also being routed into BlackHole.
- Open QuickTime Player → File → New Screen Recording. In the recording controls, click Options and set the microphone to BlackHole 2ch. Click Record.
- To record both your voice and system audio simultaneously, install BlackHole 16ch instead of 2ch and use an Aggregate Device that combines your microphone input with BlackHole. The full instructions are on the BlackHole GitHub README.
Once configured, switching back to normal speaker-only output is a one-click change in System Settings. The BlackHole driver doesn’t impact battery life or audio latency in any measurable way — Apple Silicon Macs handle the routing in hardware.
Method 2: Cmd+Shift+5 (the fastest built-in option)
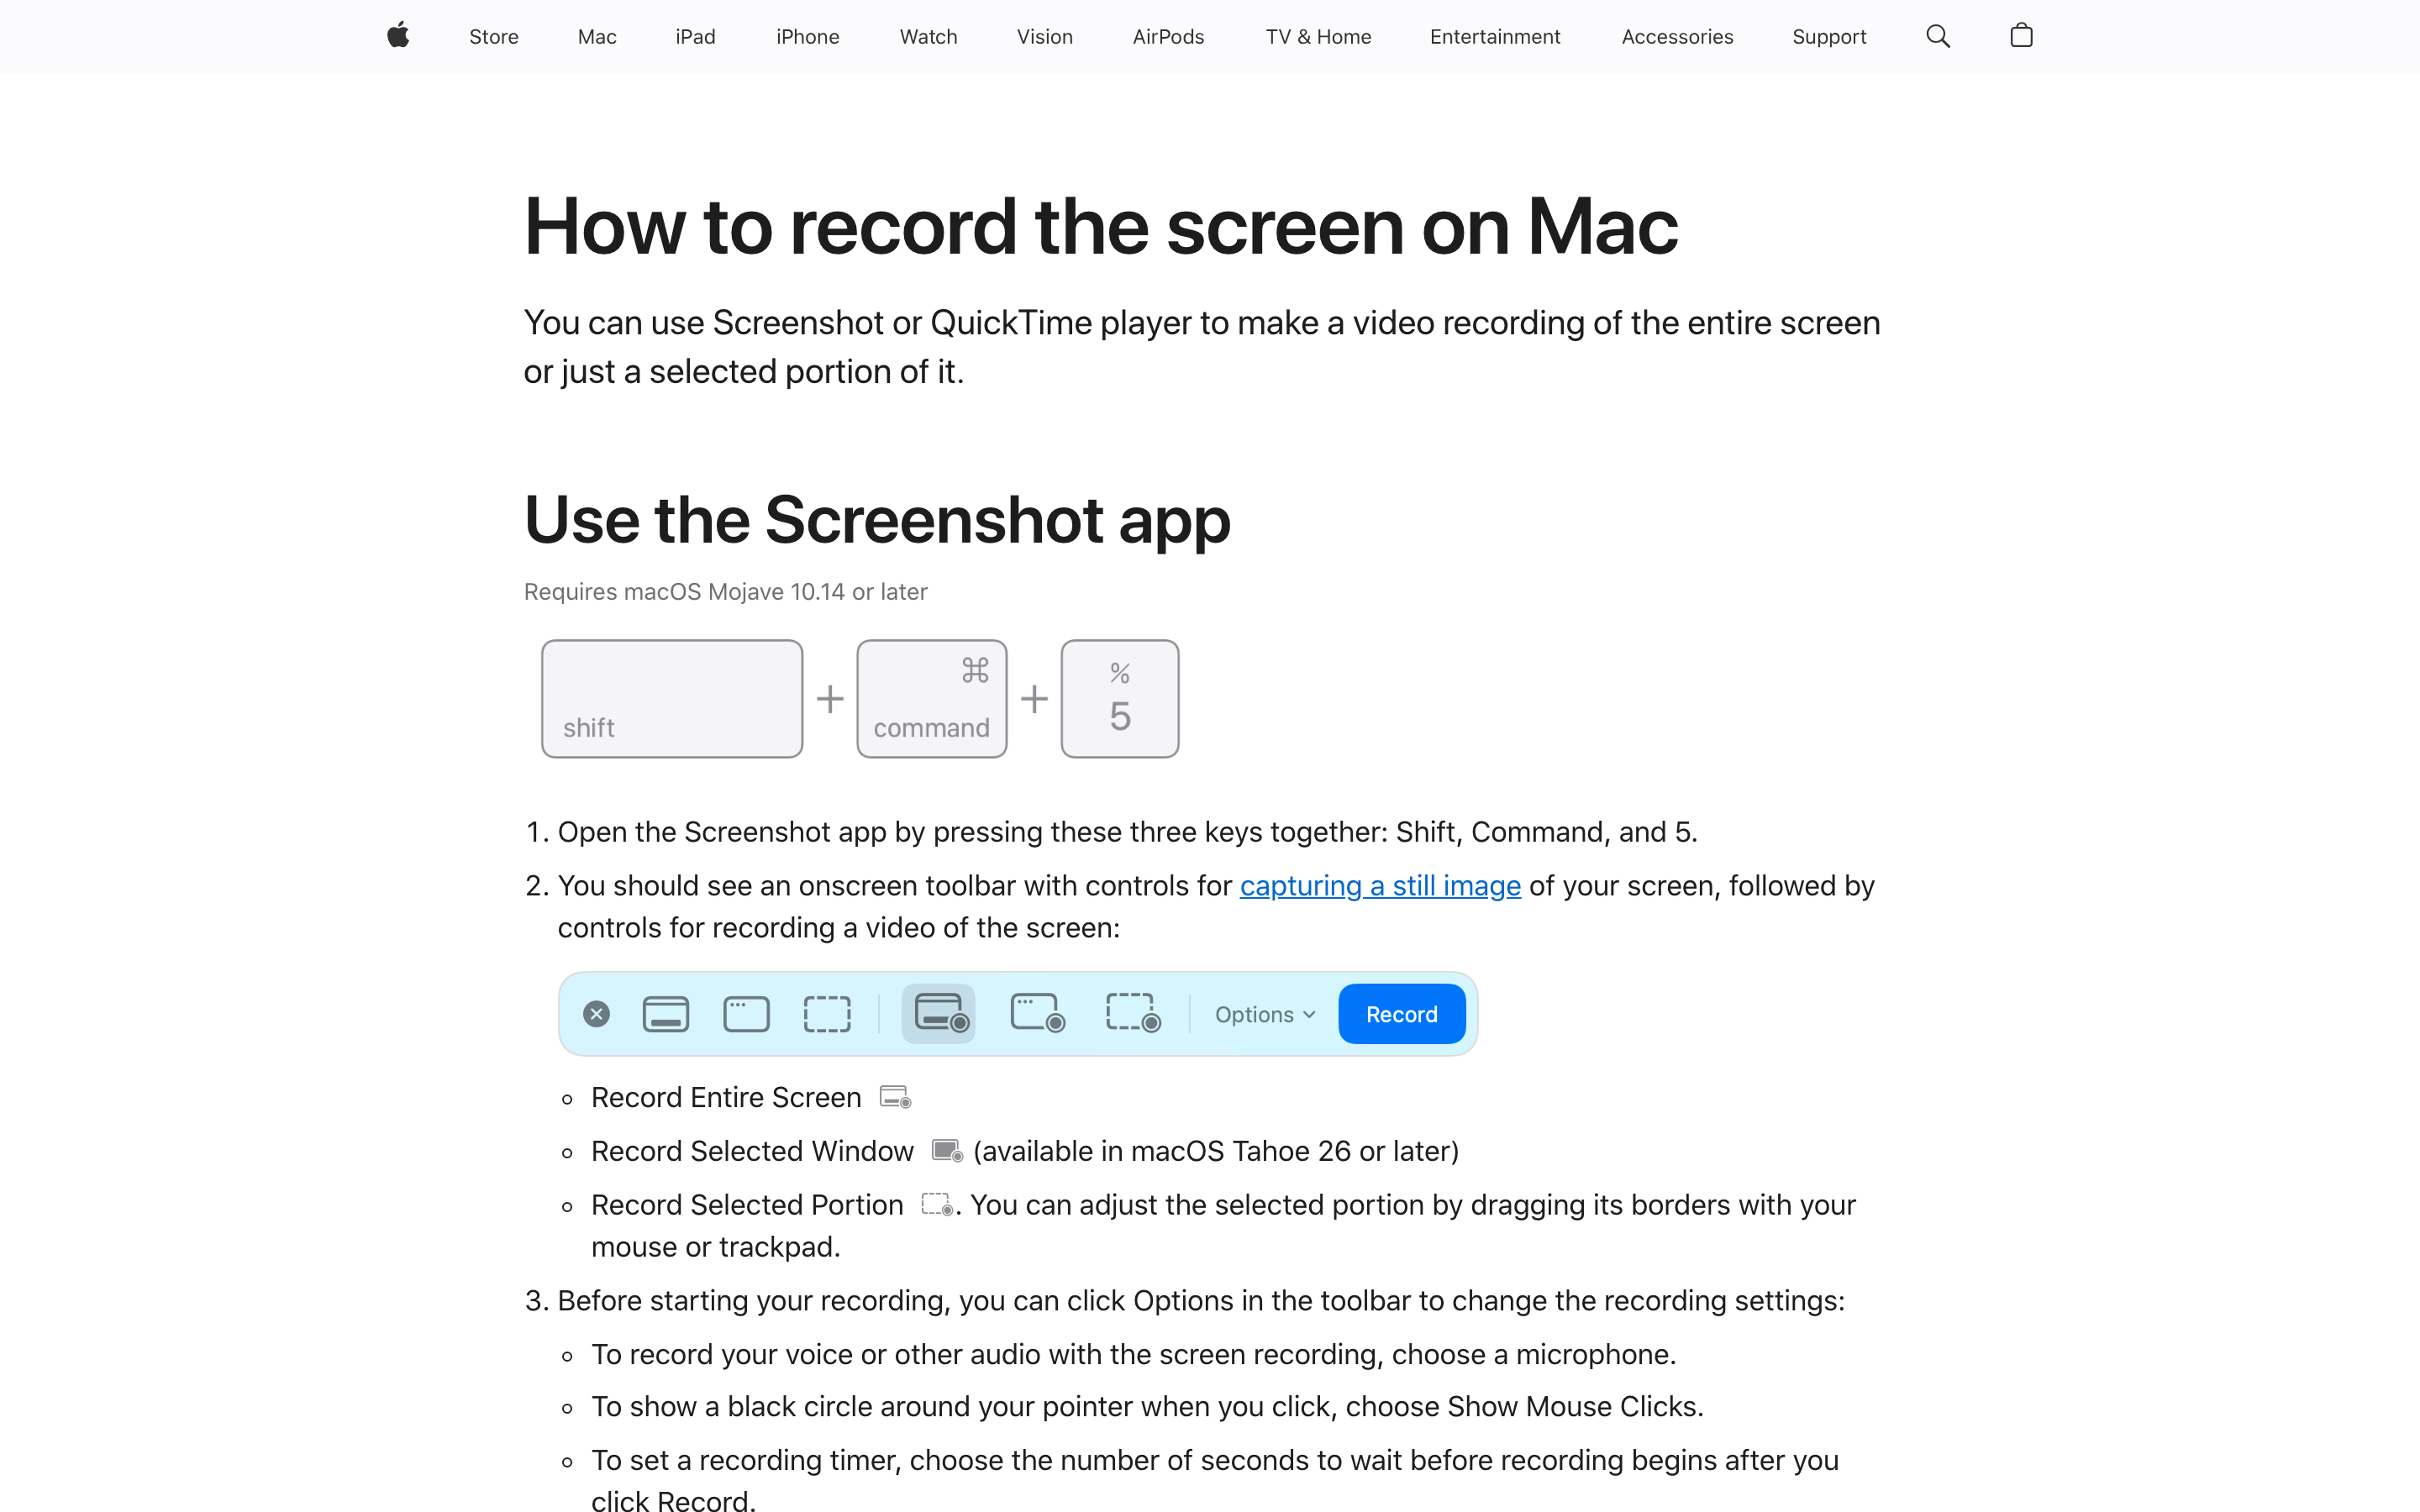
Apple added the Screenshot toolbar in macOS Mojave (2018) and it’s the fastest way to start a screen recording on Mac. Hit Cmd+Shift+5, choose between full-screen and selected portion, click Options to pick a microphone, hit Record. Total time from keyboard shortcut to recording: about three seconds.
What’s good: Speed. The shortcut is muscle memory once you’ve used it twice. The countdown timer (3-second delay) is genuinely useful for getting your hands off the keyboard before recording starts. Recording region selection saves between sessions, so if you always record the same window you only configure it once.
What’s broken: The same system audio limitation as QuickTime. The Microphone option in the toolbar lists physical input devices and BlackHole if installed, but Apple won’t let you select Speaker output as a source. Pause/resume isn’t supported — once you hit record you’re committed until you stop.
Under the hood: The Screenshot toolbar uses the same underlying ScreenCaptureKit framework that third-party apps tap into for performance. Recordings save as .mov by default, with H.264 encoding and AAC audio. File sizes are slightly larger than QuickTime’s output because of stricter quality presets.
Method 3: CleanShot X (the best paid Mac-native option)
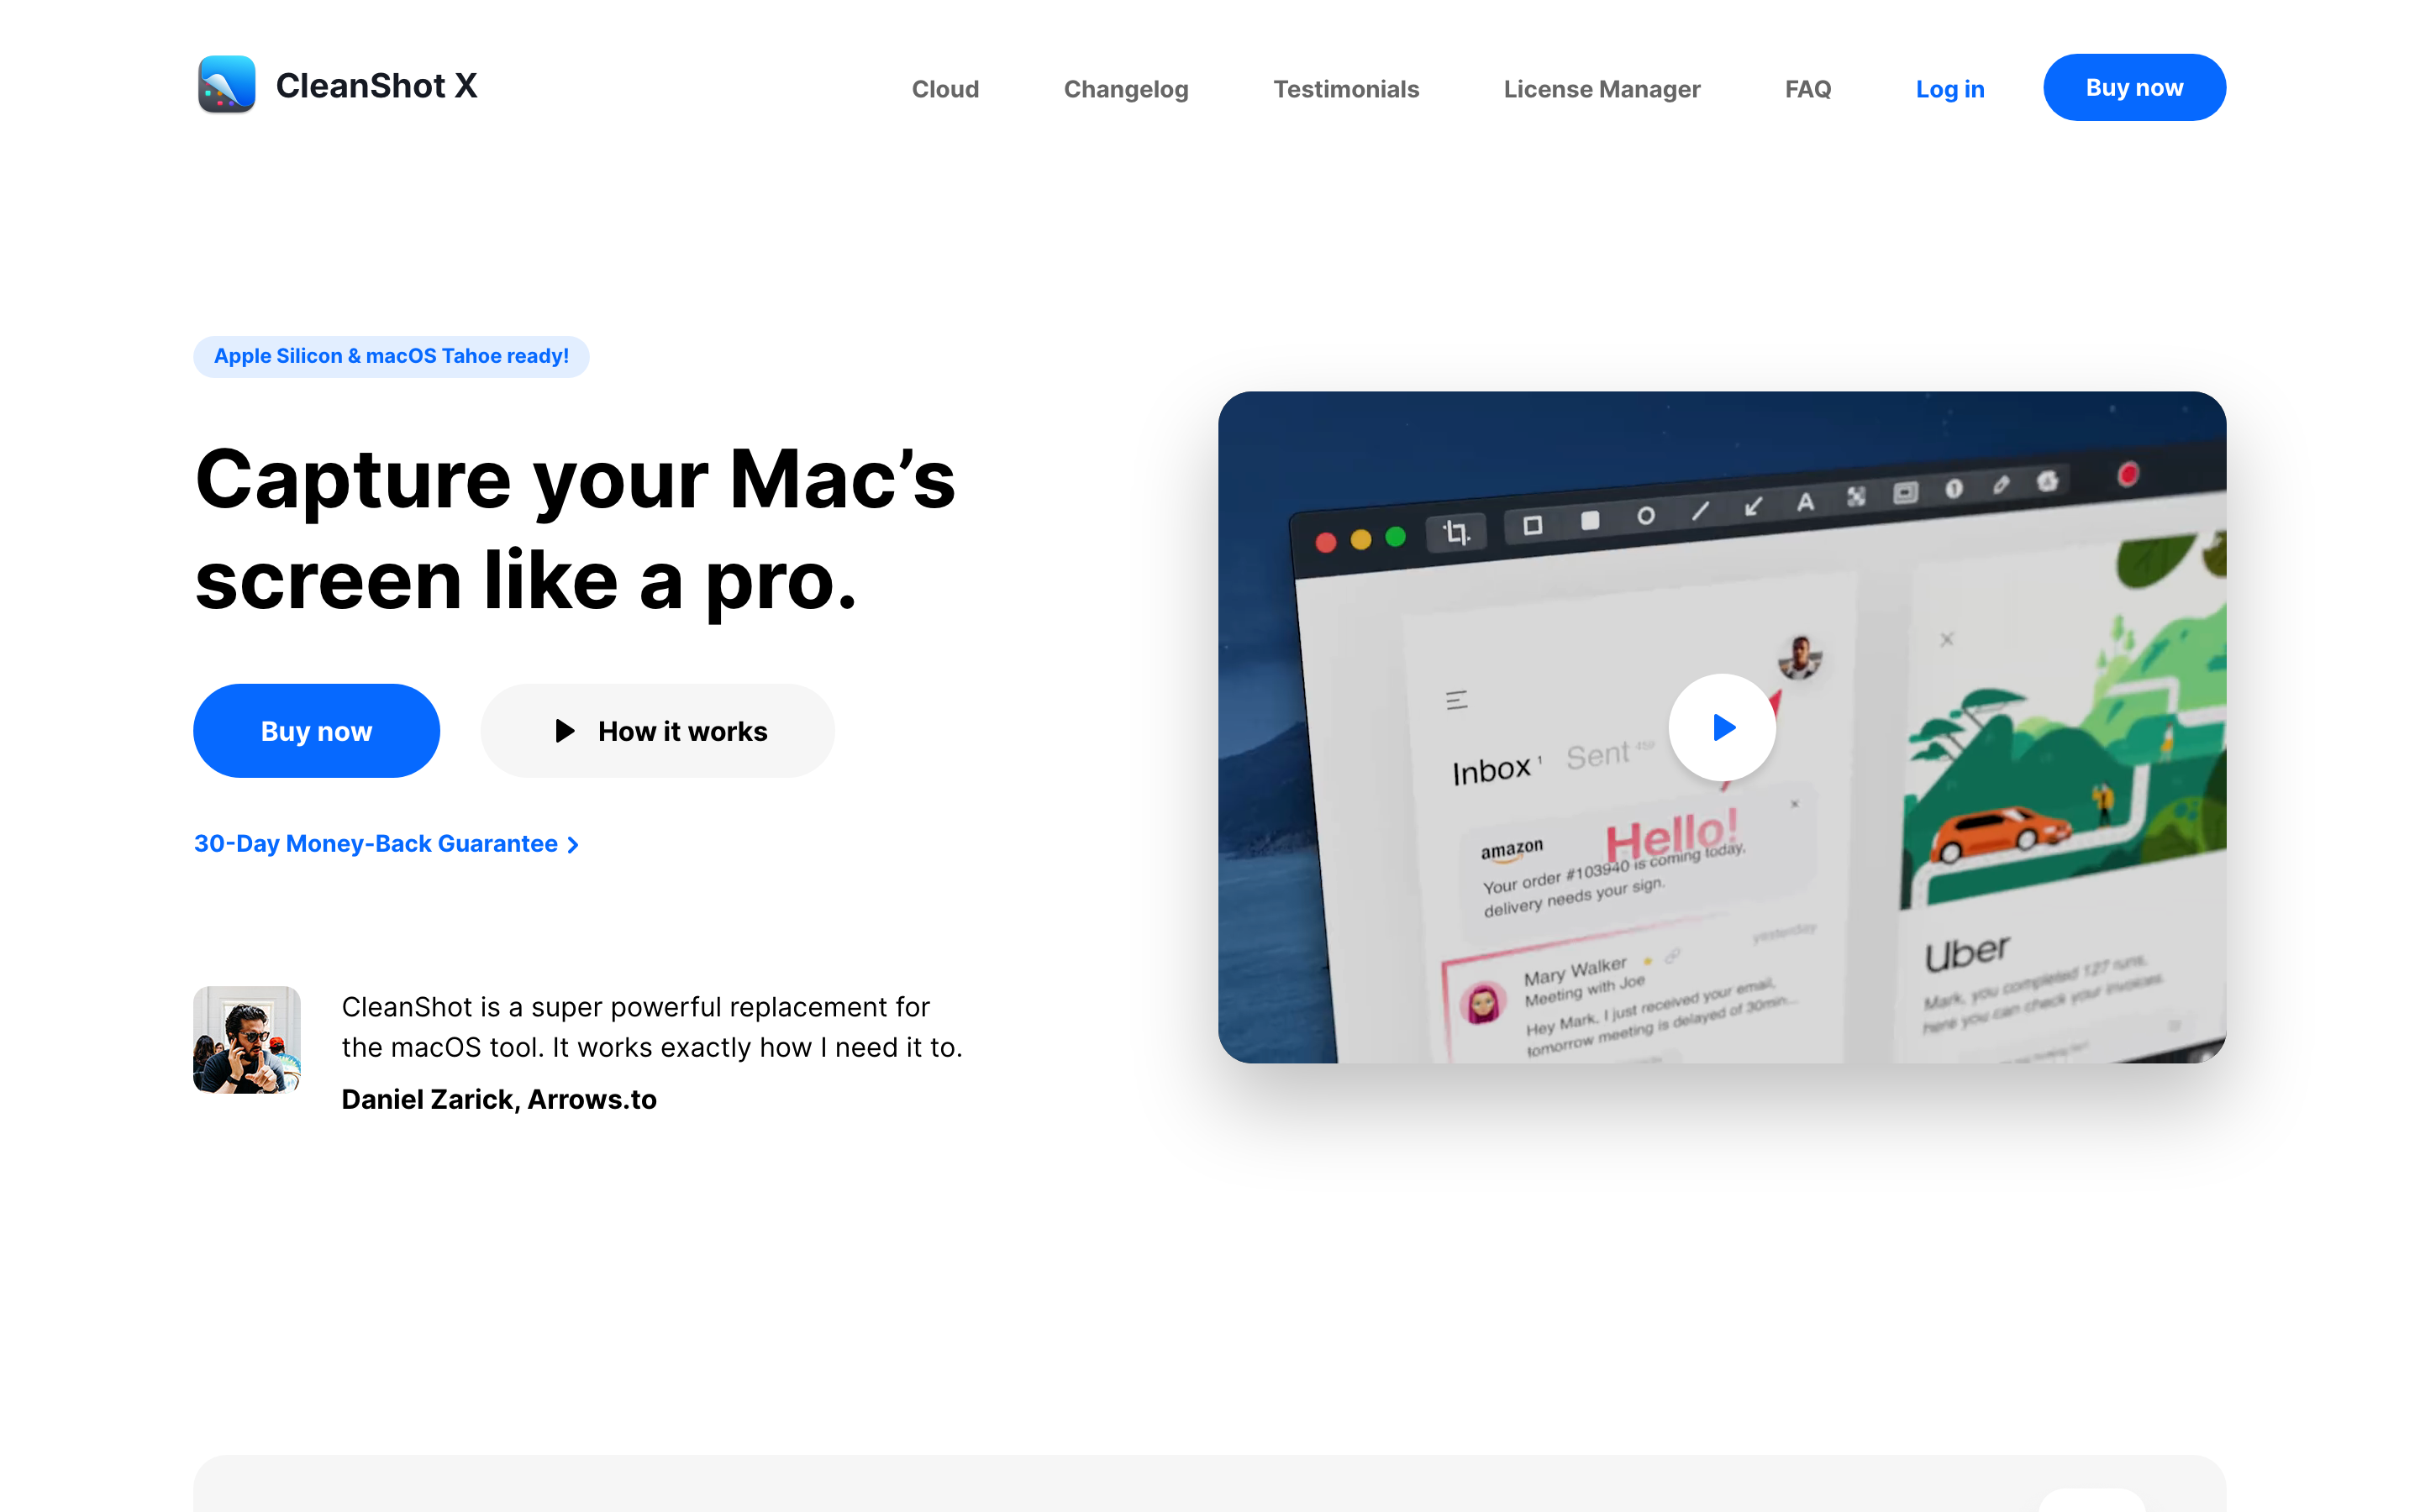
CleanShot X is the answer when “I just want it to work” matters more than “I want to save $29.” A one-time license at $29 (no subscription) gets you screen recording with system audio out of the box, scrolling capture for long pages, GIF export, full-quality MP4 export, annotations, and a hosted cloud option for sharing without uploading to YouTube or Loom.
What’s good: System audio capture is built in — no virtual driver setup, no Multi-Output device, no Audio MIDI Setup. Click record, audio works. The hotkey overlay during recording lets you stop, pause, or annotate without touching the menu bar. Annotations layer over the video at recording time, which is useful for tutorials where you want to circle a button as you click it.
What’s broken: Editing is limited to trim and basic annotations. For multi-track production you still need Camtasia, ScreenFlow, or Final Cut. The cloud sync feature is a separate $8/month subscription called CleanShot Cloud if you want shareable hosted links similar to Loom.
Under the hood: Built natively for macOS using ScreenCaptureKit and CoreAudio. The Apple Silicon optimization is real — recording 4K at 60fps on an M2 MacBook Air uses around 5% CPU. Output formats include H.264 MP4, ProRes .mov, animated GIF, and APNG.
Method 4: Camtasia (best for tutorial creators)
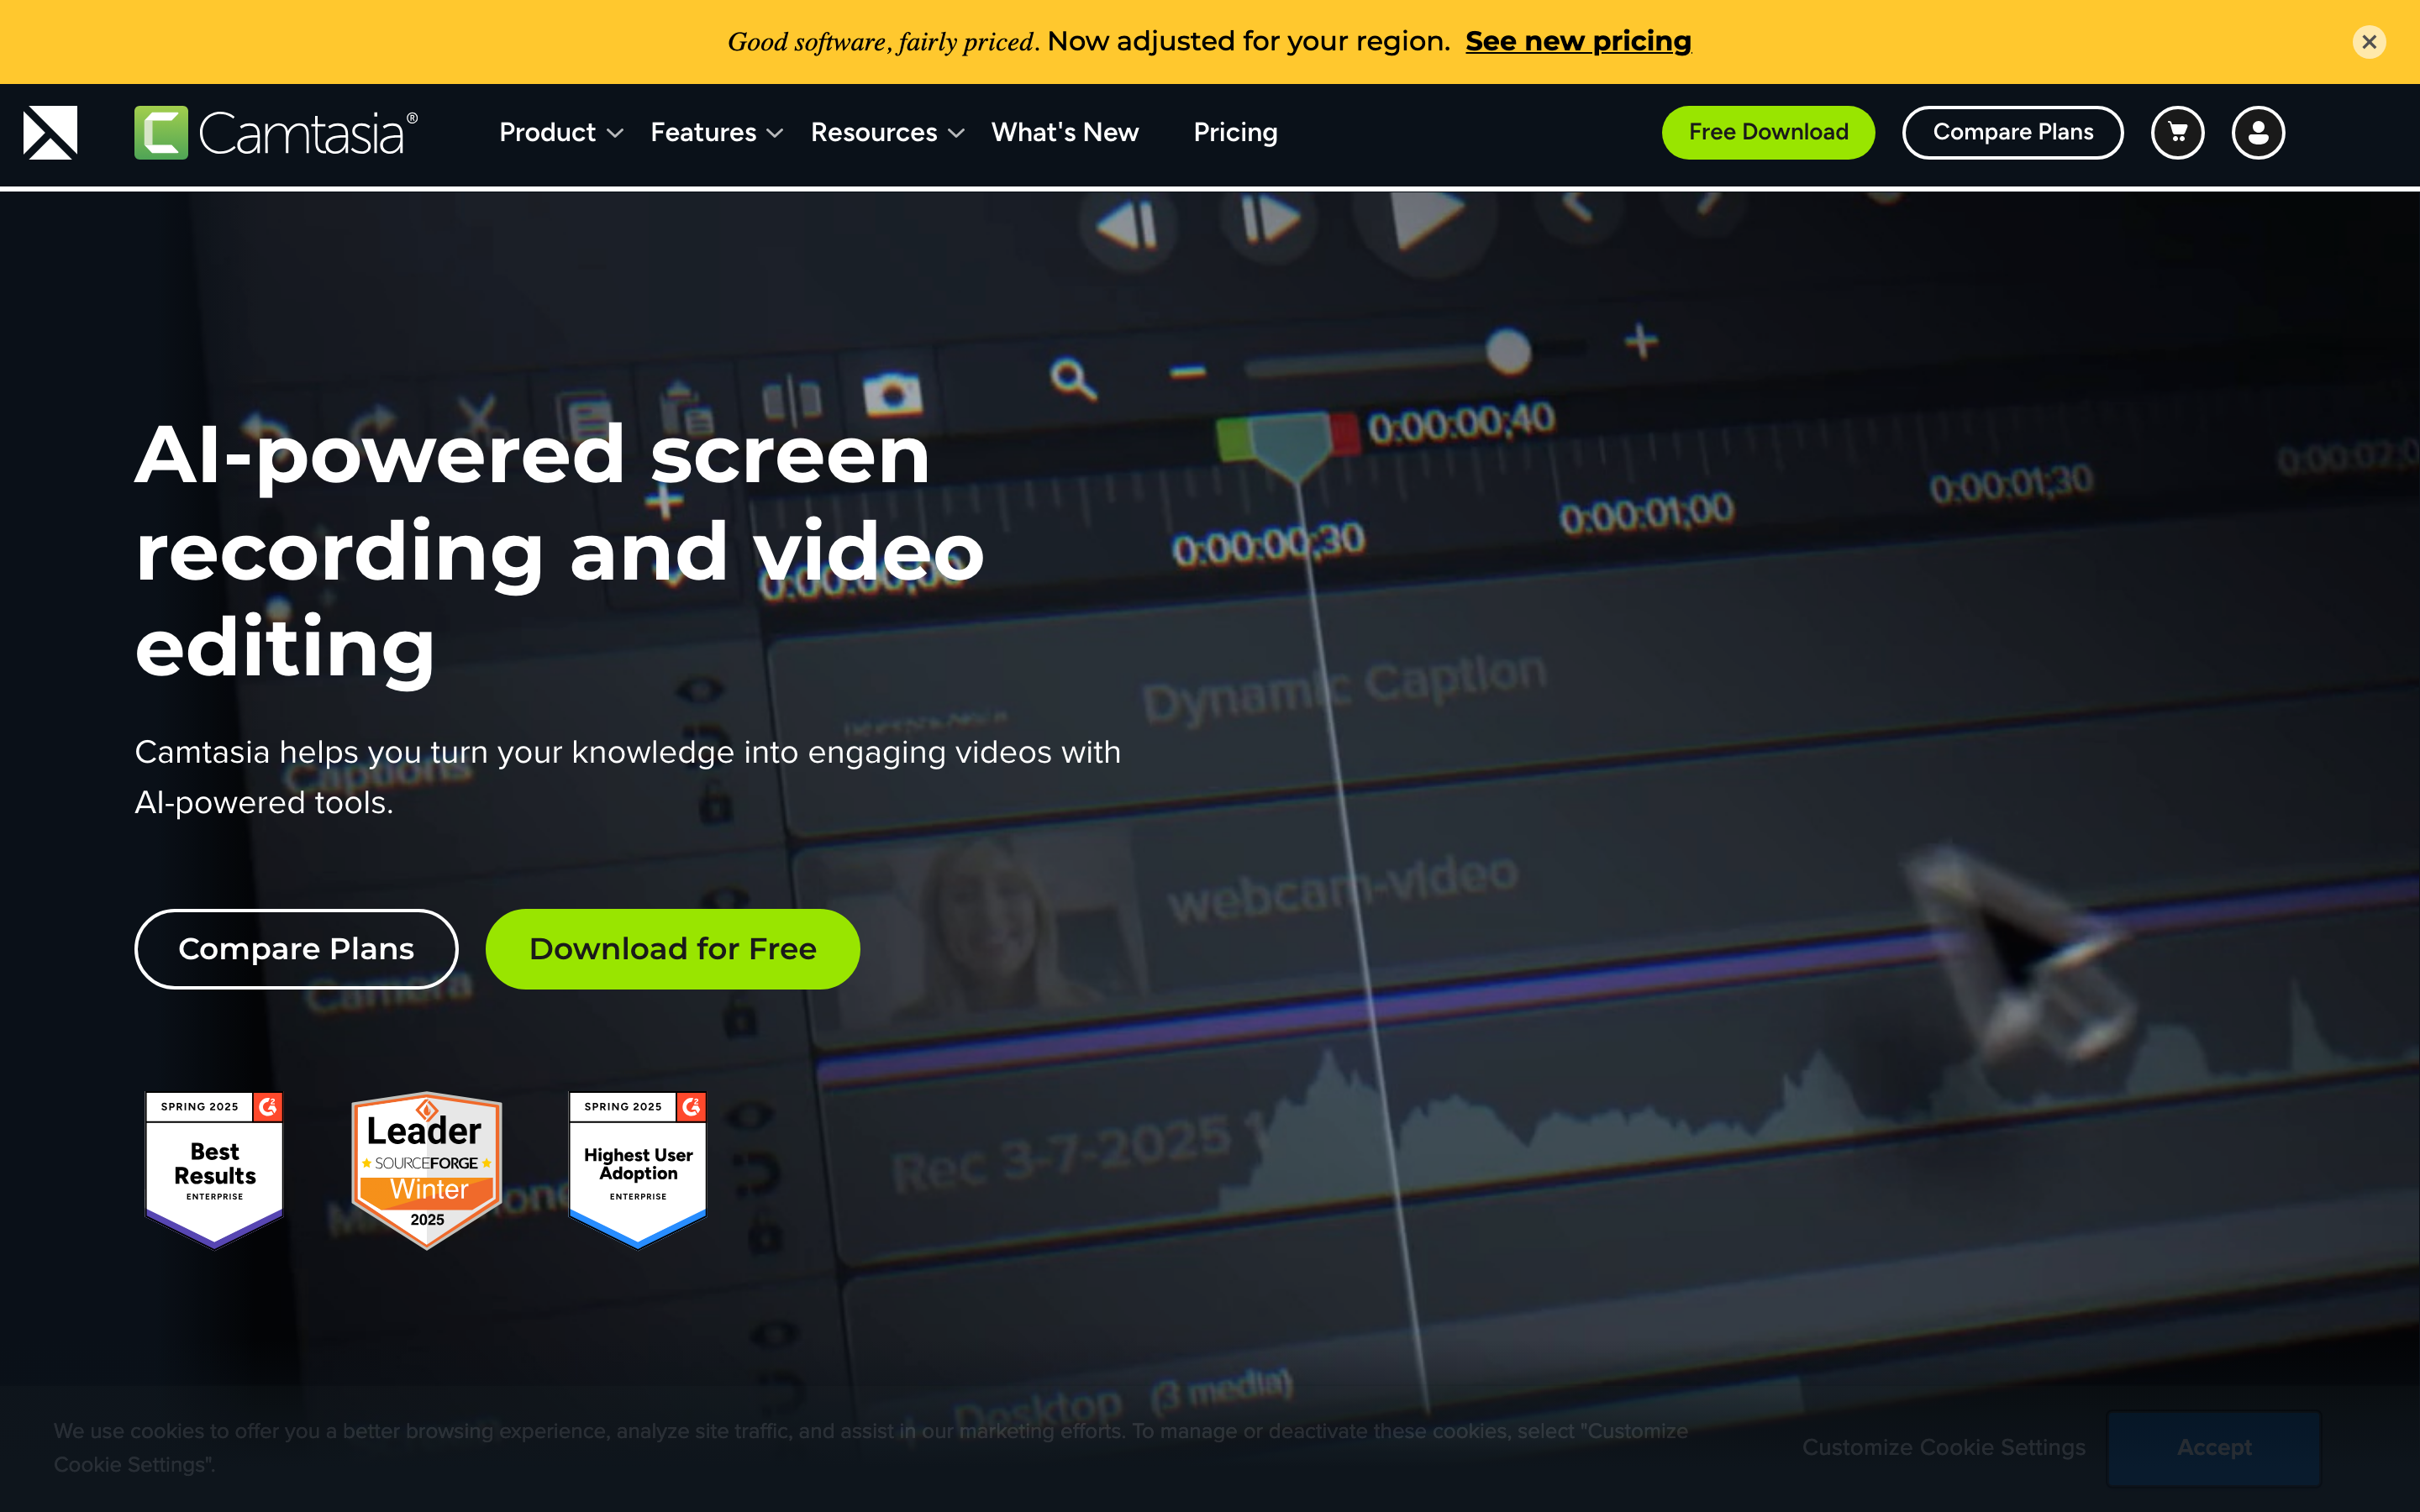
Camtasia from TechSmith is the all-in-one recorder + editor that most YouTube tutorial creators end up on. The 2026 version (Camtasia 2024 release) bundles record-with-sound, multi-track timeline editing, transitions, callouts, quizzes, and library assets in one application. Pricing is $179.88/year individual or $399.88 for a perpetual license with one year of updates.
What’s good: The recorder and the editor are the same app. Most workflows go record → trim → annotate → export without ever leaving Camtasia. The callout library is genuinely good — the speech bubbles, click highlights, and zoom-and-pan effects you see on most YouTube software tutorials are Camtasia presets. Cursor effects are first-class (highlight cursor, click ring, smooth zoom-to-cursor) which makes the recordings look more polished without manual editing.
What’s broken: The price keeps climbing. Camtasia used to be a $99 one-time purchase; in 2026 it’s $179.88/year for a subscription, and the perpetual option is now $399.88. The export speed is also slower than ScreenFlow on the same hardware — a 30-minute 1080p tutorial takes about 8 minutes to export from Camtasia vs 5 minutes from ScreenFlow on an M2 Pro.
Under the hood: Cross-platform (Mac and Windows) using a custom render engine, not Apple’s ScreenCaptureKit. Output is MP4 H.264 by default; alternative formats include MOV with various codecs and animated GIF. The 30-day free trial gives full feature access — your recordings just have a TechSmith watermark until you license.
Method 5: ScreenFlow (Mac-native pro recorder)
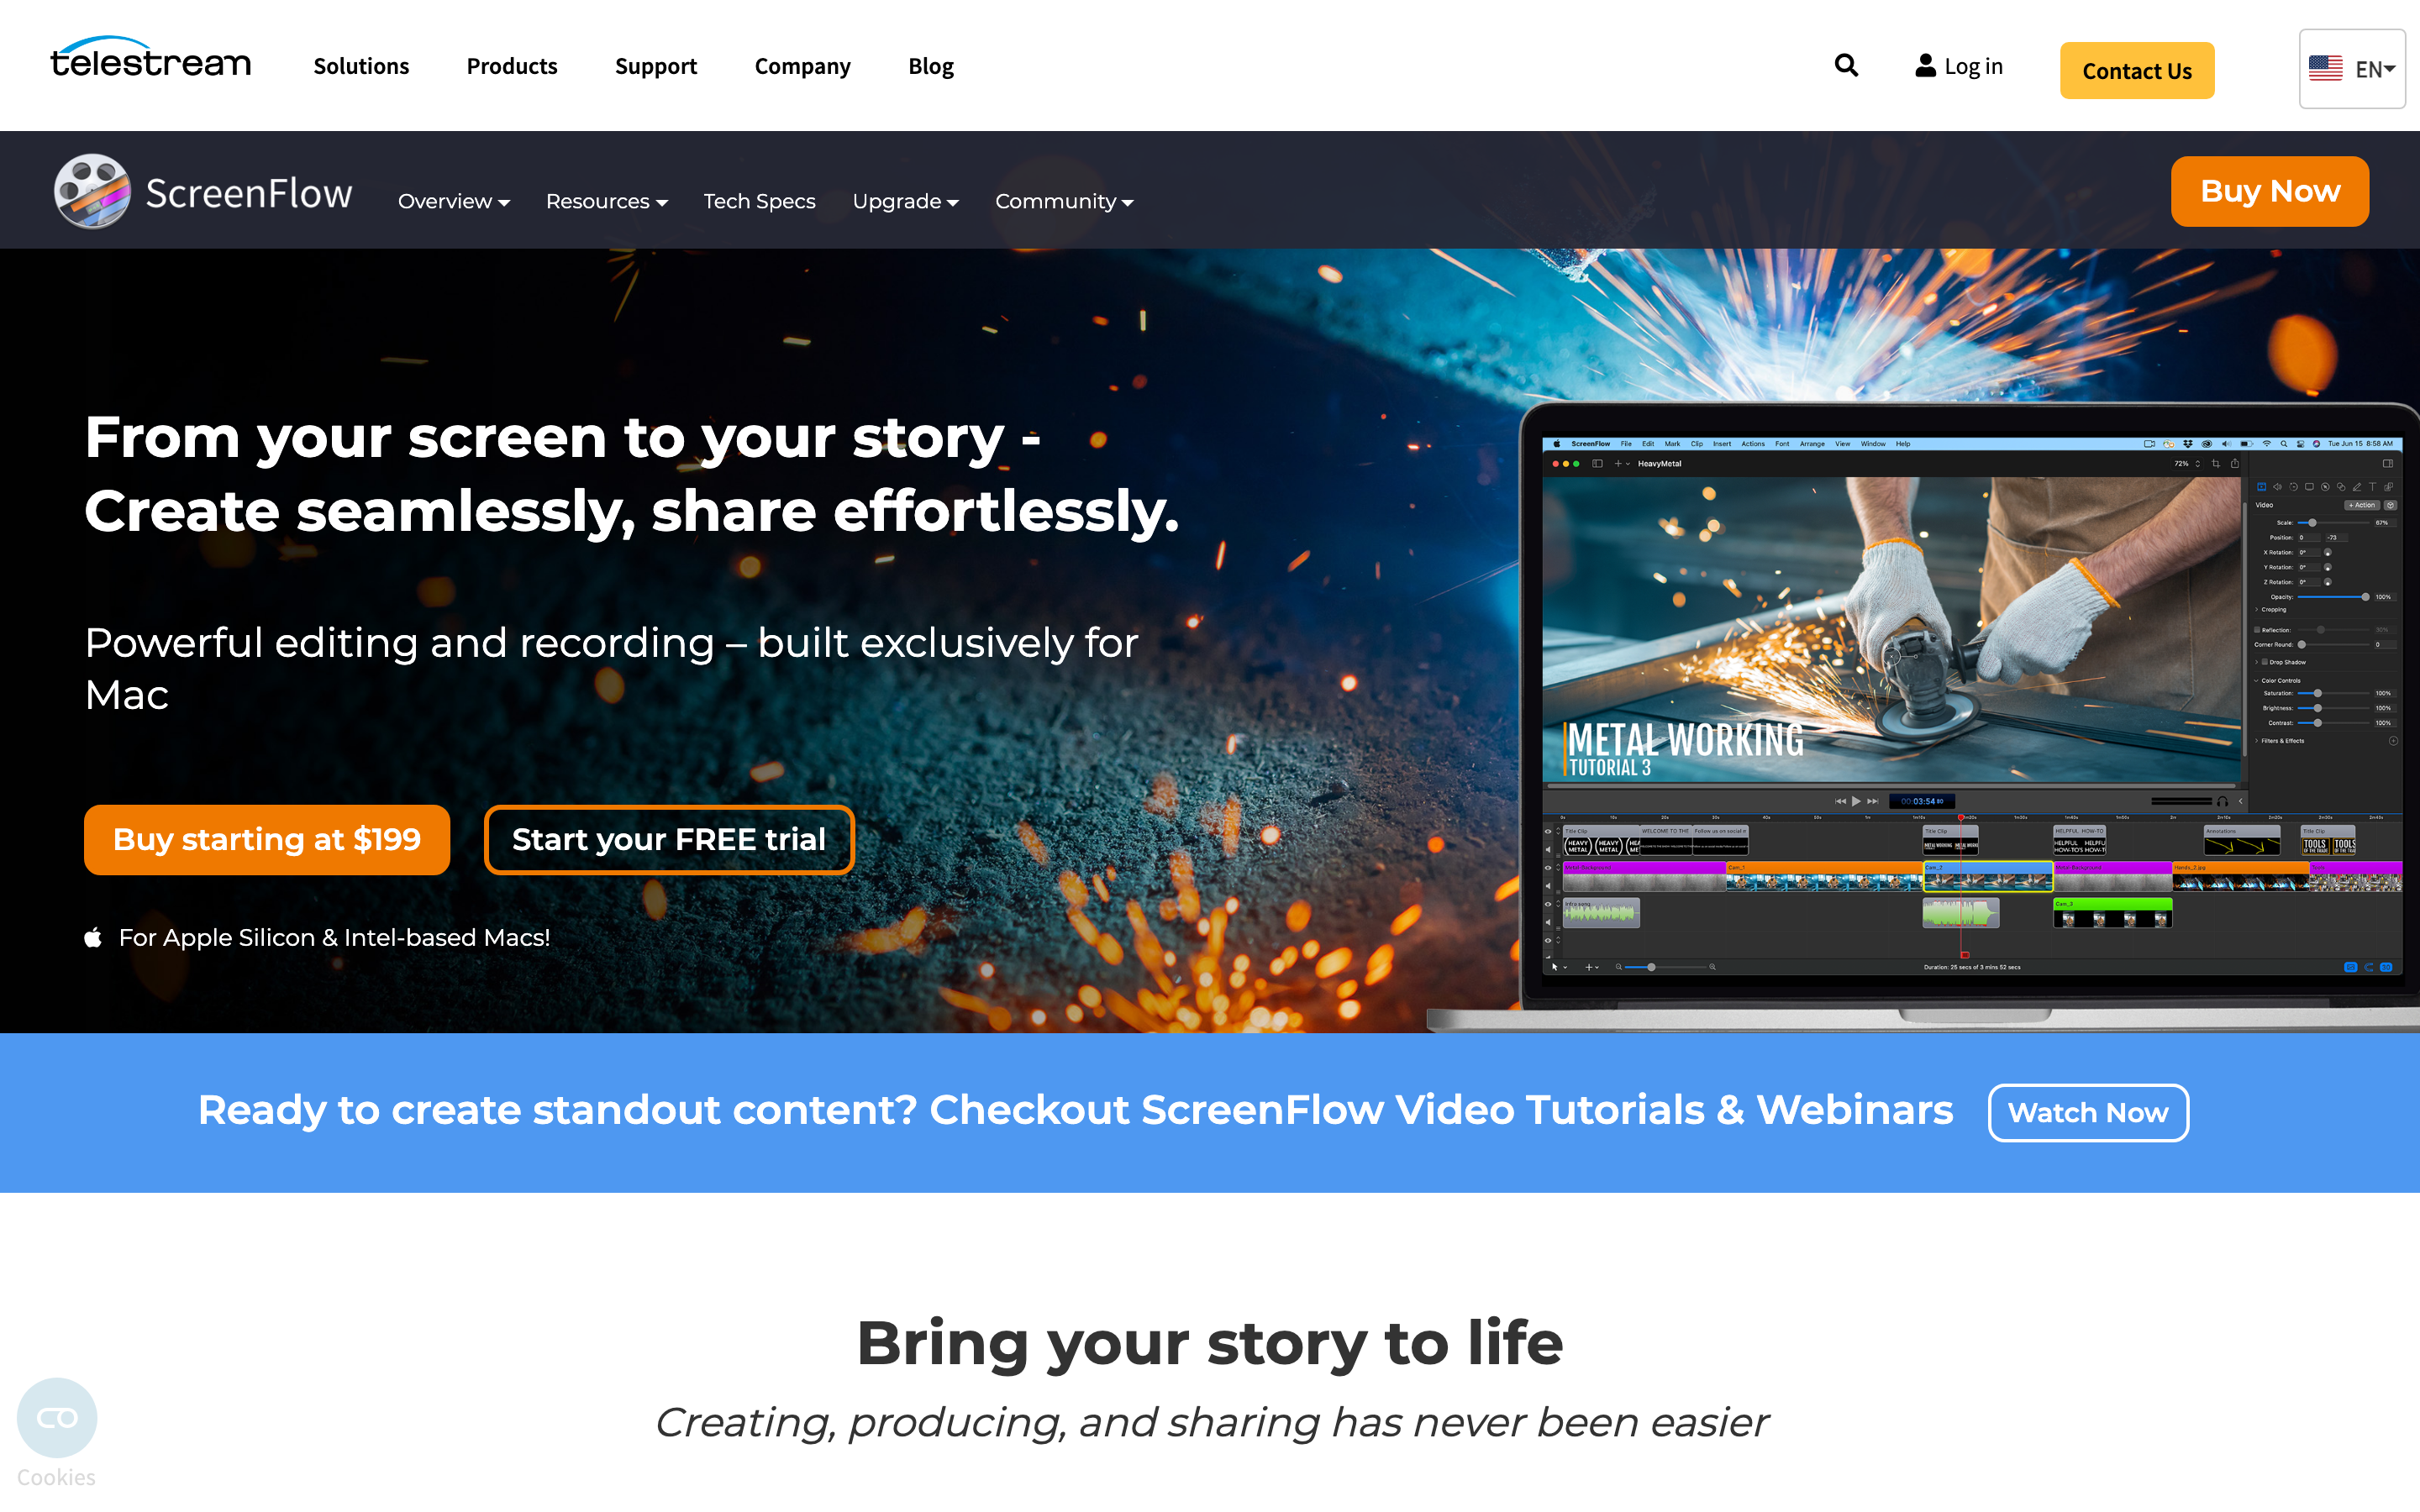
ScreenFlow from Telestream is the Mac-only equivalent of Camtasia and what most professional Apple-focused tutorial creators end up on. $199 one-time license (no subscription required for the base product), Apple Silicon native, ProRes export, and a clean editor that feels more like Final Cut than like a screen recorder.
What’s good: Mac-native means it integrates better than Camtasia — keyboard shortcuts feel right, touchpad gestures work in the timeline, and the export pipeline uses VideoToolbox hardware acceleration. iOS device recording is a killer feature: plug in an iPhone or iPad over USB, ScreenFlow records the device screen as a separate track. For app demos this is the cleanest path.
What’s broken: The Stock Media library is an extra $99/year add-on. The interface has accumulated complexity over 11 versions and some workflows are non-obvious — the difference between “Track” and “Composition” in the timeline confuses new users for a few sessions. The free trial is fully functional but watermarks every export, which is more aggressive than Camtasia’s 30-day full-access trial.
Under the hood: Built on Apple’s frameworks (AVFoundation, ScreenCaptureKit, VideoToolbox). Native Apple Silicon since version 10. Multi-track timeline supports unlimited tracks, color grading, audio mixing, and ProRes 422/4444 export. Closed-caption support is ADA-compliant out of the box, which matters for educational content.
Method 6: OBS Studio (free, open-source, streamer-grade)
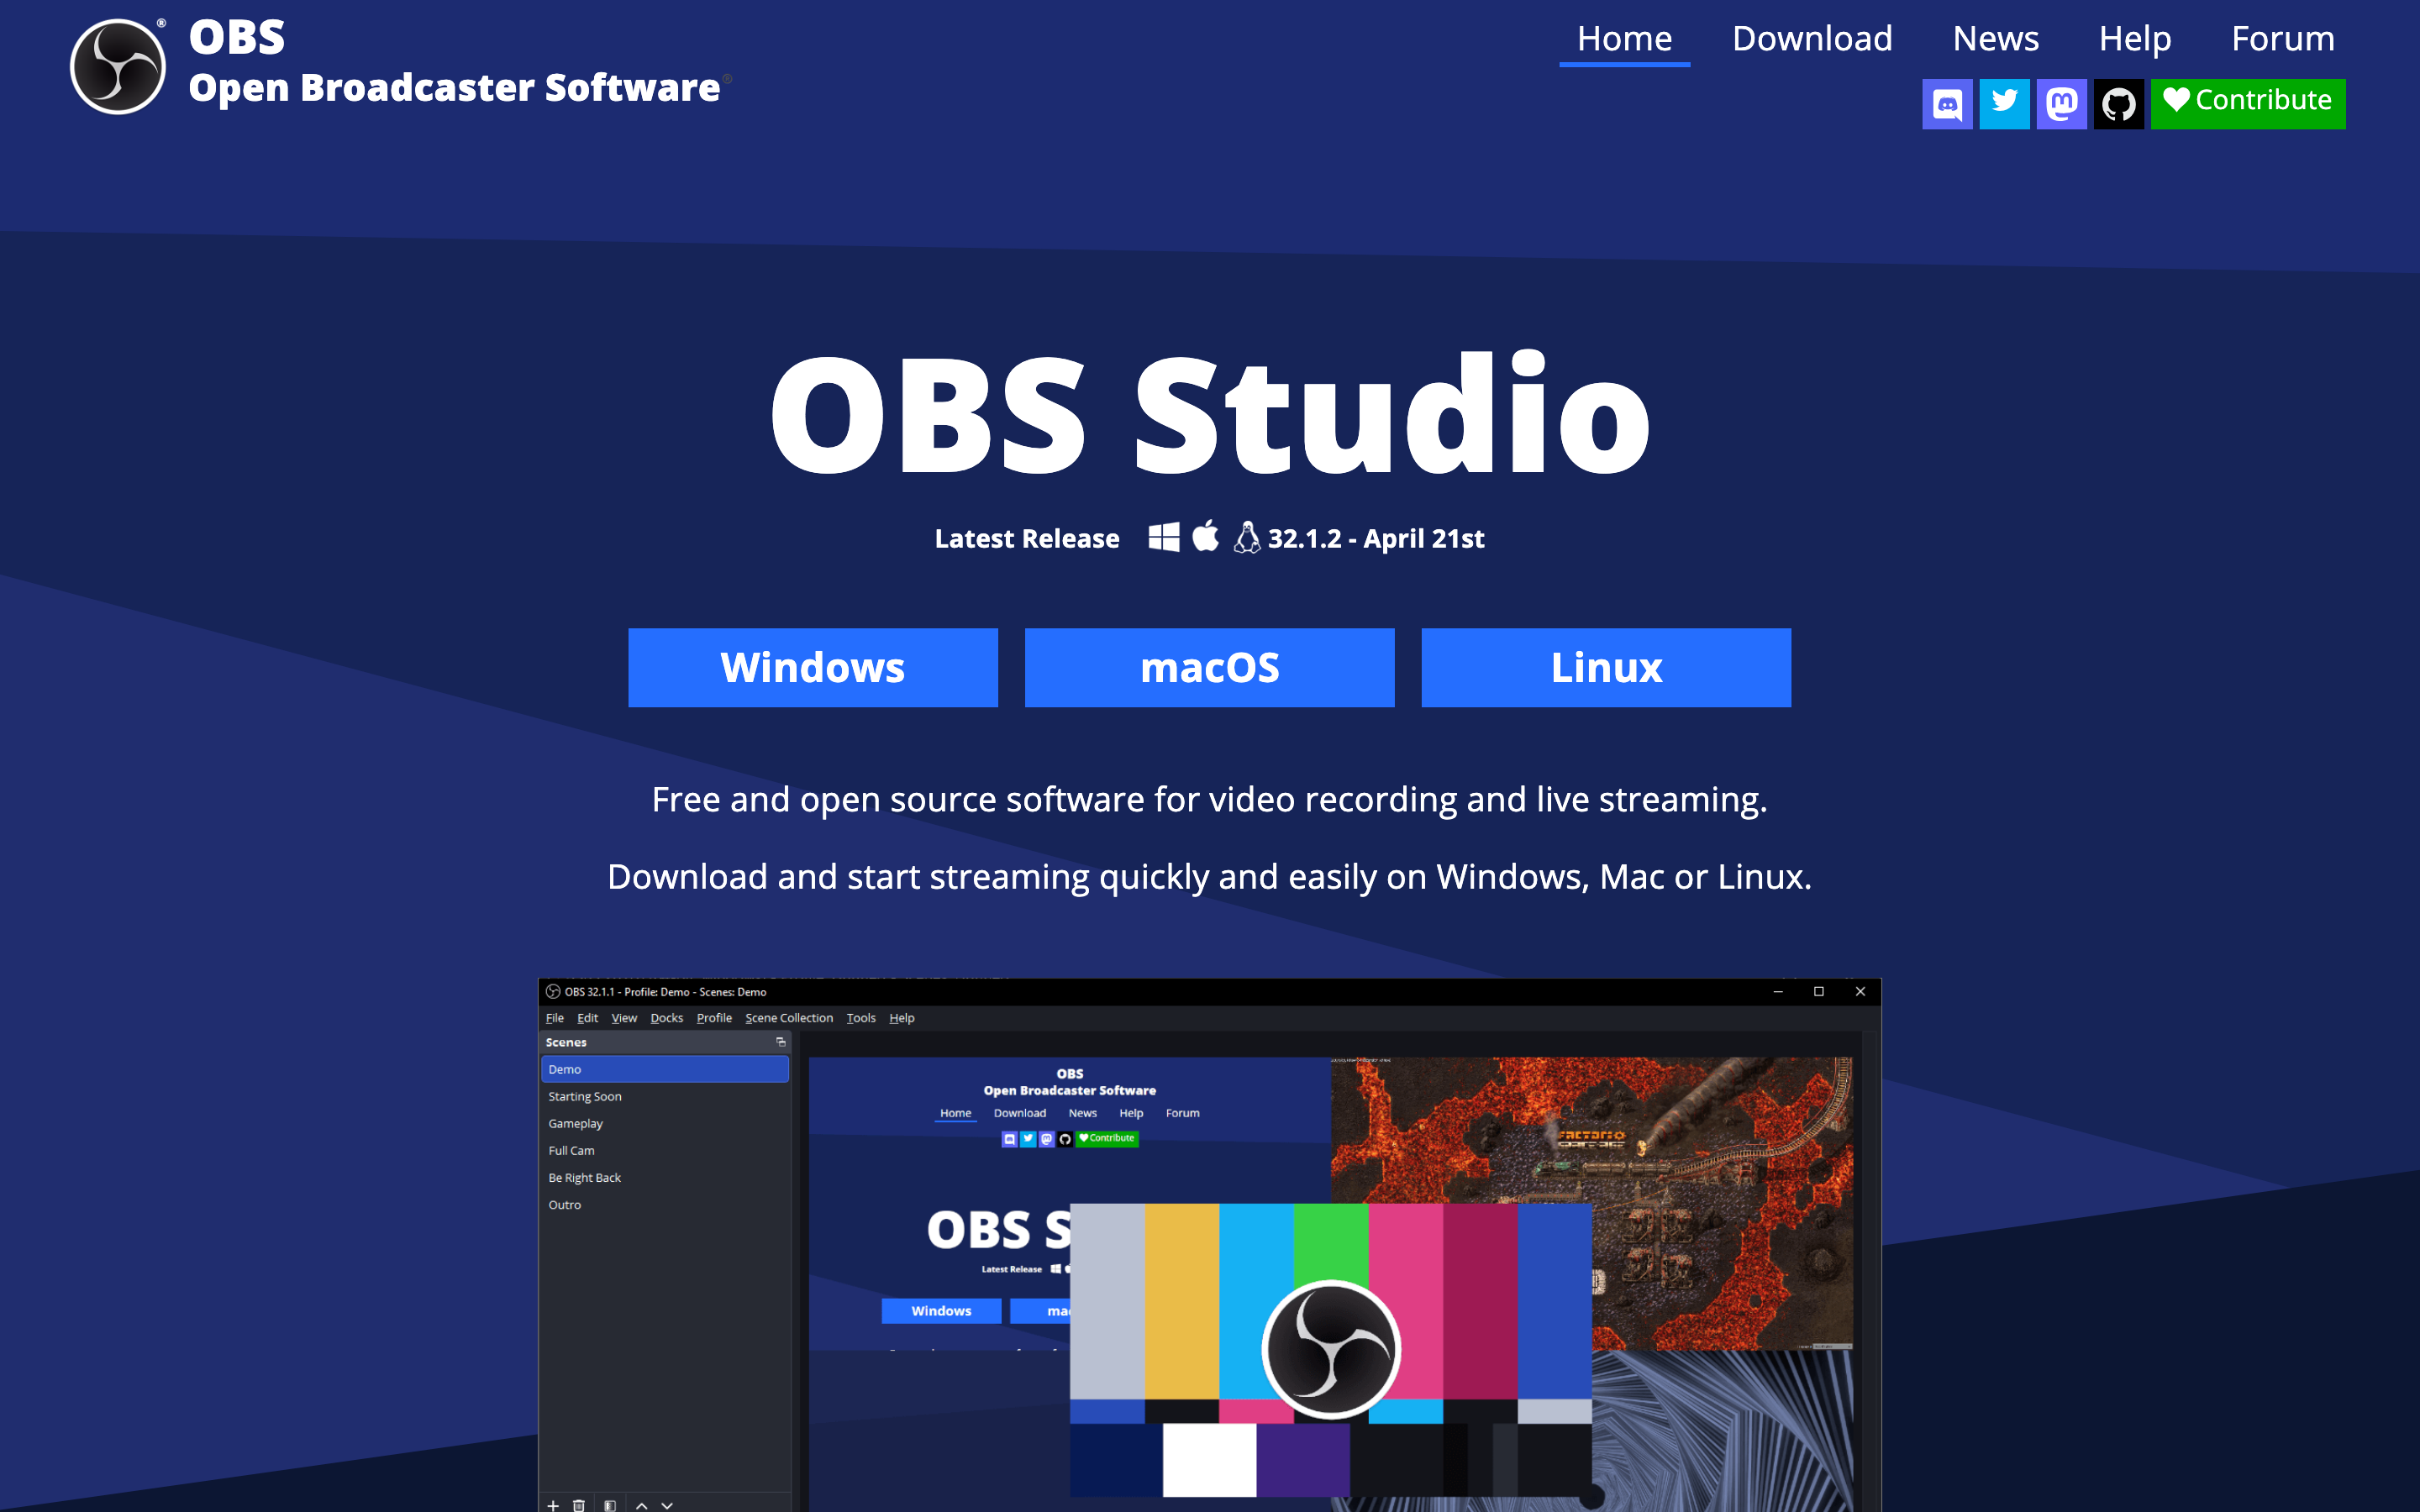
OBS Studio is the open-source standard for streaming and recording. It’s free under GPL, runs natively on Apple Silicon, and ships with audio routing and scene composition built in. If you’ve watched a Twitch stream or a YouTube live broadcast in the last five years there’s a 70% chance the streamer was using OBS.
What’s good: The Scenes/Sources system is more powerful than anything in the paid tools — you can switch between pre-configured layouts mid-recording (full screen, picture-in-picture, slides + camera) with hotkeys. Audio mixing is professional-grade with per-source levels, ducking, and noise suppression filters. The community plugin ecosystem covers every weird use case you can imagine.
What’s broken: Steeper learning curve than any paid alternative. The first launch is intimidating — there’s a wizard, but it doesn’t get you all the way to “now I’m recording with system audio.” For one-off tutorial recording, OBS is overkill. For livestream-grade production it’s the right tool.
Under the hood: C++ application using a custom rendering pipeline. macOS audio capture historically used a separate plugin (mac-virtualcam, obs-mac-virtualcam) but as of OBS 30 the built-in capture handles system audio without extras. Output to MP4, MKV, or direct streaming protocols (RTMP, WebRTC). Hardware encoding via VideoToolbox on Apple Silicon.
Method 7: Loom (cloud-first for teams)
Loom (acquired by Atlassian in 2023) is the screen recorder for teams that care more about sharing than editing. The free Starter tier gets 25 videos at 5 minutes each, Business is $12.50/user/month annual with unlimited recording. Records via desktop app or browser extension, hosts the video on Loom’s CDN, generates a shareable link.
What’s good: The recording-to-shareable-link loop is the fastest in the category. Hit record, talk through what you’re showing, stop, and the link is in your clipboard within seconds. Built-in viewer analytics (who watched, how long) are useful for async work. The AI features in Business + AI ($24/user/month) auto-generate transcripts, titles, and chapter markers — genuinely time-saving for prolific recorders.
What’s broken: The free tier’s 5-minute cap kills it for actual tutorials — you’ll hit the limit halfway through any meaningful walkthrough. Editing is limited to trim only; for production work you’ll export and import elsewhere. System audio capture on macOS works but the setup flow doesn’t surface it well, so first-time users often record silent system audio without realizing it.
Under the hood: Electron desktop app + WebRTC browser extension. Recording is encoded client-side with hardware acceleration and uploaded as it captures, so the upload completes seconds after you stop. Storage is on Atlassian’s cloud (S3-backed). Privacy controls let you restrict viewing to specific email domains or require a password.
Mac screen recording with sound: feature comparison
| Method | Best for | Price | System audio | Editor |
|---|---|---|---|---|
| QuickTime + BlackHole | Free, no signup | $0 | Via BlackHole driver | Trim only |
| Cmd+Shift+5 | Quick captures | $0 | Via BlackHole driver | Trim only |
| CleanShot X | Mac-native polish | $29 once | Built in | Trim + annotations |
| Camtasia | Tutorial creators | $179/yr | Built in | Multi-track + library |
| ScreenFlow | Pro Mac production | $199 once | Built in | Multi-track + ProRes |
| OBS Studio | Streamers | $0 | Built in (OBS 30+) | None (record only) |
| Loom | Async team sharing | Free + $12.50/user/mo | Built in | Trim only + AI summary |
What I’d actually use in 2026
If I’m recording a quick walkthrough for a teammate, Cmd+Shift+5 with BlackHole installed once is the answer. The built-in toolbar is faster than any third-party app and the output goes straight to my Desktop where I can drag it into Slack or email. For client-facing tutorials where I want polish without editing in a separate app, CleanShot X earns its $29 — system audio capture, click ring, and the cloud sharing flow remove the friction QuickTime has.
For content that lives on YouTube or as a course module, ScreenFlow is what I’d buy. The $199 one-time license, the Apple Silicon optimization, and the iOS device recording feature are the right combination for Mac-focused content production. Camtasia is the better cross-platform answer if you ever record on Windows too.
For a livestream or anything with multiple sources (camera + screen + slides + game), OBS is genuinely the only right answer. It’s free, it’s open-source, and it’s the same tool the people running the broadcasts you’d want to emulate are running. Steep learning curve but it’s worth investing the afternoon to set up your first scene collection.
Loom is for the specific use case of “I want to send my coworker a 90-second video instead of writing a Slack message.” For that, it’s perfect. For anything longer or anything you’ll edit, pick a different tool from this list.
For more on the broader screen recording space (including Windows, ChromeOS, and dedicated streaming setups), see my full screen capture and recording software roundup. If you’re evaluating tools for podcast workflows or video editing pipelines, the podcast recording apps guide and video editing comparison cover adjacent stacks. For Mac-specific developer tooling, the best Mac apps for developers list rounds out the setup.
How do I record my Mac screen with sound for free?
Install BlackHole 2ch (free, open-source virtual audio driver) from existential.audio/blackhole. Create a Multi-Output Device in Audio MIDI Setup combining your speakers and BlackHole. Switch macOS Sound output to that Multi-Output. Then in QuickTime Player or Cmd+Shift+5, set the recording microphone to BlackHole 2ch. The recording will capture system audio.
Why doesn’t QuickTime record system audio by default?
macOS treats speaker output as a one-way audio sink at the CoreAudio level. QuickTime’s recording APIs can read from microphones (input devices) but not from speakers (output devices). To capture system audio you need a virtual driver like BlackHole that creates an audio device which is simultaneously an output (apps can play to it) and an input (recorders can read from it).
What is the best Mac screen recorder with sound in 2026?
For free, QuickTime + BlackHole is unbeatable. For paid Mac-native, CleanShot X at $29 one-time is the best polish-per-dollar pick. For tutorial creators who edit in the same tool, Camtasia ($179/yr) or ScreenFlow ($199 once). For streamers, OBS Studio (free, open-source). For team async video, Loom.
Does Cmd+Shift+5 record sound?
The Cmd+Shift+5 Screenshot toolbar records microphone audio if you select a microphone in Options. It does not record system audio (the sound coming out of your speakers) by default. To capture system audio, install BlackHole, then select BlackHole 2ch as the microphone in the Cmd+Shift+5 Options menu.
How do I record both my voice and Mac system audio at the same time?
Install BlackHole 16ch (multi-channel version). Open Audio MIDI Setup and create an Aggregate Device combining your microphone (e.g., Built-in Microphone) and BlackHole 16ch. Set that aggregate as your QuickTime or Cmd+Shift+5 microphone source. The recording captures both streams. Alternatively, use CleanShot X, Camtasia, or ScreenFlow which handle this without setup.
Is BlackHole safe to install on Mac?
Yes. BlackHole is open-source under the MIT license, code-signed, and notarized by Apple. The installer requires admin password (because it installs a kernel-level audio driver) but does not require disabling System Integrity Protection. The source is on GitHub and has been audited by the macOS audio engineering community.
What format does macOS save screen recordings in?
QuickTime Player and Cmd+Shift+5 save recordings as .mov files using H.264 video and AAC audio by default. The files are compatible with Final Cut Pro, iMovie, DaVinci Resolve, and any modern editor without conversion. Average file size is around 80MB per minute of 1080p recording with audio.
Can I record my Mac screen with sound on macOS Sequoia or Sonoma?
Yes — every method in this article works on macOS Sequoia (15), Sonoma (14), and Ventura (13). BlackHole supports macOS Mavericks (10.10) and newer. The newer ScreenCaptureKit framework added in Sonoma improves recording performance for tools like CleanShot X and OBS that use it directly.
Disclaimer: This site is reader-supported. If you buy through some links, I may earn a small commission at no extra cost to you. I only recommend tools I trust and would use myself. Your support helps keep gauravtiwari.org free and focused on real-world advice. Thanks. - Gaurav Tiwari