RecordCast Tutorial: How to Record Screen Online for Free?
So, you know about RecordCast? Or maybe you have heard about this tool for the first time. But are you looking for a way to record and save your screen as recording?
Maybe you want to record the lessons in distance learning to review them in case you missed something. Or you may want to save the video calls with your family.
Whatever the reason you want to record your computer screen, a screencast like RecordCast can help you!
In this complete RecordCast tutorial and review, I will explain what RecordCast is, its features, and how to use RecordCast to record your computer screen and webcam, guiding you step by step.
Please note that RecordCast is an online tool and has some system limitations. If you are looking for a full-fledged screen recording and screenshot tool, you should rather try Snagit.
Table of Contents
What is RecordCast?
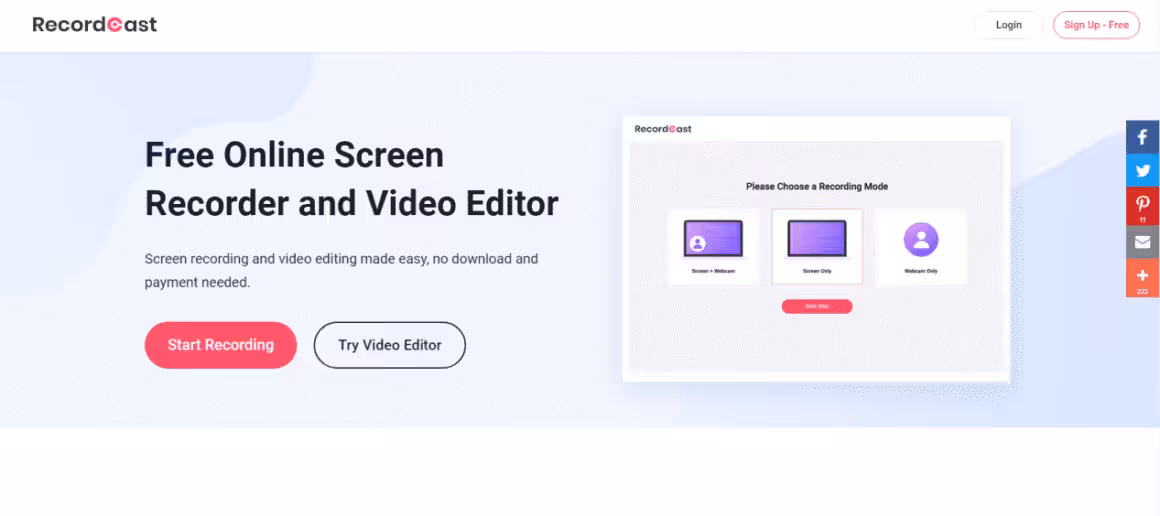
RecordCast is a free browser extension that allows you to record your screen for free.
With RecordCast, you can choose at the beginning whether only the computer screen should be recorded, only the presenter will also be recorded, or choose both, etc.
The video you record can then be downloaded to your PC or edited by adding a background, annotation, title, and background music with a built-in video editor.
Features of RecordCast
- 100% free;
- Screen recording in high quality, with sound but no watermarks;
- You don’t need to install the program on your computer;
- The built-in editor allows you to add titles, annotations, and various effects to the recording;
- The final recording will be saved locally on your hard disk in WebM format.
How to Record Screen Online for Free with RecordCast?
- Go to recordcast.com and click on Record Free Now button. There is no software install is required.
- Next, you need to select the recording mode:
- Screen + webcam;
- Screen only;
- Webcam only.
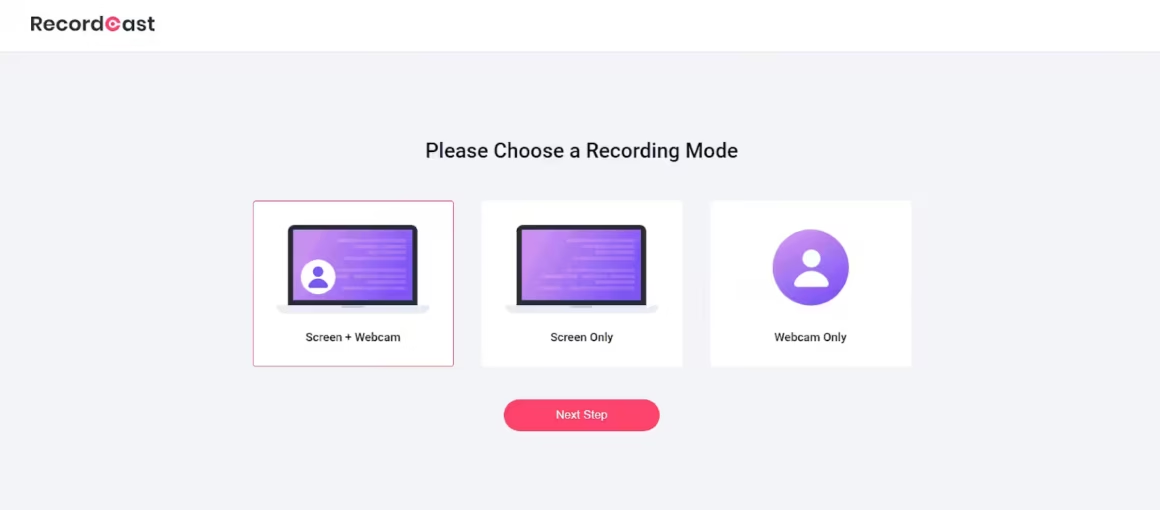
So, if you prefer to choose the first mode “Screen + Webcam”, you just select the leftmost box and click “Next Step”, and you will be taken to settings.
There is a block on the right “Audio Recording Options” where you can select the audio recording mode:
- Microphone + System Audio – allows you to record sound from a microphone and system audio. This function will be useful if you are going to record a lesson, that is, where you need to explain something;
- Microphone – recording sound only from the microphone, so system sounds will not be recorded;
- System Audio – only system sound, the microphone will be disabled;
- No Audio – no sound
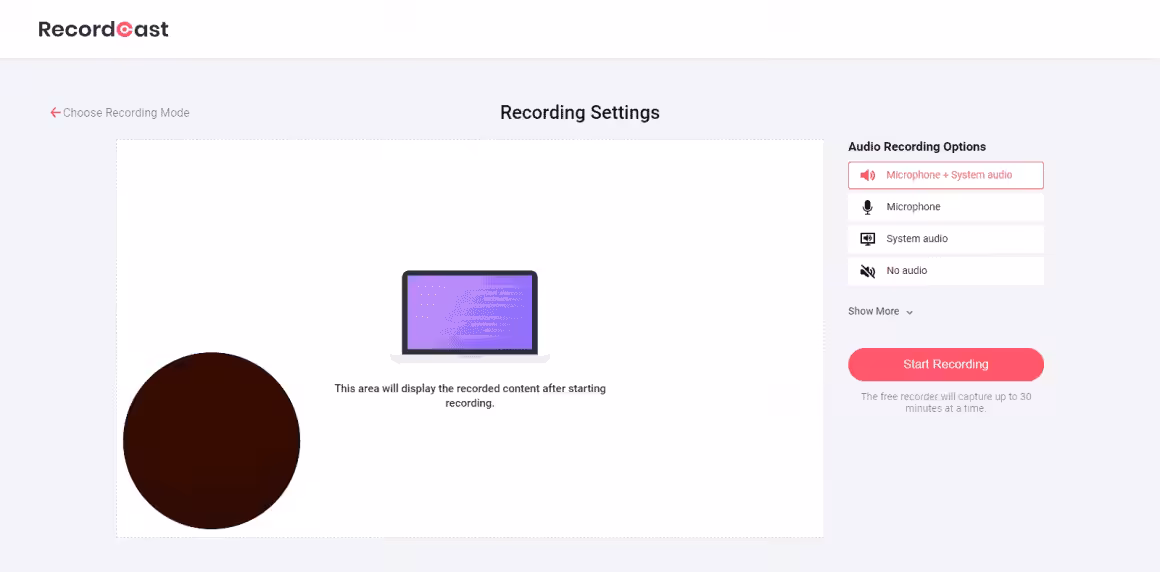
There is another link below, “Show More” which will show more settings. Click it to select a device for sound recording.
But that is not all. You may need to provide access to your webcam if you record from it as well. To do this, you need to do the following. In the address bar of your browser, click on the padlock icon. A window will appear where you will need to enable, that is, give access to the camera and microphone.
Now that everything is ready, you can move on to recording.
Click “Start Recording”, and a window will appear with a warning:
www.recordcast.com wants to share the content of your screen. Choose what you’d like to share.
Then there will be three options to choose from:
- Your Entire Screen – a recording of the screen of the computer you are currently on;
- Application Window – select one of the open programs on the computer;
- Chrome tab – show open tabs in the browser.

In the screenshot below, the program window is open, that is, point 2. You have the opportunity to select an open application on your computer and record all the actions that you will perform in it. Press “Share”, and after that, the screen recording from the computer monitor starts.
In the process of recording, you can press pause or stop.
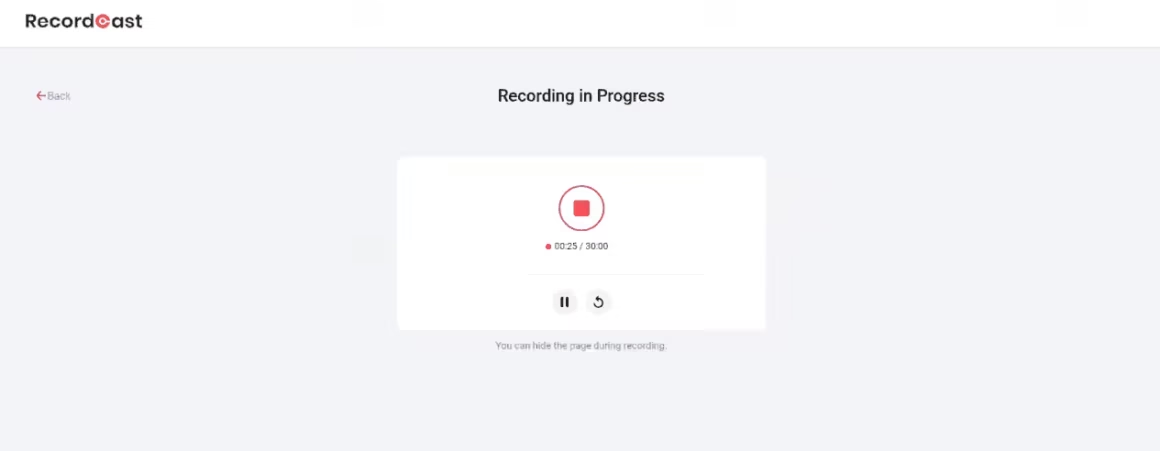
When finished, the resulting video can be downloaded (using Download), or go to the editor (Edit and Export in MP4). Yes, you can go directly to the video editor by clicking “Edit and Export in MP4” or from the service’s main page.
Next, you have the opportunity to add other media files to your video, for example, music and pictures. To do this, press “Media”, and then “Import”, and select the file on your computer. Hovering the mouse cursor over the downloaded file, RecordCast will start automatically playing if it is a video or audio file. This way, you can make sure to download what you need.
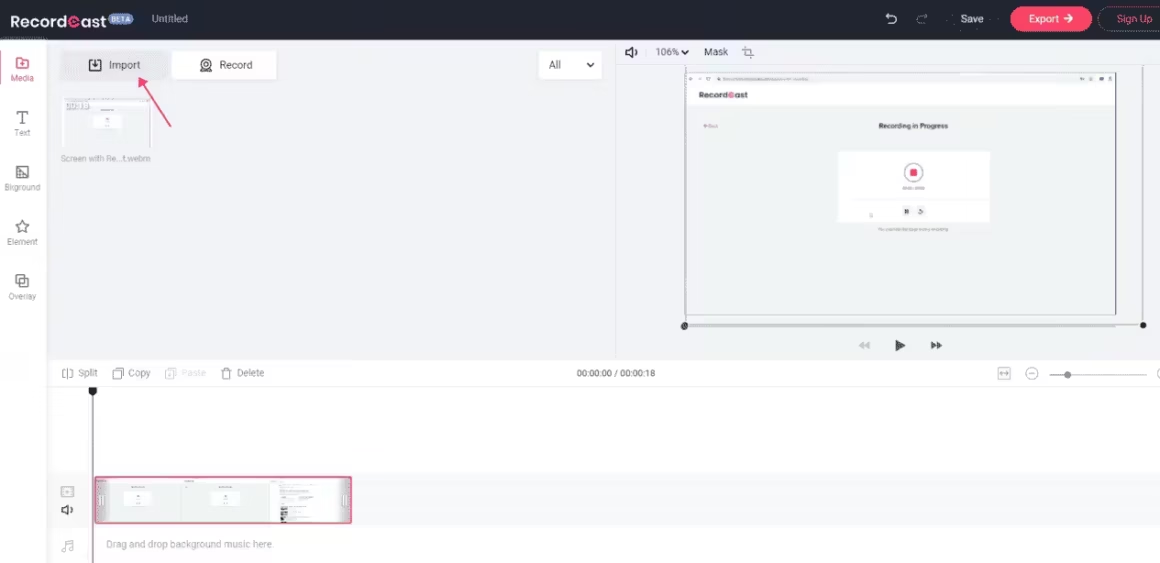
For further work with media, you need to add them to the timeline. Move your mouse over any of these files and then click “+” which will appear in the lower right corner. Or you can just drag the selected file down to the timeline, and it will be even easier this way.
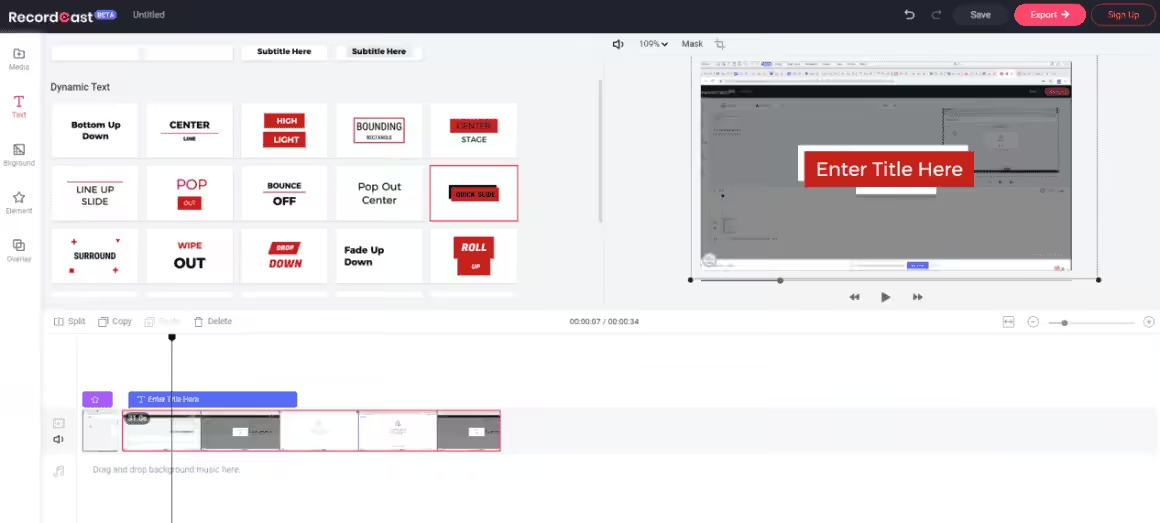
A timeline will appear at the bottom of the editor. Then it is possible to split this file into separate parts, copy, delete and move individual parts with the mouse. After finishing editing, the video can be automatically saved to your RecordCast account. You can click on the red button at the top “Export” and then select the quality you want to save.
- 480p is more suitable for mobile phones and tablets;
- 720p is fine for uploading videos to YouTube;
- 1080p for large screens like TV.
The higher the resolution, the larger the file size will be.
At last, you need to click “Export“, to download the video. Thus, you can record the screen on your computer online for free and without installing any additional software on your computer. It doesn’t matter if you have Windows or Mac.
Summary
I briefly explained what RecordCast is and the key features, and how to record a screen on a computer online using RecordCast. If you still want to install an additional application, for example, Bandicam or Movavi Video Suite. There are a lot of applications, so I don’t even know what I can advise you. But I used Bandicam for a long time.
But it is better to use an online service to record video from your computer screen quickly. Even weak laptops are said to do well with ease.
Again please note that RecordCast is an online tool and has some system limitations. If you are looking for a full-fledged screen recording and screenshot tool, you should rather try Snagit.
Online screen recorders have several limitations. For example:
- Poor recording quality;
- Adding a watermark;
- Limited minutes of recording;
- And to get a good quality filmed video, you have to pay for a subscription or something else.
Disclaimer: This site is reader-supported. If you buy through some links, I may earn a small commission at no extra cost to you. I only recommend tools I trust and would use myself. Your support helps keep gauravtiwari.org free and focused on real-world advice. Thanks. - Gaurav Tiwari