7 Best Screen Capture Software for Windows and Mac
You’re explaining a bug to a developer. You’re building a tutorial for your team. You’re documenting a workflow for a client. Every one of these tasks needs a clear screenshot or screen recording, and the built-in tools on Windows and Mac only get you so far.
Bad screenshots waste everyone’s time. Blurry crops, missing context, no annotations. Your colleague stares at the image for 30 seconds trying to figure out what you’re pointing at. A proper screen capture tool fixes that. It lets you grab exactly what you need, annotate it in seconds, and share a link before the other person finishes typing “can you show me?”
I’ve tested dozens of screen capture apps over the past 10+ years while creating tutorials and client documentation. These 9 tools are the ones worth your time in 2026.
Best Screen Capture Tools at a Glance
- Snagit: Best overall for professionals (annotation, GIF maker, scrolling capture)
- Applian Replay Video Capture: Best for recording streaming video (up to 100 FPS, DRM-friendly)
- Snipping Tool / Snip and Sketch: Best free built-in option on Windows
- Lightshot: Best for quick screenshots with cloud sharing
- FireShot: Best browser extension for full-page captures
- ShareX: Best free open-source tool for power users
- Screenpresso: Best for creating training documentation
- Picpick: Best all-in-one screenshot editor (color picker, ruler, whiteboard)
- ScreenshotCaptor: Best for batch captures and automation
Snagit
Best for: Professionals who need annotation, scrolling capture, and GIF creation in one app.
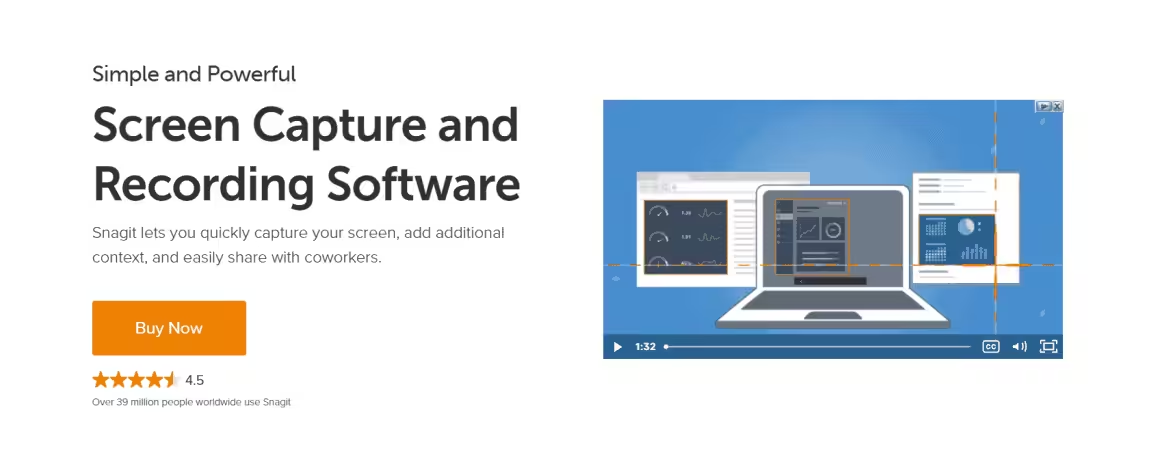
Snagit works on both Mac and Windows. It’s the tool I reach for when a screenshot needs callouts, blur, arrows, or step numbers. The capture timer goes up to 60 seconds, which is helpful when you need to grab dropdown menus or tooltips that disappear.
The clipping tool lets you force a specific aspect ratio, scroll within the highlighted area, and capture exactly the part you need. A control panel sits at the top of your screen for quick access to settings and capture modes. Snagit also includes a GIF maker, panoramic scrolling capture, and template tools for creating branded screenshots.
Screen recordings work the same way as screenshots, just click record instead of capture. You can turn recordings into animated GIFs right inside the app. Snagit isn’t free (one-time purchase around $63), but for anyone creating tutorials or client documentation regularly, it pays for itself in a week.
Applian Replay Video Capture
Best for: Recording streaming video and on-screen activity at up to 100 FPS.
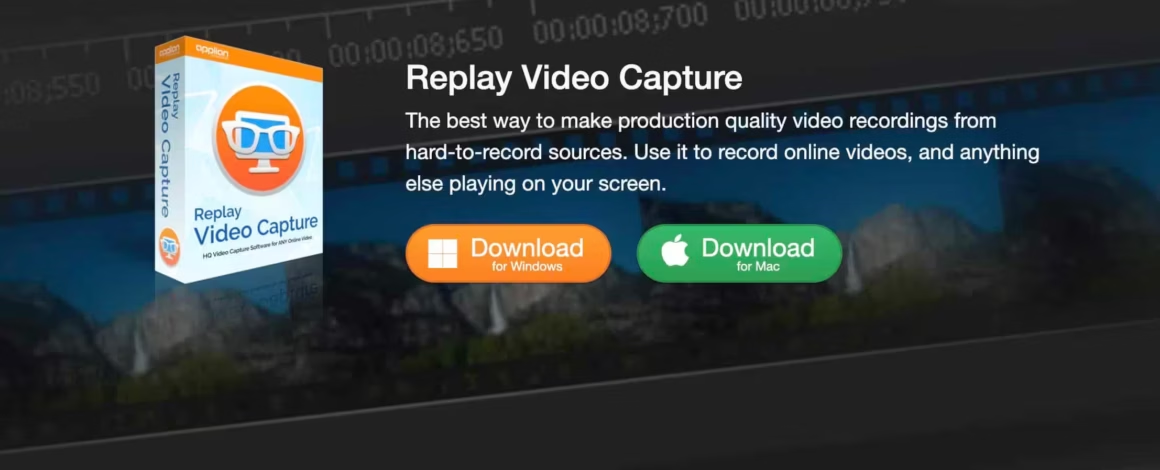
Applian Replay Video Capture records any on-screen activity at up to 100 FPS on Windows and Mac. It handles sources that other recorders struggle with: live broadcasts, on-demand streaming, and browser-based video.
The app uses DVR technology to capture on-screen video. Background mode lets you record while running other programs or browsing, so you don’t have to stare at a recording in progress.
Applian Replay is DRM-friendly. It won’t bypass Digital Rights Management or copyright protection, so you won’t run into legal issues.
Snipping Tool (Now: Snip and Sketch)
Best for: Quick, no-install screenshots on Windows with basic annotation.
You don’t need to install anything. Windows has shipped with the Snipping Tool since Vista, and it handles basic captures just fine. No setup, no account, no downloads.
On Windows 11, it’s called Snip and Sketch. Press Windows + Shift + S to open it.
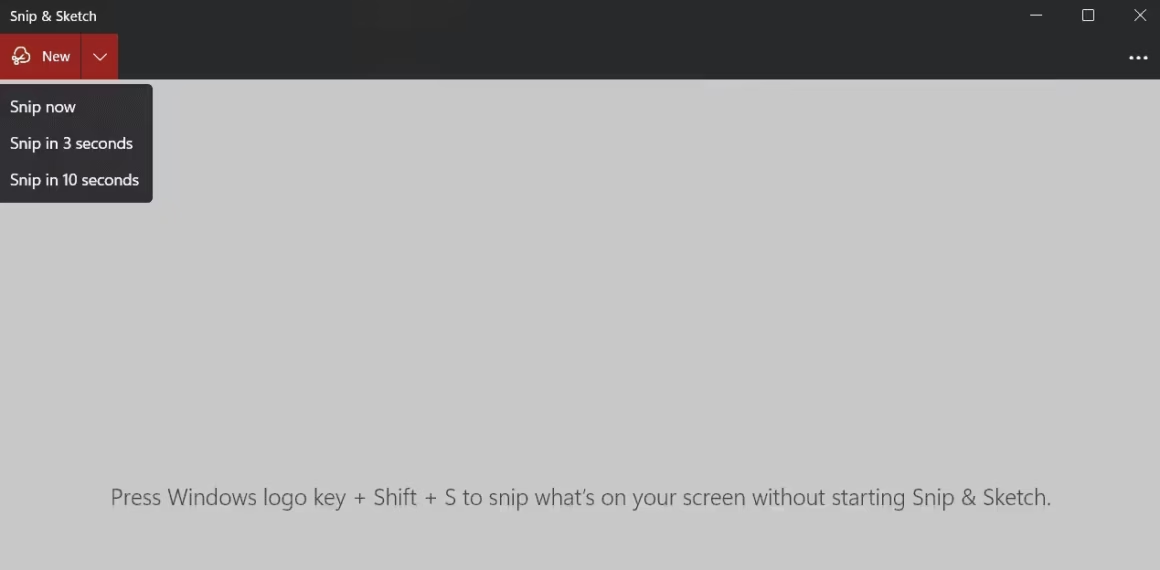
It won’t replace a dedicated tool like Snagit. But it captures application windows, rectangular areas, and free-form selections. You can set a delay of 1 to 5 seconds, and it includes pens and highlighters for basic markup. For most quick screenshots, that’s all you need.
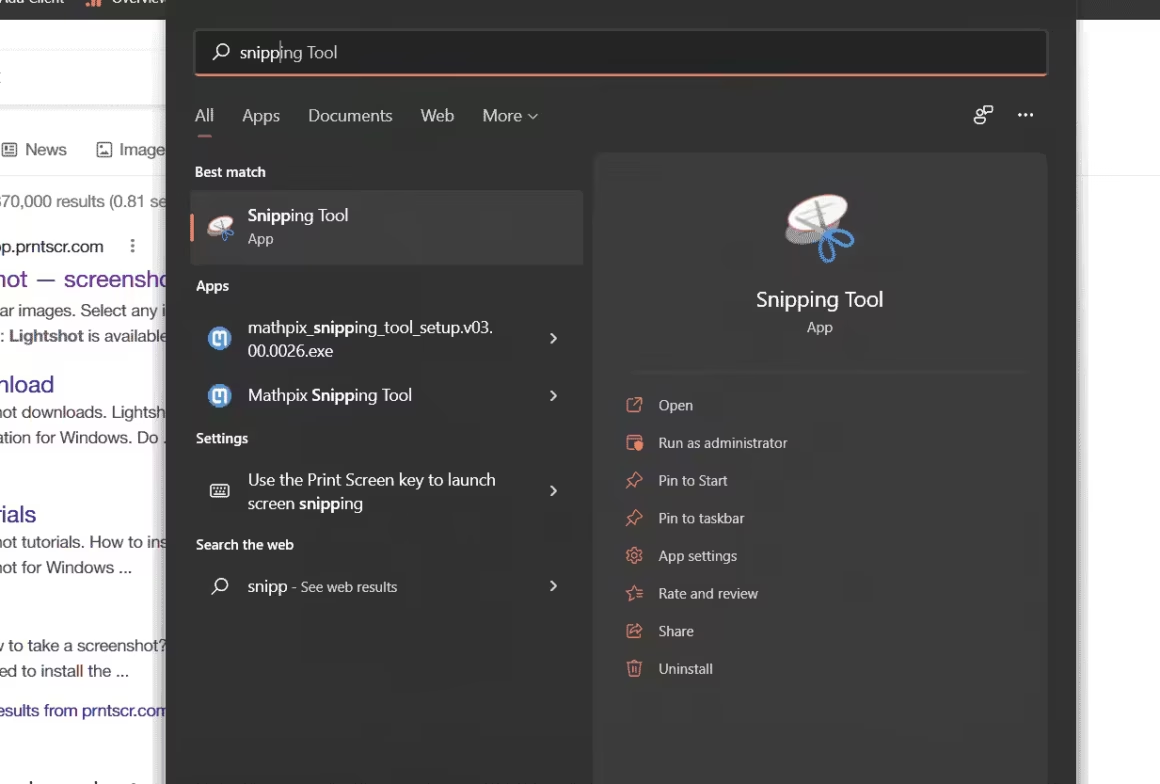
How to use Snipping Tool on Windows?
To use the Snipping Tool, press the Windows key, type “snip” or “snip and sketch” and click the app icon. For even more basic screen capturing, press the PrtScn (Print Screen) button on your keyboard to capture the entire screen, Alt with PrtScn to capture the active app window, or the Windows key, Shift and S to select a rectangular area.
How to take a screenshot on Mac?
On macOS, hold CMD, Shift and 3 to capture a screenshot of full page. Use CMD Shift and 4 to capture an area on your screen.
See this guide on Apple website to learn more.
Also, see how to record screen on mac with sound.
Lightshot
Best for: Bloggers and content creators who need fast screenshots with instant cloud sharing.
Lightshot sits in your system tray and lets you grab a screenshot in two clicks. The editing toolbar shows up right on the selection area, so you can add text, arrows, colors, and shapes without opening a separate app.
Sharing is where Lightshot stands out. You can upload to cloud storage, share on social media, print, or copy to clipboard, all from the screenshot window. No digging through folders.
You can take multiple screenshots in a row without restarting the app. Most free screenshot tools don’t let you do that. Create a free account on their site and you’ll get access to your screenshot archive from any device.
The interface is clean. If you blog or create content and just need a fast way to capture, annotate, and share, Lightshot handles it without getting in the way.
FireShot
Best for: Full-page browser screenshots with built-in annotation and PDF export.
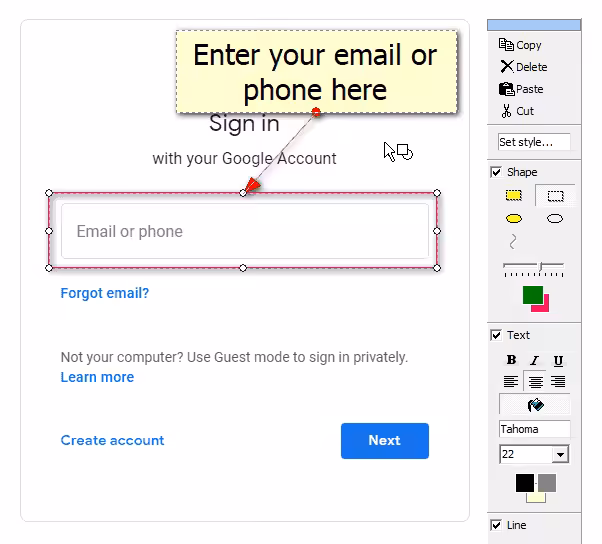
FireShot is a browser extension that captures full web pages, not just the visible area. Click the icon next to your address bar, choose “Capture entire page” or “Capture visible part,” and you’re done.
The editor lets you draw on the capture, add text boxes, insert shapes and arrows, and crop specific areas. You can save in JPEG, PNG, GIF, or PDF, which is handy when you need to send a full-page screenshot as a document.
You can also copy the image to clipboard, resize it, or email it directly from FireShot without opening another app.
ShareX
Best for: Power users who want a free, open-source tool with OCR, GIF recording, and auto-upload.
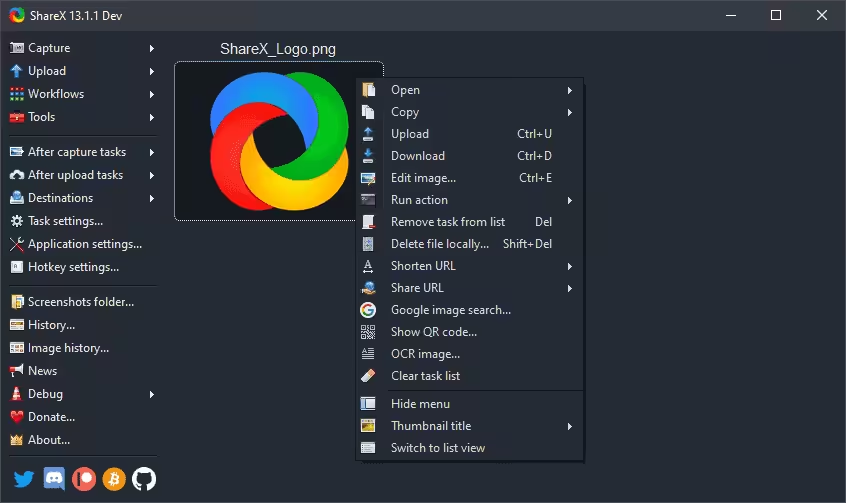
ShareX is free, open-source, and available on the Microsoft Store. It does more than most paid screenshot tools. You can capture full screen, a specific window, a region, or a scrolling page. It also auto-uploads your captures to Imgur, Dropbox, Google Drive, or your own server.
The feature list is long: OCR text recognition, screen recording as GIF or video, cursor inclusion toggle, timed captures, and custom hotkeys for every action. ShareX won’t win any design awards, but if you want the most control over your screenshots without paying a cent, nothing else comes close.
Screenpresso
Best for: Teams building training manuals and step-by-step documentation.
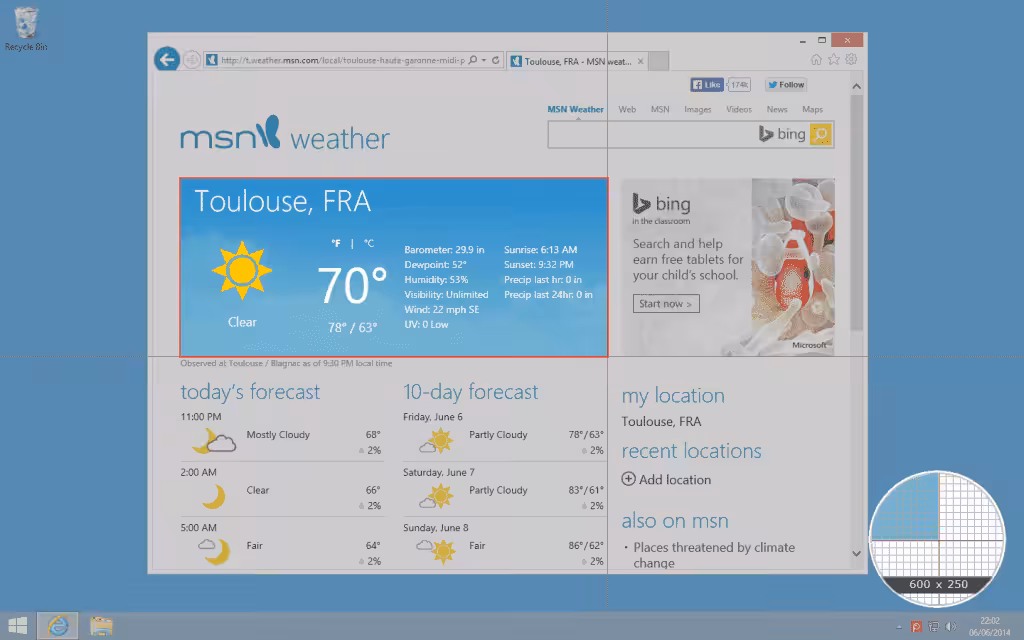
Screenpresso is built for people who create training materials. It captures screenshots and HD video, and includes a built-in image editor and a user manual generator. Press the Print Screen key and the crosshair cursor appears, ready to go.
The area snapping is smart. Drag across the screen and Screenpresso highlights the region in purple, snapping to window edges so you capture clean boundaries. One hotkey handles full screen, partial screen, or a specific window.
A zoom lens at the bottom-right corner lets you select areas with pixel-level accuracy. If you’re building step-by-step guides for clients or onboarding docs for your team, Screenpresso’s workflow is hard to beat.
Picpick
Best for: Designers and developers who need a screenshot tool with a built-in image editor, color picker, and pixel ruler.
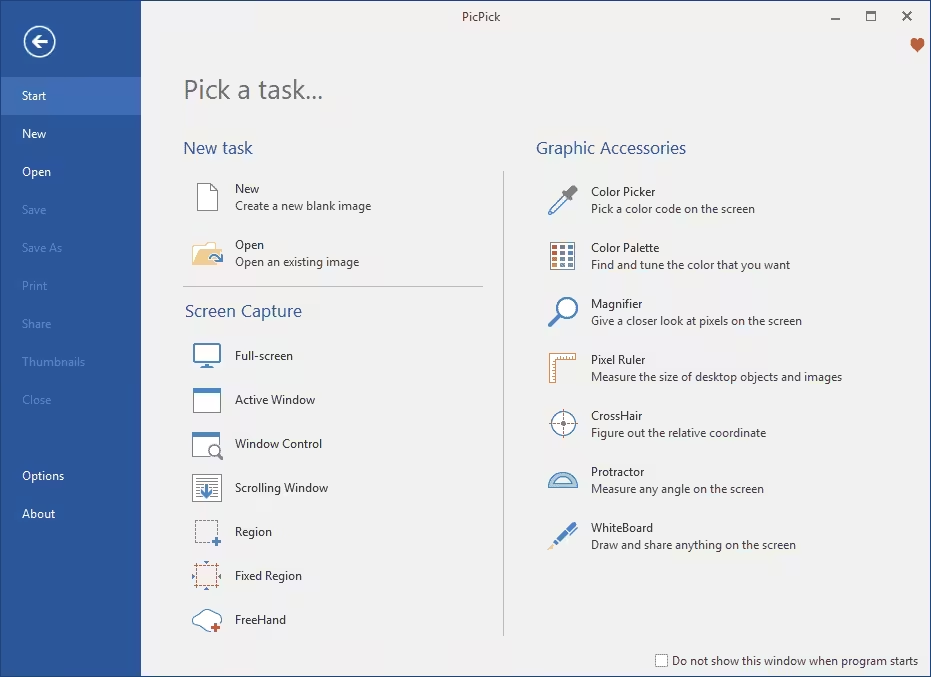
Picpick is free for personal use and does more than capture screenshots. It’s a screenshot tool and image editor in one interface. Take a capture, then annotate, crop, resize, and export without switching apps.
The extras make it interesting: a color picker that grabs hex codes from anything on screen, a magnifying glass, a pixel ruler, a whiteboard, and a protractor. Designers and front-end developers will find these tools useful for measuring and matching UI elements.
Picpick runs on Windows only. If you need a single app that handles both capturing and editing, and you don’t want to pay for Snagit, this is the one to try.
ScreenshotCaptor
Best for: Windows users who take screenshots in bulk and want automated file naming, watermarking, and upload.

ScreenshotCaptor is Windows-only and free for personal use (donationware). It captures from your screen, webcam, scanner, or any scrolling window.
You can capture a region, full screen, a single window, or a scrolling page. For long web pages, click the browser window to focus it before capturing. The batch mode is the standout feature here. If you need to take 20 screenshots in a row for documentation, ScreenshotCaptor handles it without slowing down.
The automation options are practical: auto-generated file names, direct upload to image hosting services, watermarking, and a tool for blacking out usernames and passwords. Good for anyone publishing screenshots that contain sensitive data.
Which Screen Capture Tool Should You Pick?
If you don’t mind paying, Snagit is the one I’d pick. Annotation, scrolling capture, GIF creation, and video recording in a single app. I’ve used it for client work and tutorials for years.
If you want something free and you’re on Windows, go with ShareX. It’s open-source, has more features than most paid tools, and the community keeps it updated.
For bloggers who just need fast screenshots with cloud sharing, Lightshot gets the job done without any setup. And if you only need basic captures, the built-in Snipping Tool on Windows (or CMD + Shift + 4 on Mac) works fine for most situations.
For screen recording specifically, check out RecordCast, a browser-based screen recording tool that’s free. Also see my guide on image background remover tools if you need to edit your captures after taking them.
Hardware That Improves Your Screen Captures
Screen capture quality depends on your display. If you’re capturing on a 1080p screen, that’s the max resolution of your captures. For tutorials and product demos, a 4K display means crisper screenshots and sharper video recordings.
I switched to a 4K monitor for my screen captures three years ago and the difference in my tutorial quality was immediate. Readers could actually read the text in screenshots without zooming. The LG UltraFine 27″ is what I use daily. For webcam recordings, check my best webcams for streaming guide.
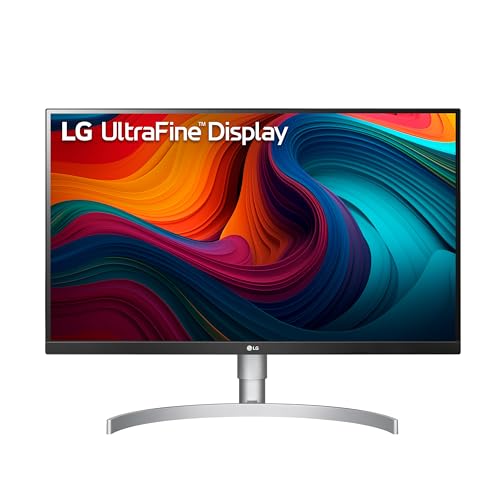
- With VESA DisplayHDR 400 high dynamic range compatibility, this monitor brings work and virtual worlds to life, backed by 400 nits of brightness, elevating textures, elements, character movements, and natural light and shadow
- With 99percent coverage of the sRGB spectrum, this monitor is a great solution for photographers, graphic designers, or anyone looking for highly accurate color
- With supported video cards such as the AMD Radeon series, AMD FreeSync manages refresh rate, reducing screen tearing, flicker, and stuttering for an effortlessly smooth gaming experience
- Transform standard content into HDR-quality video right on the screen. Using a picture quality algorithm, tone mapping and luminance of SDR content are improved for an HDR-like experience
- Customized game modes optimize your gaming conditions with two first-person-shooter (FPS) modes and a real-time strategy (RTS) mode as well. Make screen adjustments with a few clicks of your mouse with On-Screen Control

- SUPERIOR SCREEN: With a three-sided ultrathin bezel design that lets you to see more without interruptions, high functionality meets superb style. Enjoy crisp visuals with an impressive 4.0ms response time. Specific uses for product – Business. Pixel per inch (PPI) : 163. Operating Temperature: 0°C to 40°C (32°F to 104°F)
- COMFORT COMES FIRST: Customize your views with a height-adjustable stand and a monitor that tilts, swivels and pivots so you look your best and feel your best during work sessions or movie binges.
- VERSATILE CONNECTIVITY: Easily charge and connect your laptop on this USB-C monitor. This single-cable solution reduces clutter on your desktop and transmits power, video, audio and data—all at once.
- INTEGRATED SPEAKERS: This usb-c monitor comes equipped with everything you need including built-in dual 3W integrated speakers.
- PERSONALIZED COMFORT: Customize your views with a height-adjustable stand that tilts, swivels and pivots allowing you to view at your most optimal position.
Disclaimer: This site is reader-supported. If you buy through some links, I may earn a small commission at no extra cost to you. I only recommend tools I trust and would use myself. Your support helps keep gauravtiwari.org free and focused on real-world advice. Thanks. - Gaurav Tiwari