How to Run Windows Apps on Mac (The Easiest Method)
You just switched to a Mac. Productivity is great, the battery lasts all day, and macOS feels smooth. Then your employer sends you an .exe installer. Or your accountant needs you to run a Windows-only tax app. Or a client insists on Microsoft Access for their database. Suddenly, that Mac-only workflow hits a wall.
This isn’t a niche problem. A 2024 Parallels survey found that 78% of Mac users need at least one Windows app for work. And the workarounds most people try first (asking a friend, using a web version, finding a Mac alternative) waste hours and rarely match the real thing. Enterprise apps, legacy accounting software, and certain engineering tools simply don’t exist on macOS.
The fix is straightforward. Virtualization software lets you run Windows 11 inside macOS, side by side with your Mac apps, no rebooting required. Parallels Desktop is the fastest way to set this up, but there are free alternatives too. Here’s exactly how each method works, what it costs, and which one fits your situation.
Why Run Windows Apps on Mac?
macOS covers 95% of what most people need. But that remaining 5% can be a dealbreaker. Microsoft Access has no Mac version. Certain ERP systems (SAP GUI, Tally) are Windows-only. Game modding tools, CAD software like SolidWorks, and niche industry apps (real estate MLS systems, dental practice management) don’t have macOS builds. If you need one of these, you have two options: buy a second Windows PC, or run Windows inside your Mac.
Running Windows on Mac is also useful for developers who need to test websites and apps across operating systems. Instead of maintaining separate machines, a single Mac with a Windows VM handles cross-platform testing from one desk. Web developers, QA engineers, and IT support teams use this setup daily.
On Apple Silicon Macs (M1 through M5), virtualization runs the ARM version of Windows 11. Microsoft officially supports Windows 11 ARM, and most x86 Windows apps run through built-in emulation with minimal performance loss. The compatibility story is strong enough that Parallels now has enterprise agreements with companies running thousands of Macs.
Running Windows Apps Using Parallels Desktop for Mac
Parallels Desktop is the most popular and polished option for running Windows on a Mac. It’s a paid app ($99.99/year or $149.99 one-time for the Pro edition), but the setup is genuinely simple. From download to running your first Windows app takes about 15-20 minutes.
Step 1: Install Parallels Desktop

Parallels Desktop for Mac
- One-click Windows 11 installation with automatic driver setup
- Coherence Mode runs Windows apps directly on your Mac desktop
- Full Apple Silicon M1-M5 optimization with DirectX 11 support
- Shared clipboard, drag-and-drop files between macOS and Windows
- 14-day free trial, no credit card required
Download Parallels Desktop from the official website. Click “Download Free Trial” or “Buy Now” if you’ve already decided. The installer is a standard .dmg file. Double-click, drag to Applications, and launch. Parallels Desktop 20 supports macOS Monterey 12 and later, on both Apple Silicon and Intel processors.
The free trial runs for 14 days with full functionality. That’s enough time to install Windows, test your specific apps, and decide if it’s worth the subscription. No credit card is required for the trial.
Step 2: Set Up Your Windows Virtual Machine
After launching Parallels, select “Install Windows.” The app downloads the correct Windows 11 ARM image automatically (about 5-6 GB). On Apple Silicon Macs, this is the ARM64 version. On Intel Macs, it downloads the standard x86 version. The entire process is automated: Parallels handles partitioning, driver installation, and initial Windows configuration.
You’ll need a valid Windows 11 license for full activation ($139 from Microsoft, or often cheaper from authorized resellers). You can skip activation temporarily and Windows runs with a watermark and limited personalization options, but all apps work normally. If you already have a Windows license tied to your Microsoft account, signing in during setup activates it automatically.
Step 3: Install Your Windows Applications
Once Windows boots inside Parallels, install apps exactly like you would on a regular Windows PC. Download .exe installers from the web, use the Microsoft Store, or run setup discs. Everything works as expected. Apps installed in the Windows VM appear automatically in your Mac’s Launchpad and Dock, so you can launch them without opening the full Windows desktop first.
For business apps that require specific runtime libraries (.NET Framework, Visual C++ redistributables, Java), install those prerequisites in Windows first. The VM is a full Windows environment. Anything that runs on a regular Windows PC will run here, with the caveat that GPU-intensive apps (3D games, professional CAD) run slower than on native hardware.
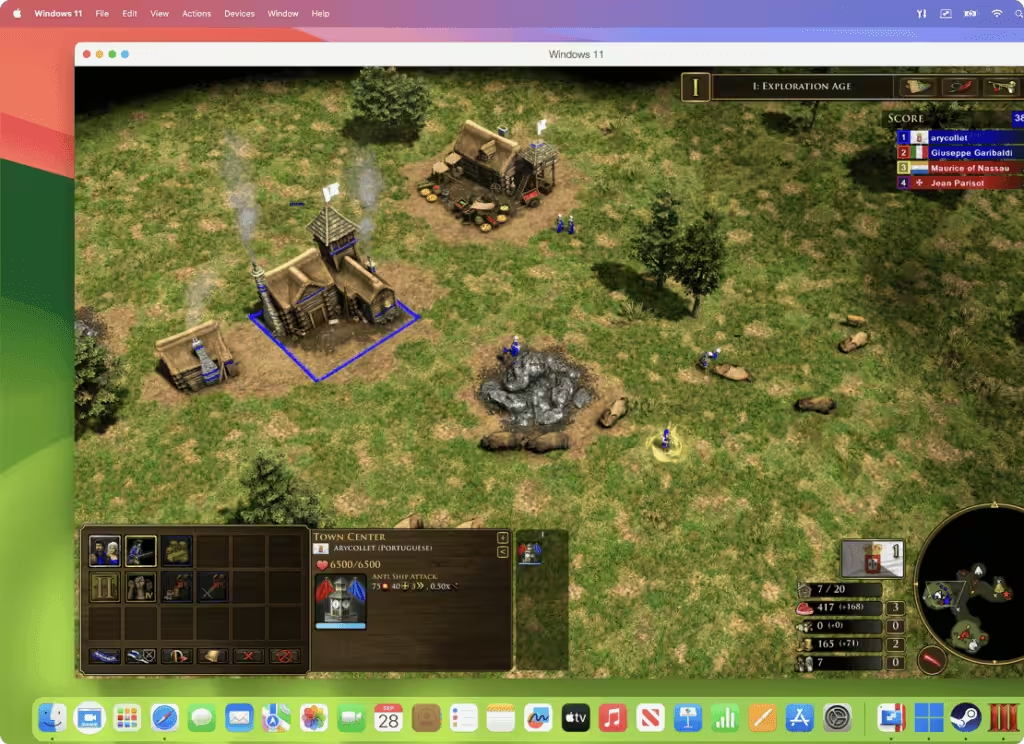
Step 4: Use Coherence Mode for Seamless Integration
Coherence Mode is Parallels’ best feature and the reason most people choose it over alternatives. Click the Coherence button (two overlapping squares in the toolbar) and the Windows desktop disappears. Your Windows apps float on the Mac desktop as individual windows, just like native Mac apps. You can Cmd+Tab between Excel (Windows) and Safari (Mac) without context switching.
Shared clipboard works automatically: copy text or images in a Mac app, paste in a Windows app. Drag-and-drop files between the two operating systems. Mac folders are accessible from Windows File Explorer, and Windows files show up in Finder. For most workflows, the boundary between Mac and Windows apps becomes invisible after a few days of use.
Step 5: Optimize Performance Settings
Open Parallels Configuration (right-click the VM icon > Configure) to fine-tune resource allocation. For office apps and light software, 4 GB of RAM and 2 CPU cores are sufficient. For development tools, CAD software, or running multiple Windows apps simultaneously, allocate 8 GB of RAM and 4+ CPU cores. The trade-off: more resources to Windows means less available for macOS apps running concurrently.
Under Graphics, set the adapter to “Auto” unless you’re running DirectX games, in which case select the dedicated GPU option. Enable “Adaptive Hypervisor” to let Parallels automatically balance resources based on which OS is in focus. For laptop users, the “Better Battery Life” profile reduces Windows resource usage when on battery power. These settings make a noticeable difference on Macs with 8 GB of unified memory.
Tips for the Best Experience
- Keep Parallels Updated: Major macOS updates (like Sequoia) occasionally break VM compatibility. Parallels patches these within days, so staying on the latest version avoids downtime.
- Use Snapshots: Before installing unfamiliar software or running Windows updates, take a snapshot (Actions > Take Snapshot). If anything goes wrong, you can roll back to the exact pre-change state in seconds.
- Integrate Cloud Storage: Enable shared folders between macOS and Windows for seamless file access. Dropbox, OneDrive, and iCloud Drive all work across both operating systems when configured properly. Check the best cloud storage deals for options.
- Suspend Instead of Shut Down: Suspending the VM (closing the window) saves the exact state to disk. Resuming takes 5-10 seconds instead of the 30-60 second boot. This also saves battery on laptops.
- Disable Windows Animations: Inside Windows, go to Settings > Accessibility > Visual Effects and turn off animation effects. This makes the VM feel snappier, especially on Macs with 8 GB of RAM.
Allocate at least 60 GB of disk space to the Windows VM. Windows 11 itself needs 30 GB, and you’ll want room for apps, updates, and temporary files. Parallels uses dynamic disk allocation by default, so the VM file only grows as needed rather than claiming the full 60 GB upfront.
Pros and Cons of Using Parallels Desktop
Pros:
- 15-minute setup with automated Windows installation
- Coherence Mode eliminates the “two desktops” feel entirely
- Full Apple Silicon optimization with DirectX 11 support
- Shared clipboard, drag-and-drop, and shared folders between OS
- Frequent updates with same-day macOS compatibility patches
Cons:
- $99.99/year subscription (Pro: $149.99/year)
- Requires a separate Windows 11 license ($139)
- VM consumes 4-8 GB RAM while running, impacting 8 GB Macs
- 3D gaming and GPU-heavy apps run slower than native Windows
- Annual subscription model means ongoing cost
Parallels Desktop is the simplest and most polished way to run Windows on a Mac. The subscription cost is the main drawback, but for anyone who depends on Windows apps for work, it pays for itself in the time saved versus switching between separate machines.
Other Apps to Run Windows on Mac
Parallels isn’t the only option. Depending on your budget, technical comfort level, and specific needs, one of these alternatives might be a better fit.
VMware Fusion
VMware Fusion is the closest competitor to Parallels and the preferred choice in enterprise environments. Broadcom (which acquired VMware in 2023) now offers a free “Personal Use” tier alongside the paid Pro version. The free tier covers everything a home user needs: Windows 11 VM creation, snapshot management, and shared folders.
VMware Fusion Pro ($149 one-time or included with a VMware subscription) adds advanced networking, encrypted VMs, and enterprise management features. Performance is comparable to Parallels for most workloads. The main trade-off is polish: Fusion’s UI feels more utilitarian, and it lacks Parallels’ Coherence Mode equivalent (Unity Mode exists but is less refined). For developers and IT professionals who already use VMware at work, Fusion is the natural choice since VM images transfer between VMware products.
VirtualBox
VirtualBox is Oracle’s free, open-source virtualization platform. It’s completely free with no feature restrictions. The catch: Apple Silicon support is still in developer preview as of 2026. On Intel Macs, VirtualBox works well for running Windows, Linux, and other operating systems. On M-series Macs, stability is inconsistent and performance is notably worse than Parallels or VMware.
VirtualBox is best suited for technical users comfortable with manual configuration. There’s no automated Windows installation: you download the ISO yourself, create the VM manually, and configure drivers. The interface hasn’t been modernized in years. But if you’re on an Intel Mac and want a free solution that handles Windows adequately for occasional use, VirtualBox delivers. Community support through forums and documentation is extensive.
CrossOver
CrossOver from CodeWeavers takes a fundamentally different approach. Instead of running a full Windows installation, it translates Windows API calls to macOS equivalents using Wine technology. The result: Windows apps run without a VM, without a Windows license, and with minimal resource overhead. No 4-8 GB of RAM consumed by a background operating system.
The limitation is compatibility. CrossOver maintains a compatibility database rating thousands of Windows apps from “Runs perfectly” to “Doesn’t run.” Popular apps like Microsoft Office, Quicken, and many Steam games work well. Niche business software is hit-or-miss. At $74/year (or $494 lifetime), CrossOver is cheaper than Parallels + a Windows license, making it the most cost-effective option if your specific apps are compatible. Check the database before buying.
Boot Camp (Intel Macs Only)
Boot Camp is Apple’s built-in tool for installing Windows alongside macOS on Intel-based Macs. It partitions your drive and lets you boot directly into Windows, giving you native hardware performance with zero virtualization overhead. For gaming and GPU-intensive workflows, Boot Camp delivers the best possible Windows performance on a Mac.
The downside is that you must restart your Mac every time you switch between macOS and Windows. There’s no running both simultaneously. Boot Camp is also unavailable on Apple Silicon Macs (M1 through M5), which means it’s a dead-end technology. Apple removed Boot Camp Assistant from macOS on ARM. If you own an Intel Mac and need peak Windows performance for tasks like gaming or 3D rendering, Boot Camp remains the best option. For everyone else, virtualization through Parallels or VMware is more practical.
Comparison: All Methods Side by Side
Here’s how every option stacks up across the factors that matter most. Price includes the Windows license cost where applicable.
| Feature | Parallels Desktop | VMware Fusion | VirtualBox | CrossOver | Boot Camp |
|---|---|---|---|---|---|
| Best For | Seamless daily use | Enterprise and dev teams | Free option for Intel Macs | Running specific apps without Windows | Native performance on Intel Macs |
| Setup Ease | 15 minutes, automated | 20 minutes, semi-automated | 30-45 minutes, manual | 10 minutes per app | 30-60 minutes, partitioning required |
| macOS Integration | Excellent (Coherence Mode) | Good (Unity Mode) | Basic | Good (no VM needed) | None (requires reboot) |
| Performance | Excellent | Very good | Good on Intel, limited on ARM | Varies by app | Native (best possible) |
| Apple Silicon Support | Full | Full | Developer preview only | Full | Not available |
| Windows License Needed | Yes | Yes | Yes | No | Yes |
| Price | $99.99/year | Free (Personal) / $149 (Pro) | Free | $74/year or $494 lifetime | Free (built into macOS) |
| Free Trial | 14 days | 30 days (Pro) | Completely free | 14 days | Included with macOS |
VMware Fusion’s free Personal Use license is a recent change (late 2024). If you tried Fusion before and dismissed it due to cost, it’s worth revisiting. The free tier handles everything a home user needs.
Best MacBooks for Running Windows Apps
Running Windows through virtualization takes more RAM than running native macOS apps. The Windows VM itself consumes 4-8 GB of memory before you open a single app inside it. That means 8 GB Macs will struggle with anything beyond basic Windows app usage. 16 GB is the practical minimum for comfortable dual-OS workflows.
For casual Windows app use (Microsoft Office, a specific business app, light browsing), the MacBook Air M5 15-inch with 16 GB handles it comfortably. The fanless design stays silent even with the VM running. For heavy workloads where Windows and macOS apps run simultaneously (development environments, design tools, database management), the MacBook Pro with 18 GB+ makes a noticeable difference in multitasking responsiveness. Check the Mac performance guide for tips on optimizing your Mac when running VMs.
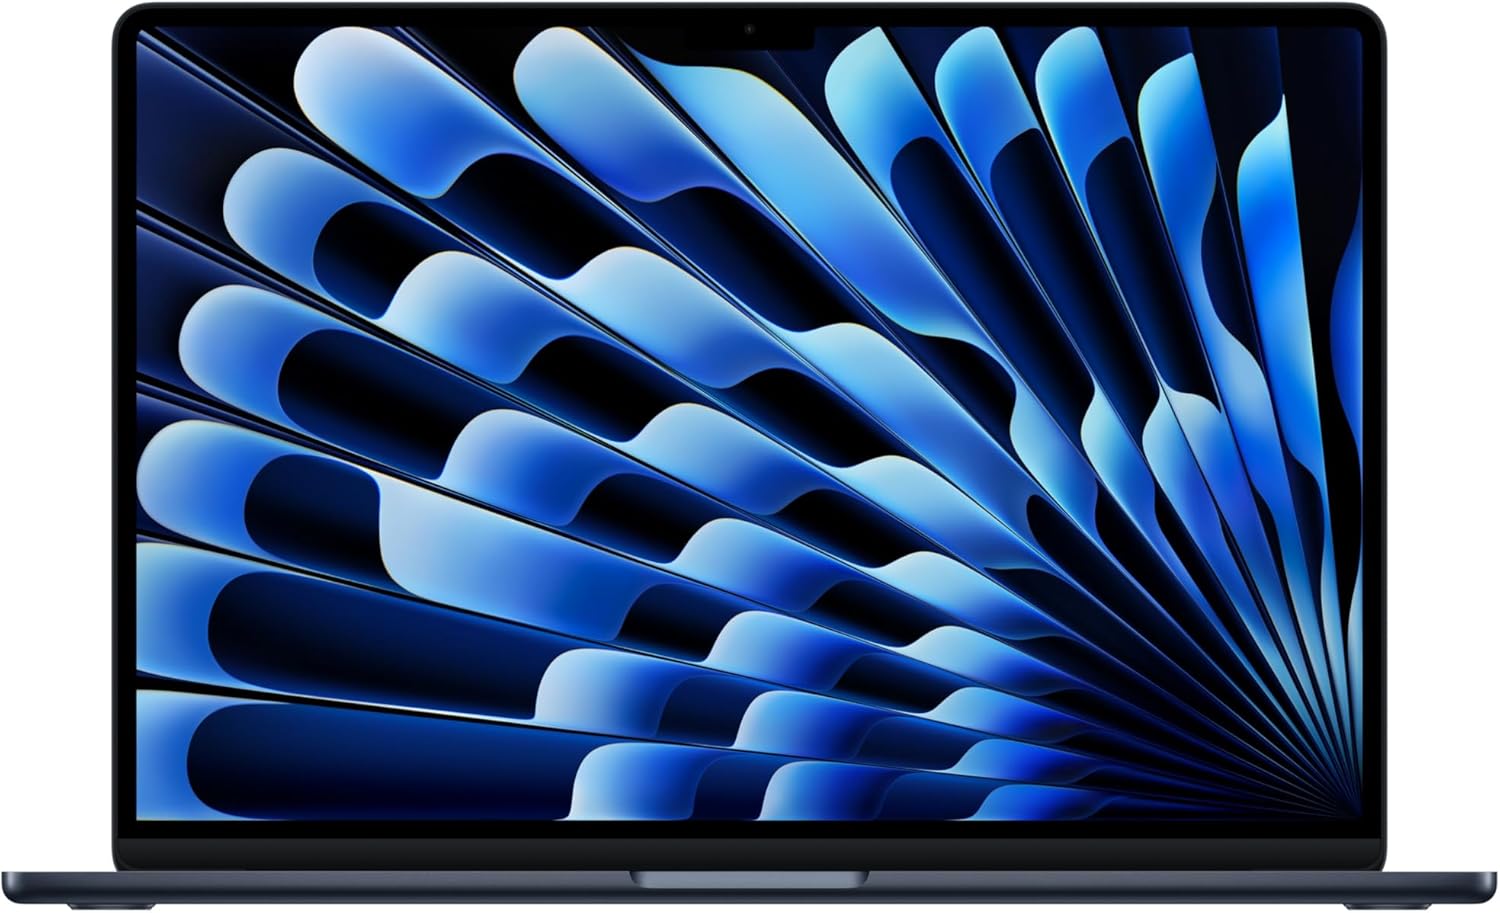
Apple MacBook Air M5 15-inch (16 GB, 256 GB SSD)
- 8-core CPU and 10-core GPU handles Windows VM plus macOS apps simultaneously
- 16 GB unified memory, the minimum needed for comfortable virtualization
- 15.3-inch Liquid Retina display with room for side-by-side Mac and Windows apps
- 18 hours battery life, even with Parallels running in the background
- Fanless silent design stays quiet during VM workloads
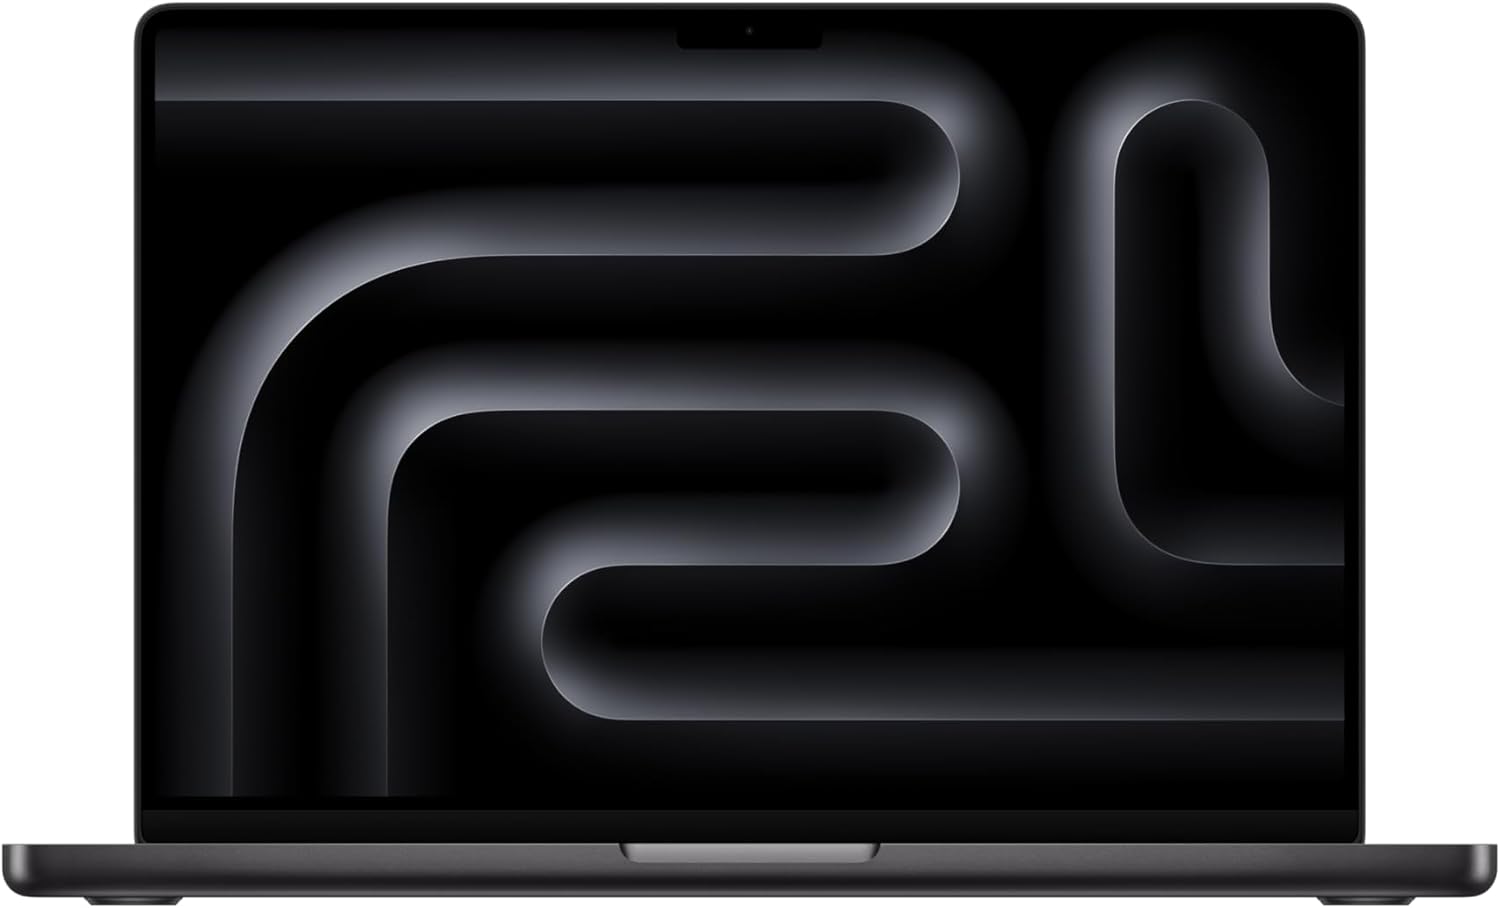
Apple MacBook Pro M5 14-inch (16 GB, 512 GB SSD)
- 10-core CPU and 16-core GPU for demanding Windows and Mac workloads
- 16 GB unified memory with option to configure up to 48 GB
- Active cooling system handles sustained VM workloads without throttling
- 14.2-inch Liquid Retina XDR display with ProMotion 120Hz
- Three Thunderbolt ports, HDMI, SD card slot, and MagSafe
FAQs
Can you run Windows apps on a Mac with Apple Silicon?
Yes. Parallels Desktop and VMware Fusion both fully support Apple Silicon Macs (M1 through M5). They run the ARM version of Windows 11, which includes built-in x86 emulation for most traditional Windows apps. Performance is excellent for office apps, development tools, and most business software. GPU-intensive apps and older 32-bit Windows programs may have compatibility issues.
Is Parallels Desktop worth the $99/year subscription?
If you need Windows apps regularly for work, yes. The time saved versus switching between two computers, maintaining a separate Windows machine, or fighting with free alternatives pays for itself quickly. For occasional use (once or twice a month), try VMware Fusion’s free Personal Use license first. It handles basic virtualization without the subscription cost.
How much RAM do I need to run Windows on a Mac?
16 GB is the practical minimum for a comfortable experience. Windows 11 itself needs 4 GB, macOS needs 4-6 GB for background processes, and your active apps need the rest. On an 8 GB Mac, running Windows leaves very little headroom and causes frequent memory pressure. If buying a new Mac specifically for virtualization, 16 GB is the minimum configuration worth considering.
Can I play Windows games on a Mac using Parallels?
Some games work well, especially older titles and games that don’t require cutting-edge GPU performance. Parallels supports DirectX 11, and many Steam games are playable. However, performance is 30-50% lower than native Windows, and anti-cheat systems in multiplayer games often block virtual machines. For serious gaming, Boot Camp on Intel Macs or a dedicated Windows PC is still the better option.
Do I need to buy a Windows license separately?
For Parallels, VMware Fusion, VirtualBox, and Boot Camp, yes. A Windows 11 Home license costs $139 from Microsoft. CrossOver is the exception: it runs Windows apps without a full Windows installation, so no Windows license is needed. You can technically use Windows without activation (it works with a watermark and limited personalization), but it’s not recommended for long-term use.
Is there a free way to run Windows on Mac?
Yes. VMware Fusion offers a free Personal Use license that includes full Windows VM capabilities. VirtualBox is completely free and open-source, though Apple Silicon support is still limited. Both require a separate Windows license. For running specific Windows apps without a full VM, CrossOver offers a 14-day free trial. UTM is another free, open-source option built on QEMU that works on Apple Silicon.
Will running Windows slow down my Mac?
While the Windows VM is running, yes. It consumes 4-8 GB of RAM and some CPU cycles. On Macs with 16 GB+ of memory, the impact on macOS performance is minimal. On 8 GB Macs, you’ll notice slower Mac app performance when the VM is active. Suspending the VM when you don’t need Windows apps immediately frees those resources back to macOS.
Can I transfer my Boot Camp partition to Parallels?
Yes. Parallels Desktop can import an existing Boot Camp partition directly as a virtual machine. This preserves all your installed Windows apps, files, and settings. After importing, you can delete the Boot Camp partition to reclaim disk space. This migration path is common for users upgrading from Intel Macs (where Boot Camp worked) to Apple Silicon Macs (where it doesn’t).
Disclaimer: This site is reader-supported. If you buy through some links, I may earn a small commission at no extra cost to you. I only recommend tools I trust and would use myself. Your support helps keep gauravtiwari.org free and focused on real-world advice. Thanks. - Gaurav Tiwari