How to fix the ERR_NAME_NOT_RESOLVED error in Google Chrome?
Google Chrome is one of the fastest web browsers that Google has designed and developed. However, it occasionally fails to load websites and as a result, the ERR_NAME_NOT_RESOLVED error turns up on your display.
What many users don’t know is that the ERR_NAME_NOT_RESOLVED error is not just from Chrome’s end; the DNS address is also the major cause of the same.
If you happen to be facing such an error message on your own website or others, then you are in the right place. In this guide, you will find a detailed method to fix the issue. Before moving further, however, let’s learn more about this error.
Table of Contents
What exactly is the ERR_NAME_NOT_RESOLVED error?
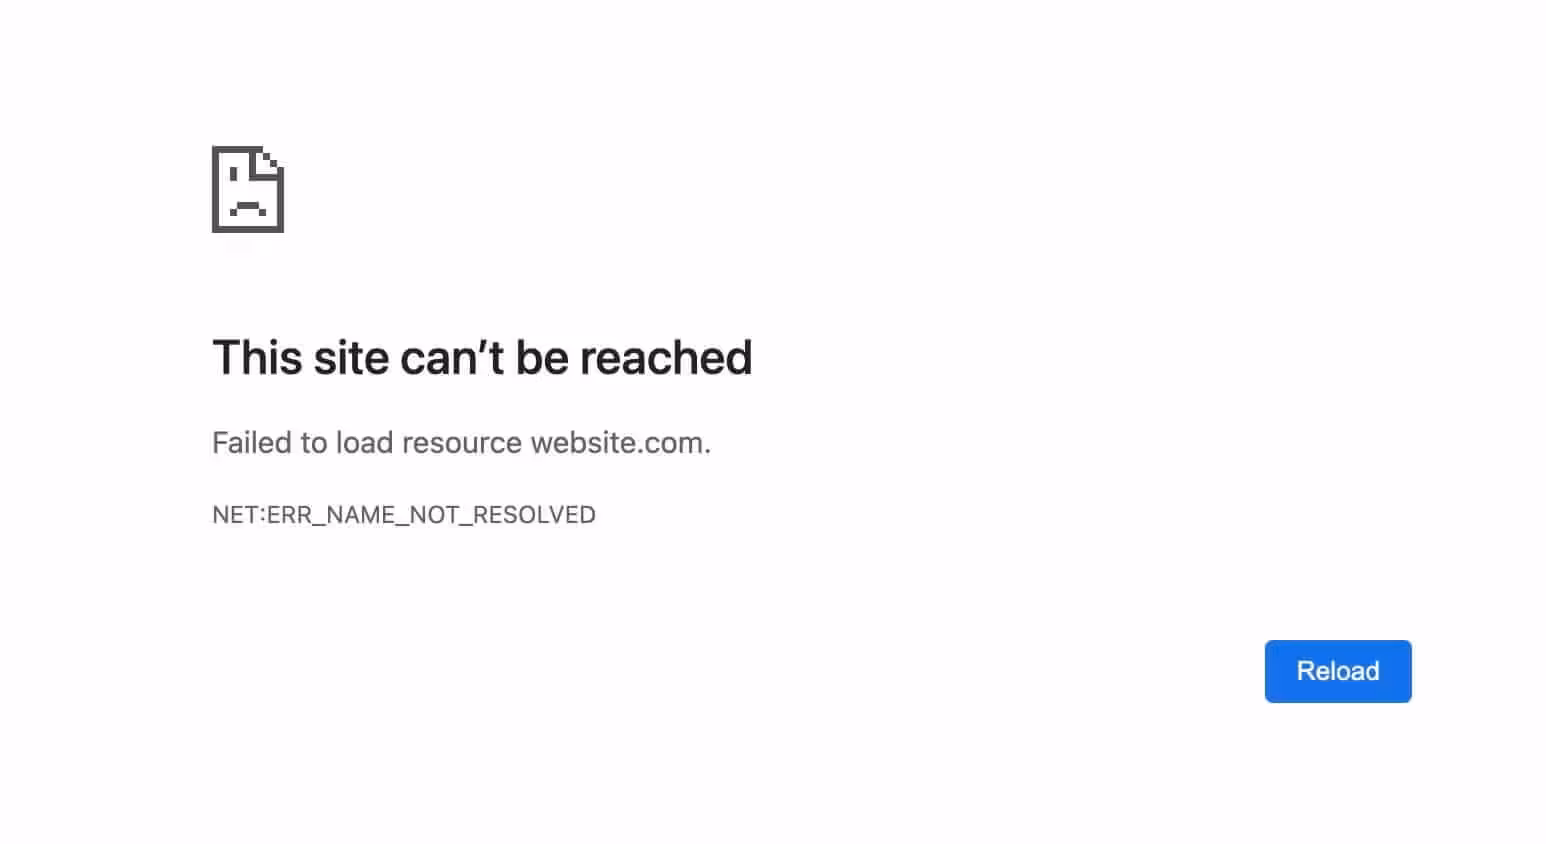
Domain Name System or DNS is a network service that mainly aims to render the website name to the internet address. The ERR_NAME_NOT_RESOLVED error is mainly related to DNS; it is a message from Chrome informing you that it was unable to find the IP address that matches the website domain name you are searching for. As a result, you will not be able to access the webpage.
The above issue usually arises if your IP is blocked. Another reason could be a fault from the website’s side. One can potentially encounter this error on any OS and on any of the popular browsers. The only difference is that various browsers may reflect the error message differently.
Why does the error ERR_NAME_NOT_RESOLVED occur?
There could be several possible reasons behind the aforementioned error. However, I have listed some most common reasons for the same below:
- The DNS server is unavailable.
- DNS queries are using a cached address.
- Your internet settings are not configured properly.
- Router problems.
- Chrome’s prediction service for faster page loading.
- A virus or malware attack.
How to fix ERR_NAME_NOT_RESOLVED error in Chrome?
There are some advanced solutions that should fix the ERR_NAME_NOT_RESOLVED issue for you, and I have listed them below. Follow them carefully to get rid of the error message.
1. Restart your router
Before opting for any other solution, you should always try to check the router connecting your device to the internet. Even if the internet connection is working properly, it is still possible that there are some issues arising due to the router. Therefore, it is advisable to restart the network device to fix the ERR_NAME_NOT_RESOLVED error. You can restart the router by disconnecting the power supply for at least 30 seconds and then reconnecting the router again. After that, check whether the error message is resolved or not.
2. Clear Google Chrome’s host cache
Clearing Chrome’s host cache is arguably the best way to resolve an error message reading failed to load resource net: ERR_NAME_NOT_RESOLVED. For that, you must do the following:
- Open Google Chrome on your PC, click the address bar, type: chrome://net-internals/#dns and press Enter. Soon, you will view the features of the Networking which is located at the top-left of the Chrome page.
- Click on “DNS” and navigate to the “Host resolver cache” section. There, you will notice a tab labelled “Clear-Host Cache”; click on it.
- When you are done, restart your computer and router. Your browser should work smoothly now.
3. Clear Google Chrome cookies
Sometimes, Chrome’s cookies block the DNS, resulting in the ERR_NAME_NOT_RESOLVED error message. In other words, you will be unable to open that particular website. Since these cookies usually store the website’s data, clearing the same should resolve the issue for you. For that, just follow the steps below:
- Launch Google Chrome.
- Click the “more” tab, which is located at the top-right of the page and symbolized with three vertical dots.
- From the drop-down menu, choose “More tools” and “Clear browsing data.” You can use the shortcut Ctrl+H on Windows and CMD + Y on macOS as well.
- A new window with a handful of options will now feature on your screen. Click on the “Advanced” tab, select “Cookies and other site data” from the featured list, and click on “Clear data”.
You can now close and restart your browser for a smooth browsing experience.
4. Renew DNS
On the Windows operating system, follow the given steps:
- Press the Windows key and open the Start menu.
- Just search or locate the Command Prompt icon under “Accessories” or “Windows System”, depending on your OS version.
- Right-click “Command Prompt” and choose “Run as Administrator”.
- Type the following commands sequentially and press Enter after each of them:
ipconfig /releaseipconfig /allipconfig /flushdnsipconfig /renewnetsh int ip set dnsnetsh winsock reset
- After that, restart your computer and check whether the error persists.
On macOS, open terminal and run these commands one by one:
sudo dscacheutil -flushcache; sudo killall -HUP mDNSResponder- Enter password when prompted. And then run:
sudo ipconfig set en0 DHCP- Replace
en0with the appropriate network interface if you are not using the default Wi-Fi interface. You can find the correct interface using the commandifconfigornetworksetup -listallhardwareports.
5. Change the DNS address
If your IP DNS Server is not configured properly, then you will get the following error message – Server DNS address could not be found: ERR_NAME_NOT_RESOLVED. In this case, you must fix the DNS address by changing it to Public DNS, as shown below:
- Open the Control Panel by clicking the Start menu and typing “Control Panel”. You can also use the shortcut keys “Win+X” and choose Control Panel, or press “Win+I” to directly see the Control Panel in the list.
- Navigate to the ‘Network and Internet’ section and click on it.
- The Network and Sharing Center page will now appear on the screen. At the top-left corner, you should see an option reading “Change Adapter Settings”; click on it.
- Select your connection, right-click on it and choose “Properties.”
- A new window should now appear on your screen. Click the “Networking” tab, choose “Internet Protocol Version 4 (TCP/IPv4)”, and click on “Properties.”
- Another new page will turn up on your screen. Click on the “General” tab and further click on “Use the following DNS server addresses.”
- In the preferred DNS Server, enter 8.8.8.8 and, in the alternate DNS Server, enter 8.8.4.4. Click “OK” when you are done.
The same can be done on macOS by going to Network settings.
- Click the Apple logo in the top-left corner of your screen and choose “System Preferences” from the drop-down menu.
- In the System Preferences window, click on “Network.”
- Select the network connection you want to configure, such as Wi-Fi or Ethernet, from the list on the left side. If your Wi-Fi is active, click on “Wi-Fi” (or “AirPort” in older macOS versions).
- Click the “Advanced…” button in the lower-right corner of the Network settings window.
- In the Advanced settings window, click the “DNS” tab.
- In the DNS tab, you’ll see a list of DNS servers under “DNS Servers.” To add a new DNS server, click the “+” button located below the list. To remove an existing DNS server, click on it in the list and click the “-” button.
- Enter the new DNS server addresses, one at a time, by clicking the “+” button and typing the address. In the preferred DNS Server, enter 8.8.8.8 and, in the second DNS Server, enter 8.8.4.4. Click “OK” when you are done.
- To change the order of the DNS servers, click and drag the addresses up or down the list.
- After adding the new DNS addresses and reordering them as desired, click the “OK” button.
- Click “Apply” in the Network settings window to save the changes.
Your macOS device will now use the specified DNS servers for name resolution. Note that it’s a good idea to use at least two DNS servers, a primary and a secondary, for redundancy and better reliability.
6. Turn off the prediction service
Follow the given steps:
- Launch Google Chrome and click the “more” icon located at the top-right of the page. Choose “Settings” from the dropdown menu.
- Scroll down the Settings page and click the “Advanced” section to expand its features.
- Navigate to the “Privacy and Security” section and click the checkbox “Use a prediction service to load pages more quickly”. Click the button to disable it.
7. Check your firewall
Occasionally, your firewall and security software block the network connection and result in the error manifesting. In that case, you can check the settings of the firewall and ensure that the network connection is not blocked.
However, if you own a website and are facing the ERR_NAME_NOT_RESOLVED error message, then make sure the “Nameservers” that your host offers are updated with the domain. For example, if your website is registered with GoDaddy and is hosted by Bluehost, then the host firm offers the Nameservers and it should be updated with GoDaddy.
Conclusion
In this article, we’ve discussed the most effective solutions for the ERR_NAME_NOT_RESOLVED error message. I hope this helps you rectify the issue and have a smooth working experience with Chrome.
Please note that these instructions work with all top browsers based on Chromium, which are:
- Google Chrome
- Microsoft Edge
- Opera
- Brave
- Vivaldi
- Blisk
- Colibri
- Yandex Browser
- Epic Privacy Browser